3000万人以上のユーザーから信頼されています
Salesforceのためのパワフルなフォーム
Jotformで営業プロセスを自動化しましょう。Salesforceアカウントと即座に同期するリードフォームを素早く作成し、時間を節約してより多くの商談を成立させることができます。


フォームデータとSalesforceデータベースを自動的に統合
2分で完璧なフォームを\\n作成
すぐに使えるSalesforceフォームテンプレートで、スタートダッシュを切りましょう。わずか数クリックでプロフェッショナルなフォームを簡単にカスタマイズできます!
Salesforceにデータを送信
Salesforceフォームはすでに Salesforce CRM に接続されているため、フォームのデータは自動的に Salesforce データベースに送られます。
フォームデータとSalesforceデータベースを自動的に統合
Build the perfect form in 2 minutes
すぐに使えるSalesforceフォームテンプレートで、スタートダッシュを切りましょう。わずか数クリックでプロフェッショナルなフォームを簡単にカスタマイズできます!

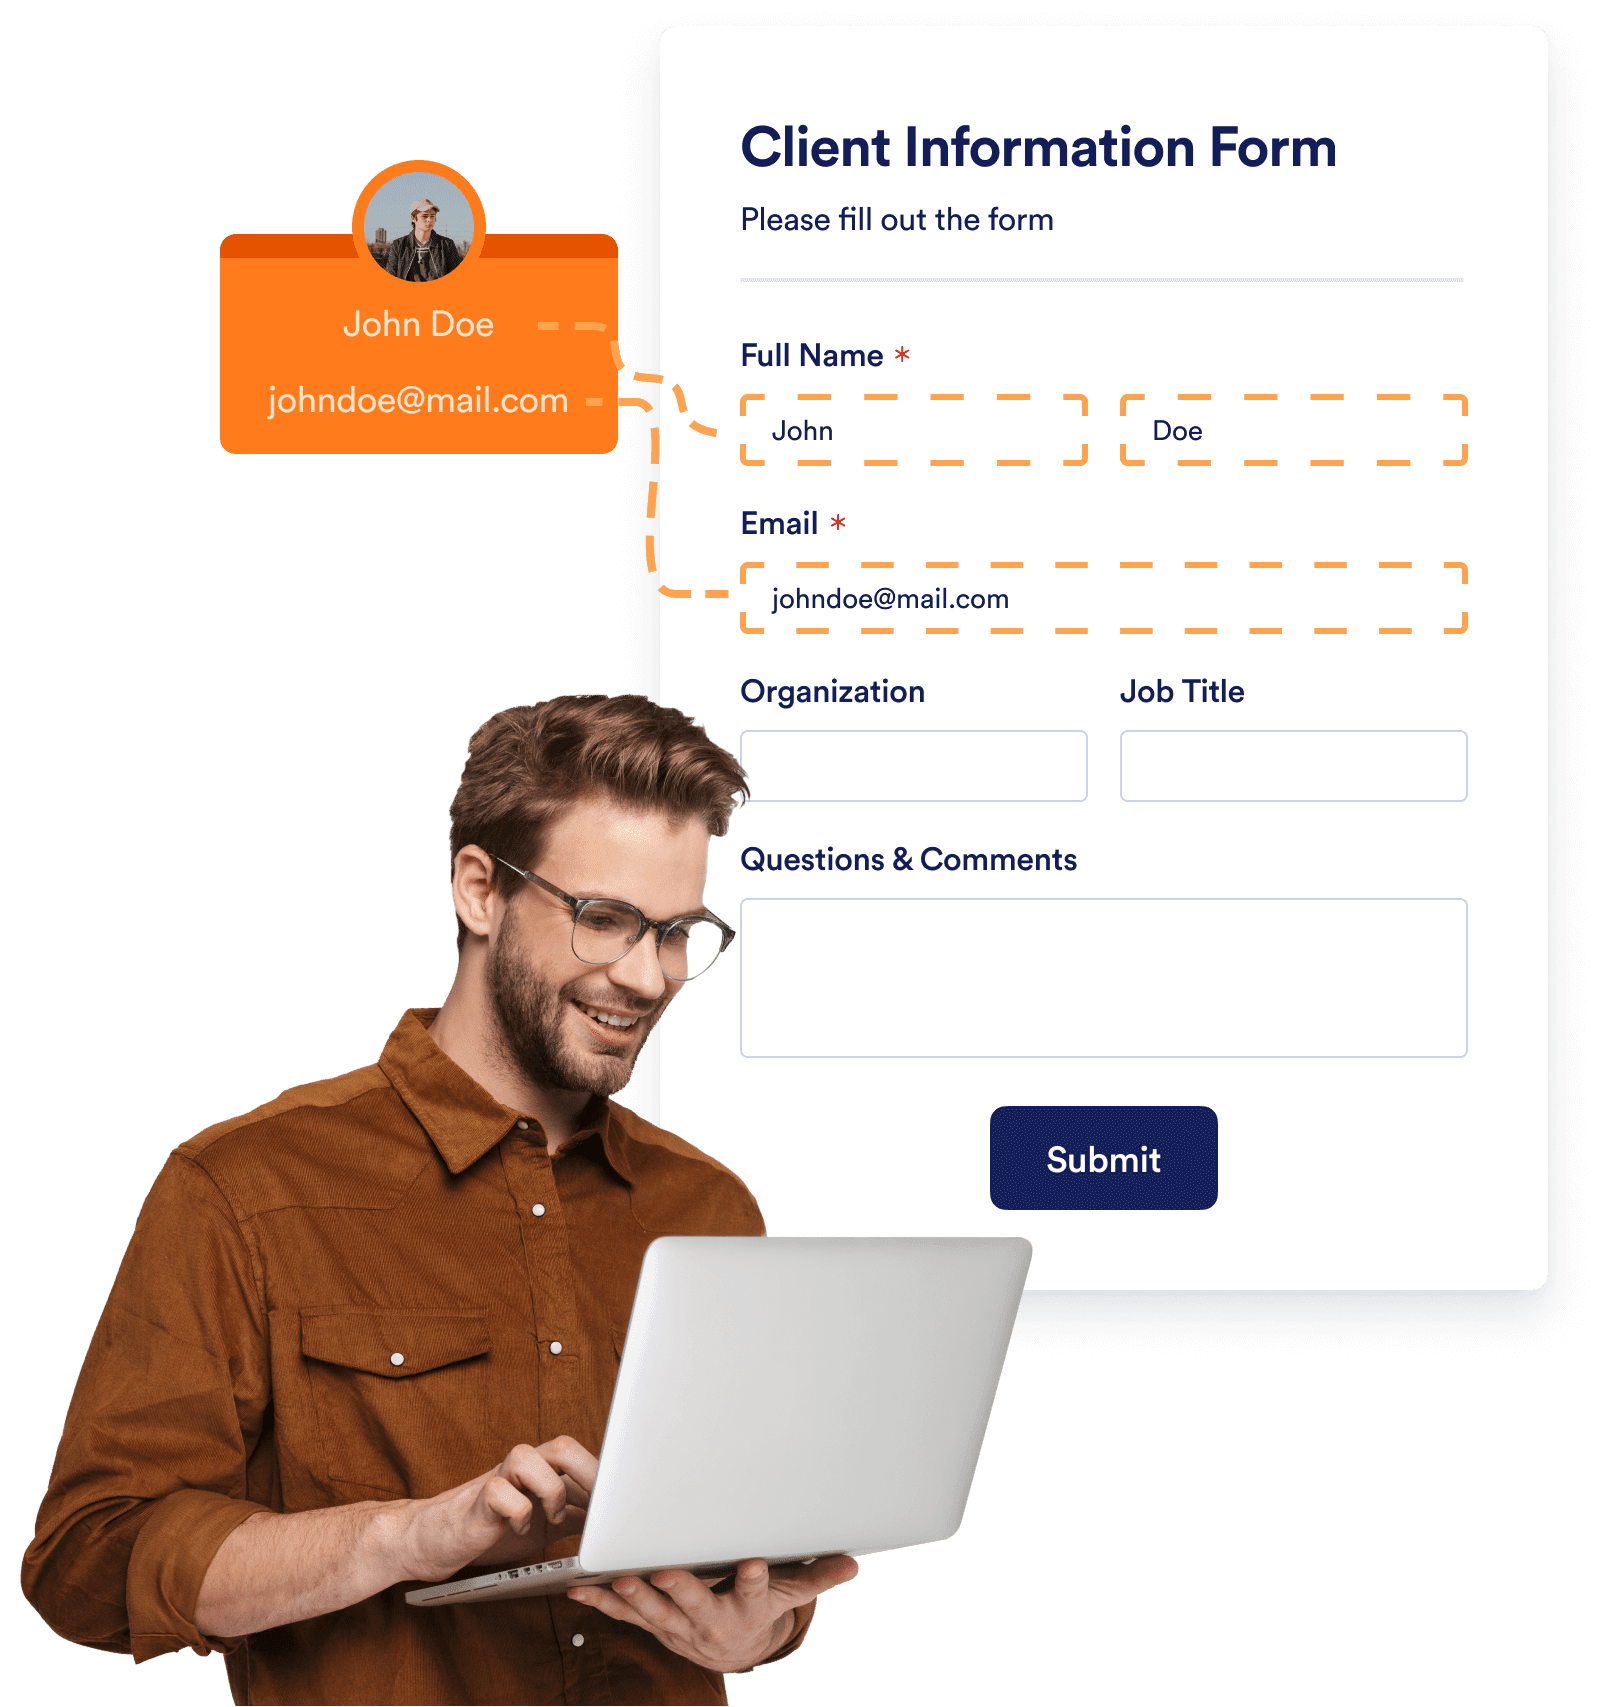
Share a prefilled form with your customers
Salesforceの連絡先に事前入力フォームへの入力を呼びかけることで、より迅速で簡単なフォーム入力が可能になります。
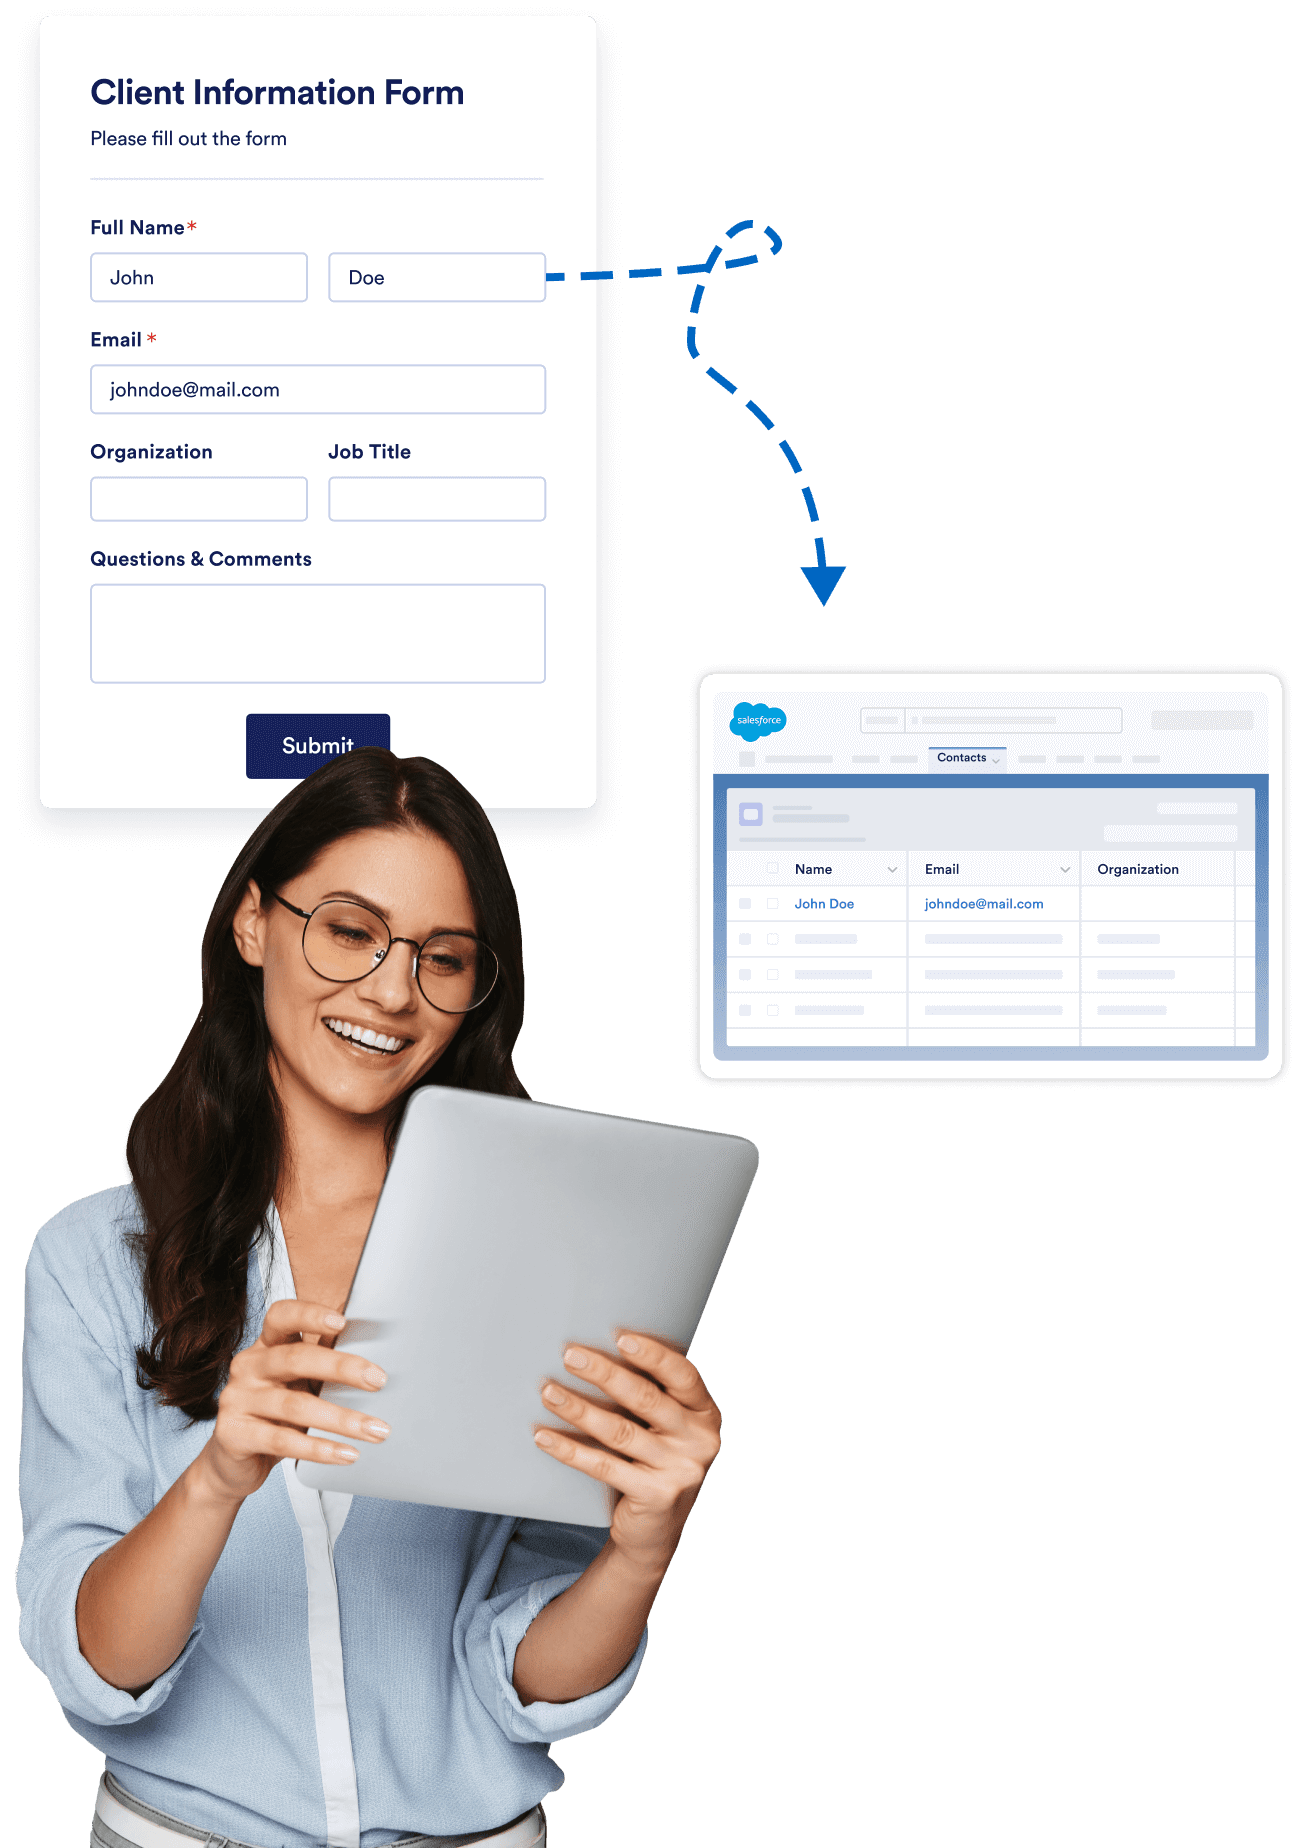
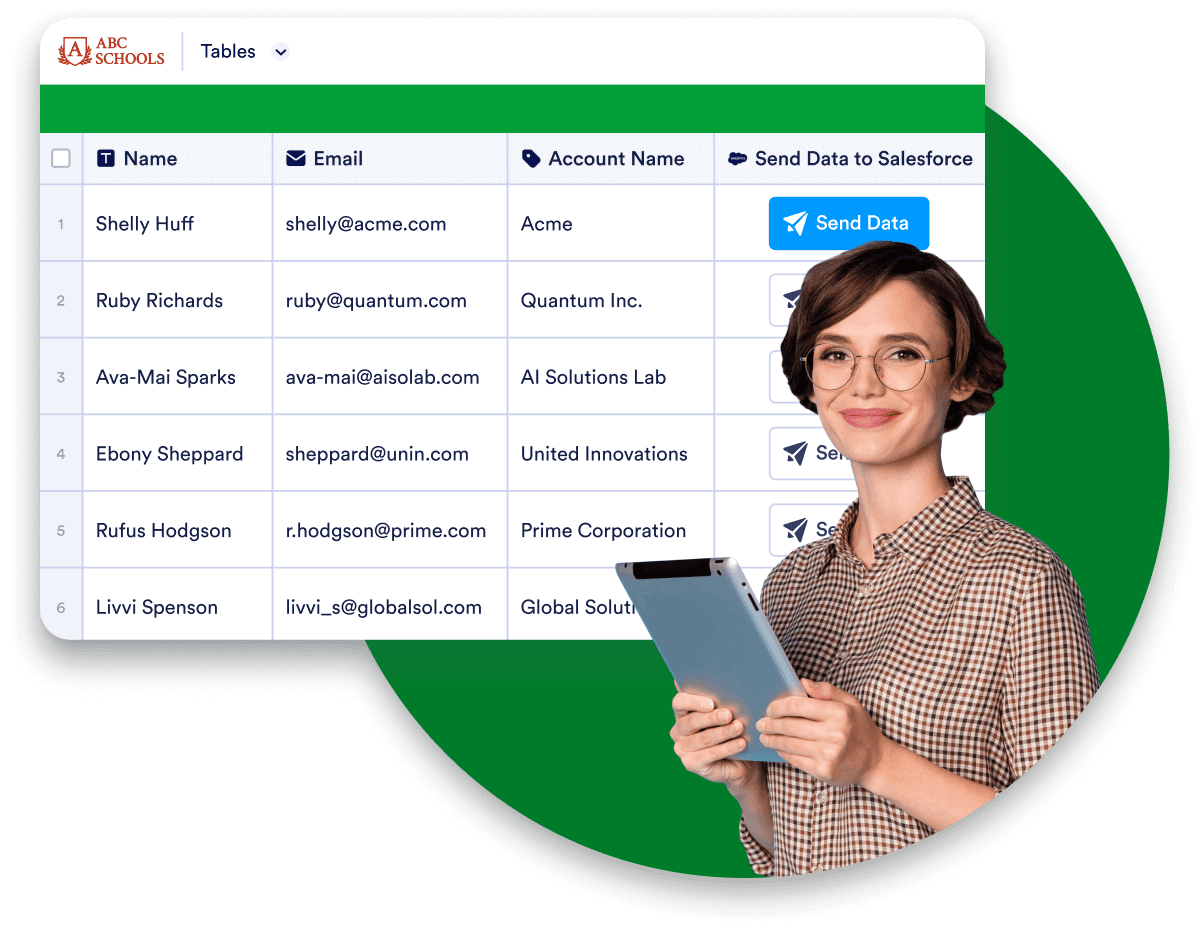
Send data to Salesforce
Salesforceフォームはすでに Salesforce CRM に接続されているため、フォームのデータは自動的に Salesforce データベースに送られます。
必要なフォームを数分で作成
フォームビルダーを使って、ゼロから理想のフォームを作成したり、無料のテンプレートをカスタマイズすることができます。メールで送信したり、リンクをコピー&ペーストして共有したり、ウェブサイトにフォームを埋め込んで 、いつでもユーザーが入力できるようにすることもできます。
無料でアプリを入手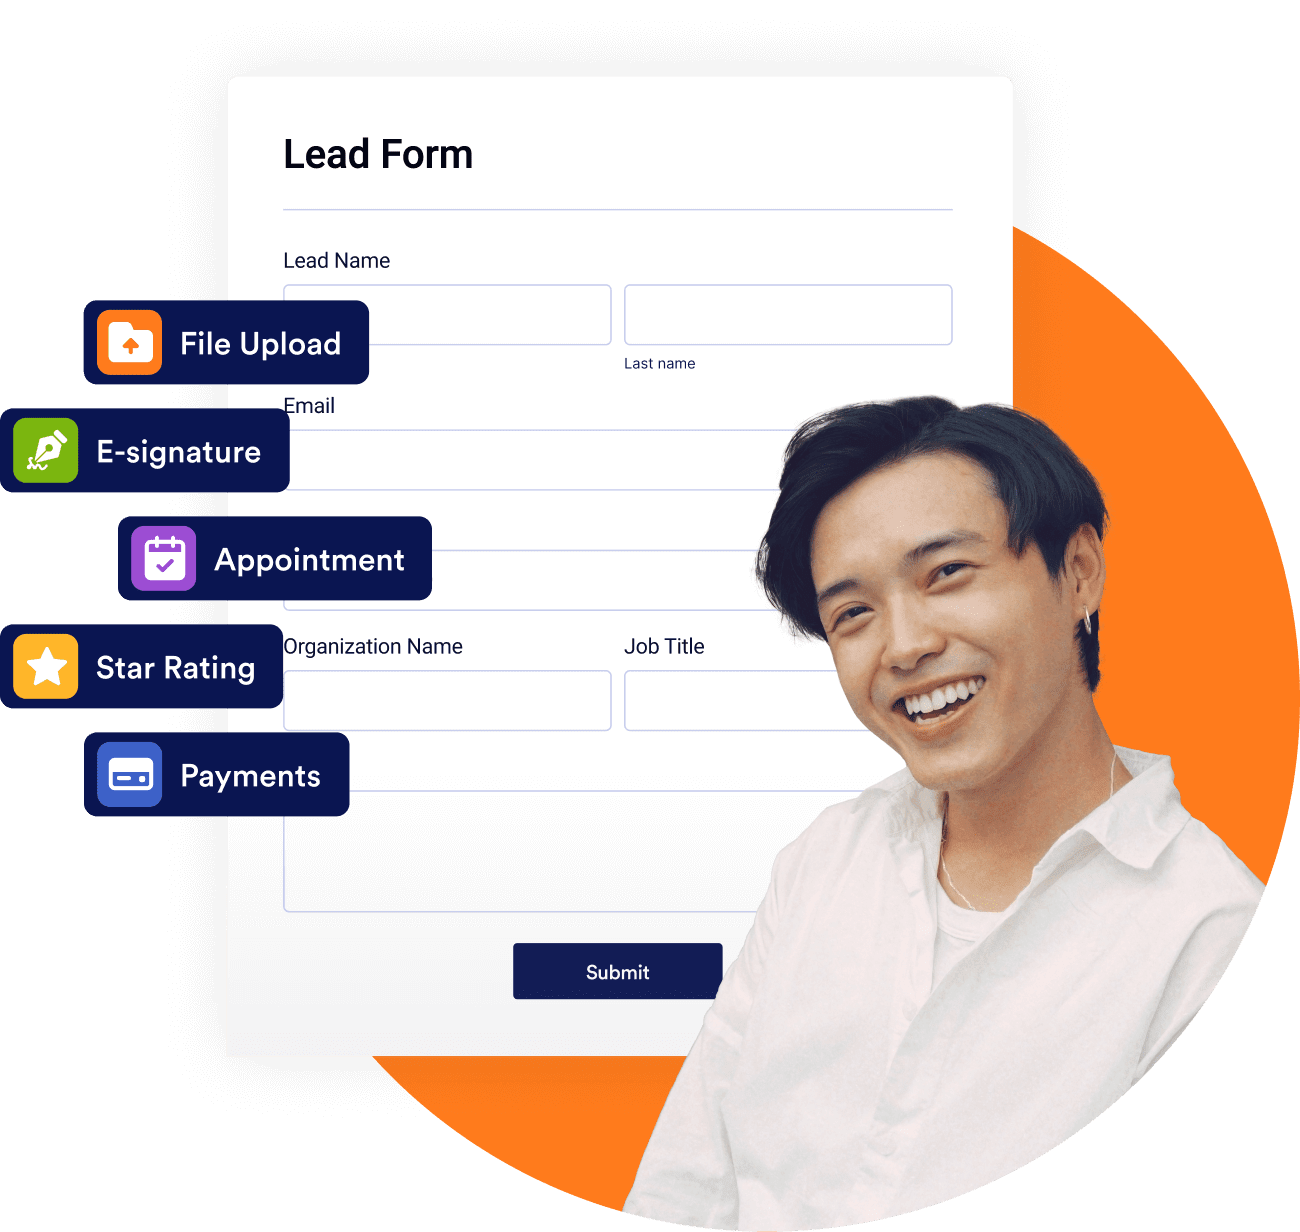
リアルタイムのデータでフォームを動的に事前入力する
Streamline data management with Salesforce Dynamic Prefill. Effortlessly pre-populate forms with the latest Salesforce information and provide a personalized experience with forms tailored to each respondent. Automatically sync data in real time to eliminate manual entry and reduce errors.
無料でアプリを入手Keep your data in Salesforce
Sync your data and manage it all within Salesforce to maintain consistency across your CRM. Simplify your workflow by keeping everything in one place and maintain full control over your data.
無料でアプリを入手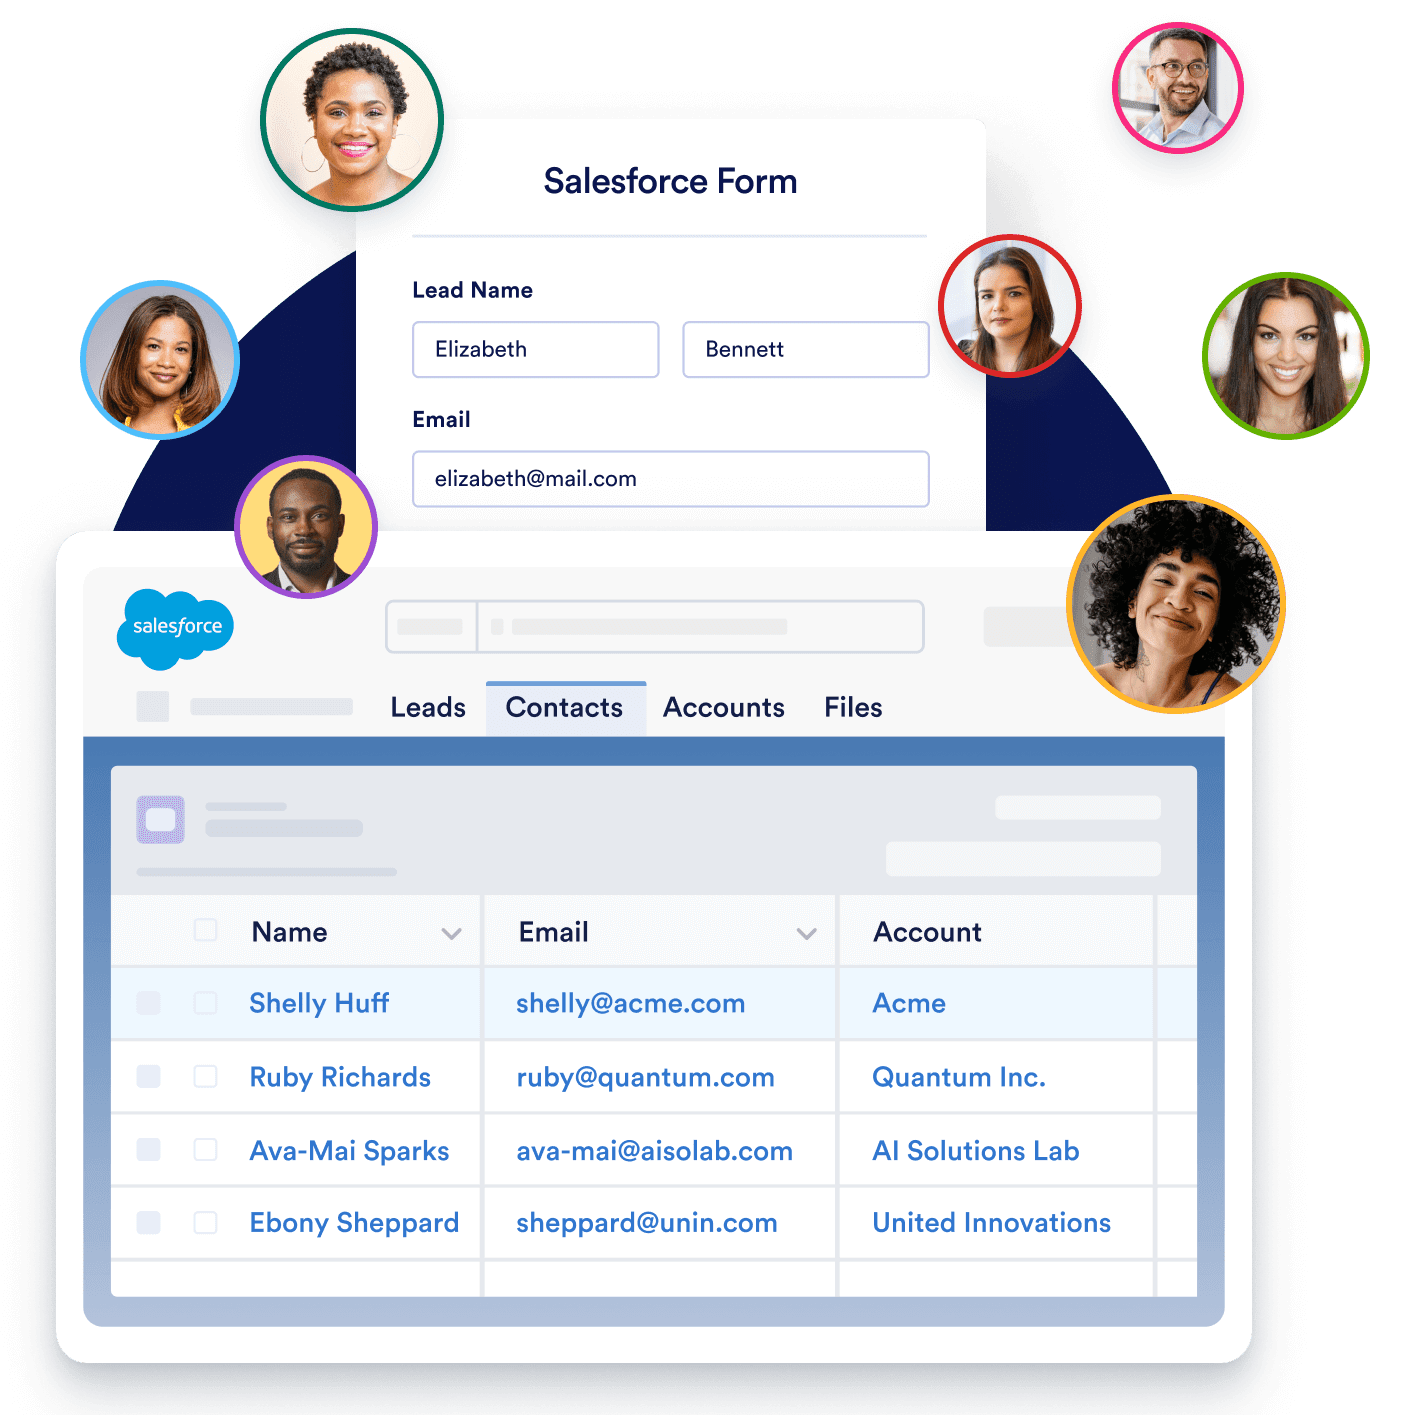
Use full-suite of products
without leaving Salesforce
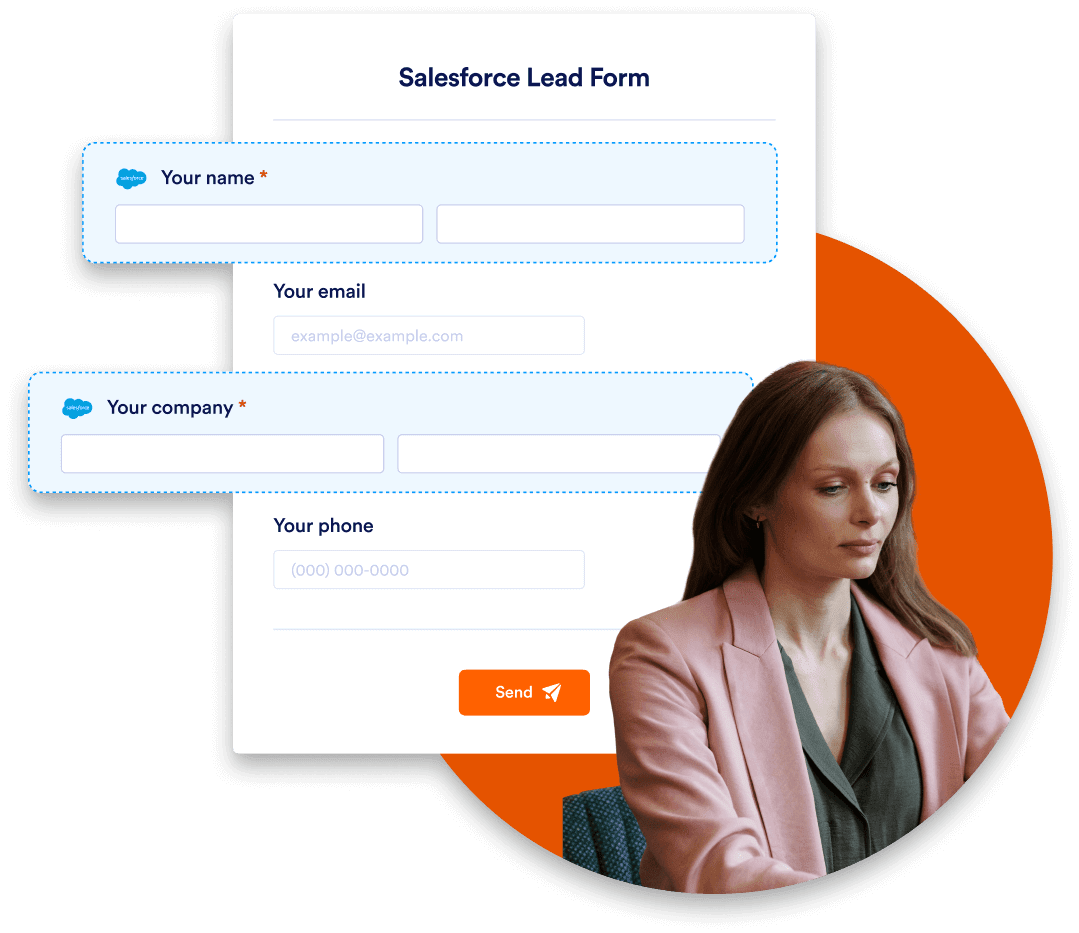
Salesforceフォームの作成
Create pre-integrated Salesforce Forms to collect information about leads. Submissions sync automatically so your Salesforce data is always up to date.
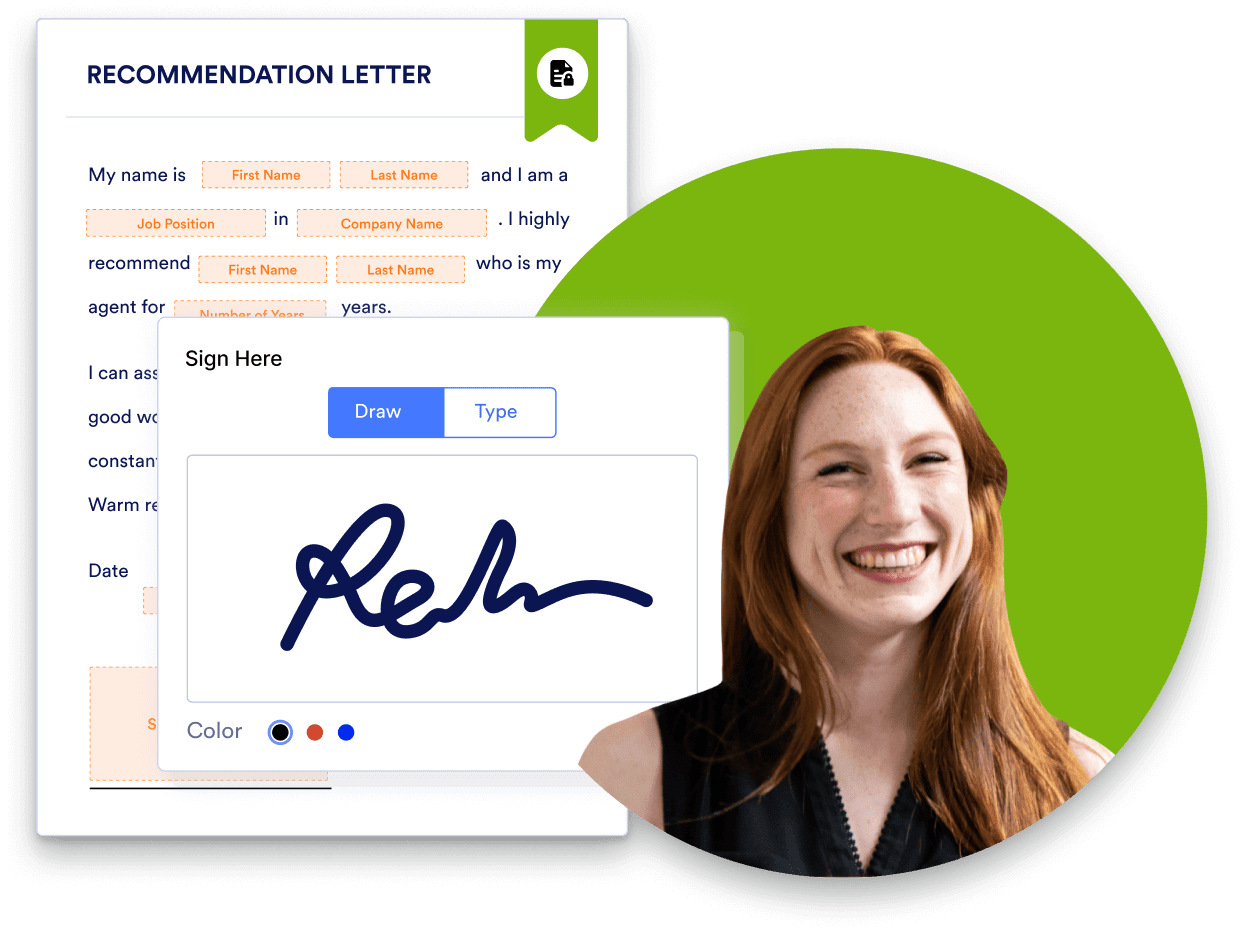
営業チーム向けの電子サイン
Collect e-signatures on contracts or invoices from any device. Efficiently manage signed documents and review audit trails directly from your Salesforce account.
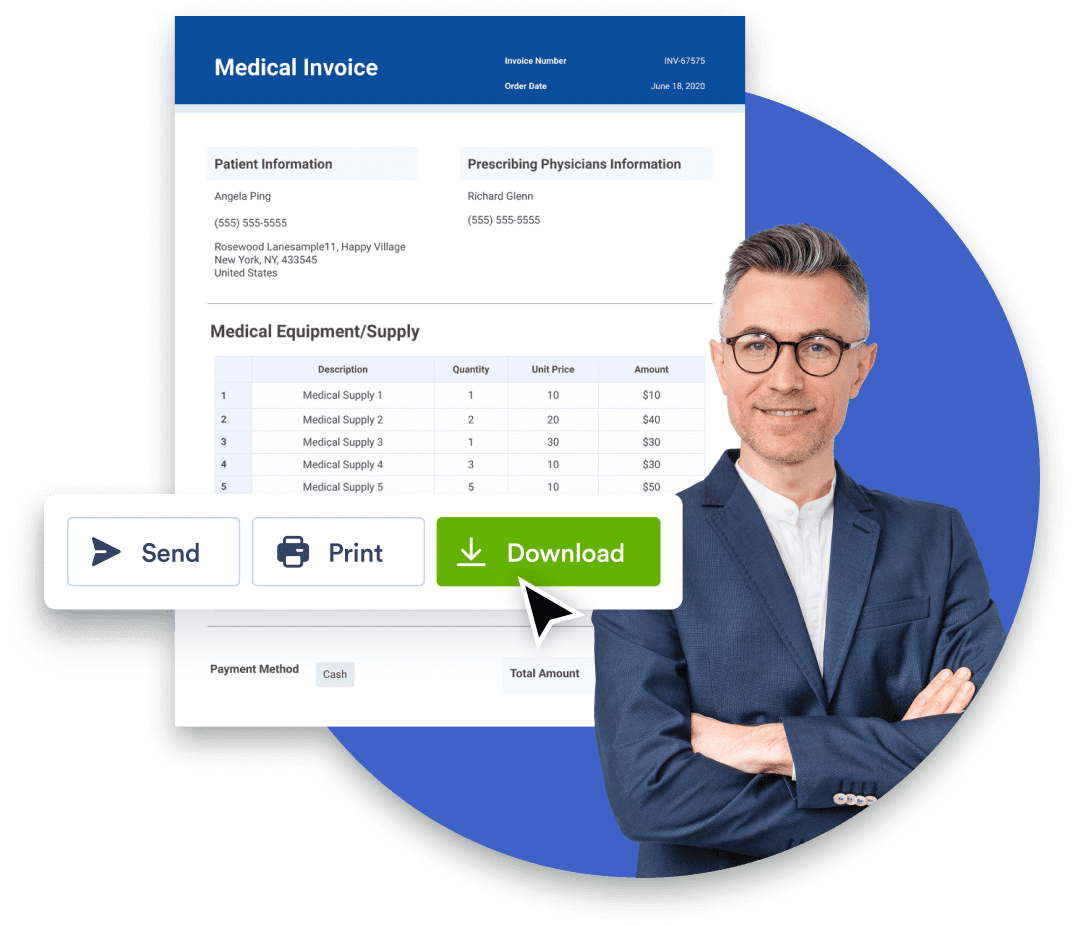
Salesforceドキュメントの作成
Effortlessly create PDF documents based on submission data and easily share them with a single click.
フォームをワークフローに
Streamline each step in your process with automated workflows. Assign forms, automate emails, request e-signatures, and more.

Jotformテーブルでデータを管理する
Easily track, manage, and filter submission data. Invite teammates to collaborate in real time.
240種類以上のアプリ連携&決済方法に対応
データは安全でセキュア
すべてのデータをSalesforce内で同期・管理し、CRM全体の一貫性を維持します。ワークフローを簡素化し、すべてを一箇所にまとめて、データを完全に管理できます。
よくある質問 (FAQ)
-
Jotform for Salesforceとは何ですか?
Jotform for Salesforceは、Salesforce AppExchangeで利用可能な強力なオンラインフォームビルダーとワークフロー自動化ツールです。Jotform for Salesforceは業種や規模を問わず、強力なデータ収集ツールを必要とするあらゆる組織に役立ちます。
-
SalesforceアカウントでJotformを使用するメリットはなんですか?
JotformをSalesforceアカウントで使用すると、フォームを通じて収集された全てのデータが自動的にSalesforceの関連オブジェクトに入力されます。シームレスなデータ収集、リードジェネレーションの強化、データ品質の向上、統合されたユーザーエクスペリエンスなどのメリットがあります。
さらに、Jotform for Salesforceを使用することで、コード不要のアプリやPDFの作成、電子サインやファイルアップロードの収集、レポートの作成、ワークフローの自動化など、様々な便利な機能やツールを利用することができます。
-
Salesforceとフォームを統合するには?
To integrate Salesforce with your form, start by installing Jotform on the Salesforce AppExchange. After installing the app, open it by clicking on the App Launcher icon and searching for “Jotform.”
Once you’ve launched the app, click Create Salesforce Form, select an object to create a form for, select the object fields you’d like to add to your form, and then click Create Form. Your form will now be ready to collect data and automatically send it to the linked fields in your Salesforce account.
If you’d like to access Salesforce via Jotform, you can add the legacy Salesforce integration to a form in the Form Builder. To do this, open the Jotform Form Builder and select the form you’d like to connect with Salesforce.
設定をクリックし、統合 タブで Salesforce を検索します。 認証 ボタンをクリックして、Salesforceアカウントをリンクします。すでにSalesforceアカウントをリンクしている場合は、ドロップダウンメニューから選択してください。
After connecting your account, choose either Create or update a record or Find a record. Pick an object from the list and map your form fields to the data fields from your chosen Salesforce object. Once you’re finished, click the Save button and you’re done! Your form data will now be sent to Salesforce every time a submission is received.
-
Can I get notified when an error happens in my Salesforce integration?
Yes! Integration logs can help you identify and resolve any integration issues — reducing downtime and data discrepancies. Combined with error notifications, integration logs enable you to take immediate action when an error occurs instead of manually checking the logs yourself.
-
Jotform for Salesforceは無料ですか?
はい、Jotform for Salesforceは無料です。Jotform for Salesforceの無料スタータープランでは、最大5フォーム、月間100投稿、100MBのストレージをご利用いただけます。より多くのフォーム、投稿、ストレージが必要な場合は、有料プランへのアップグレードをご検討ください。企業全体でご利用になりたい場合は、エンタープライズプランをご検討ください。
-
Salesforce AppExchangeからJotformにアクセスするには?
Salesforce AppExchangeでJotformにアクセスするには、AppExchangeの検索バーでJotformを検索するだけです。今すぐ入手をクリックし、後は指示に従って設定します。
-
JotformをSalesforceに設定するにはどうすればよいですか?
Jotform for Salesforceをセットアップするには、まずAppExchangeにJotformをインストールします(上記で説明)。今すぐ入手をクリックし、セットアップ手順に従ってください。アプリをインストールしたら、管理者のみにインストールするか、全てのユーザーにインストールするか、特定のプロファイルにインストールするかを選択します。
アプリランチャーアイコンをクリックし、Jotformを検索してJotformアプリを開きます。Jotformアカウントにログインするか、無料でアカウントを作成し、最後の指示に従ってアプリの設定を完了します。これで、Salesforce AppExchangeのJotformにアクセスし、フォーム作成のあらゆるニーズに対応できるようになります。
-
JotformはAppExchangeのどのクラウドで提供されていますか?
JotformはSalesforceのSales Cloud上で動作します。Sales Cloudは顧客情報を一元管理できる、完全カスタマイズ可能なCRMプラットフォームです。これを活用すれば、事務作業の自動化、リードや顧客情報の管理、商談の成立、そしてビジネスに欠かせないインサイトの取得が可能になります。
-
Salesforceのデータを使ってフォームに動的に事前入力できますか?
Yes! When you add Salesforce Dynamic Prefill to your forms, you can dynamically prefill them with data from Salesforce — meaning the data that automatically pre-populates your forms will always be the most up-to-date information in your Salesforce account. To connect your forms with Salesforce, go to the Publish tab of the Jotform Form Builder. Select Prefill from the menu on the left and then Salesforce Prefill. Complete the integration setup to add Dynamic Prefill to your forms.
-
Salesforceダイナミック事前入力はカスタムオブジェクト対応ですか?
Yes. With the new Salesforce Dynamic Prefill, you can prefill your forms dynamically from any Salesforce object, including custom objects.
複数の事前入力元を接続することで、複数のオブジェクトからフォームに事前入力することもできます。
-
Salesforce アカウントに多くの連絡先があります。事前入力リンクの生成を自動化することはできますか?
はい、可能です。事前入力設定で表示されるライブ事前入力リンクをコピーし、URLの末尾にルックアップフィールドの一意の識別子を貼り付けるだけです。このリンクは、Salesforce内のメールテンプレートやカスタムボタンで利用でき、マージフィールドを使ってカスタマイズできます。Salesforce の自動化ツールと組み合わせれば、JotformのSalesforce事前入力機能を使って、大量のパーソナライズされたメールを効率的に配信でき、最小限の手間でフォームを配布できます。
-
特定の連絡先用の個別事前入力リンクの作成方法は?
選択したSalesforceの連絡先ごとに個別の事前入力リンクを作成するには、Jotformフォームビルダーの公開タブに移動します。左側のメニューから事前入力を選び、Salesforce 事前入力を選択します。事前入力の設定を行ったら、パーソナライズされたリンクタブを開きます。新しいリンクを作成ボタンをクリックし、特定のフォームリンクを作成したいレコードを選択します。
-
フォームの添付ファイルを Salesforceに送信するには?
改良されたSalesforce連携機能により、ファイルのアップロードやフォーム送信のPDFをSalesforceに送信できるようになりました。このオプションを使うと、選択したファイルが自動的に関連オブジェクトのレコードに添付されます。
Salesforce にファイル添付を送信するには、フォームビルダーで 設定をクリックし、統合タブに移動して「Salesforce」を検索します。認証ボタンをクリックしてSalesforceアカウントを連携してください。
アカウントを接続したら、レコードを作成または更新]を選択します。リストからオブジェクトを選び、必要なフィールドをマッピングしてください。ページ下部で 添付ファイルのトグルを開き、レコードに添付したいファイルを選択します。作業が終わったら保存ボタンをクリックします。フォームデータは、新しい送信ごとに自動でSalesforceに送信されますが、選択したファイルは新規作成されたレコードに添付ファイルとして送られ、メモ&添付セクションから確認できます。