Jotform now offers a two-way integration between its Appointment field and Microsoft Outlook Calendar, giving users a reliable way to keep their form availability and calendar perfectly in sync. With this connection, the form automatically checks your Outlook Calendar to show only open time slots.
This integration highlights several key capabilities:
- Prevents Double-Booking and Scheduling Conflicts — The integration checks your Outlook Calendar in real time and hides any time slots that are already booked. This ensures respondents only see times that are truly available on your form’s Appointment field, preventing scheduling conflicts and avoiding back-and-forth rescheduling. Time slots blocked in Outlook—whether added manually or synced from another source—are also recognized by the form and marked as unavailable automatically.
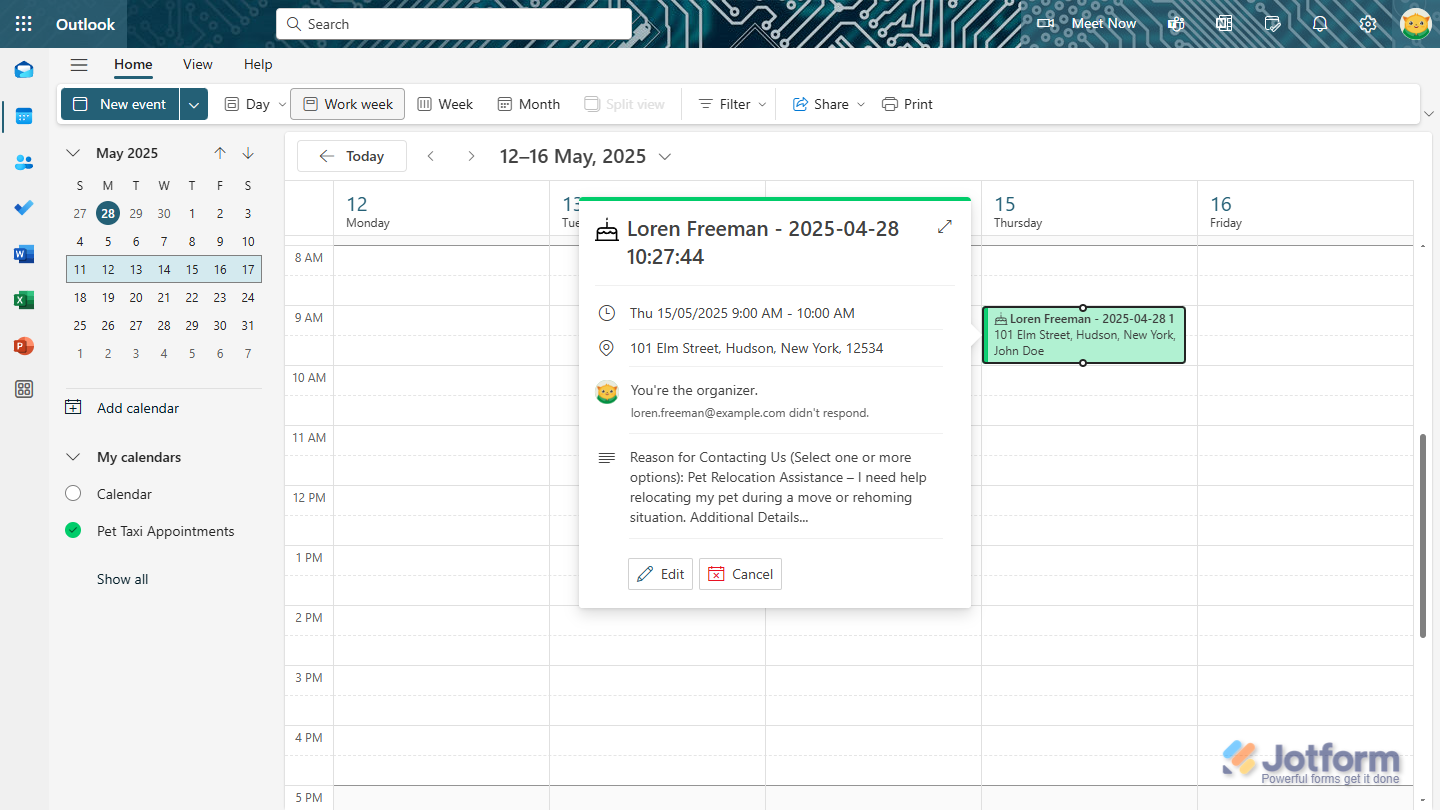
- Automates Calendar Management — Once a respondent books an appointment, an event is automatically created in your Outlook Calendar with all the relevant information—date, time, and any additional details collected on the form. You no longer have to copy the information over manually or worry about forgetting to block your calendar.
- Adds Flexibility with Edits and Cancellations — Respondents can edit or cancel their appointments after booking, and those changes will automatically update the related Outlook Calendar event. This keeps your schedule accurate without requiring you to track changes, send follow-up emails, or manually adjust calendar entries.
This is especially useful for users who rely on online forms to schedule consultations, job interviews, patient appointments, demo calls, or other time-based services. It reduces missed appointments, saves admin time, and ensures both sides stay informed without the need for manual updates.
Whether you’re setting up a new form or updating an existing one, integrating it with Outlook Calendar is easy, and you can do it through the Appointment field in a few easy steps. Here’s how:
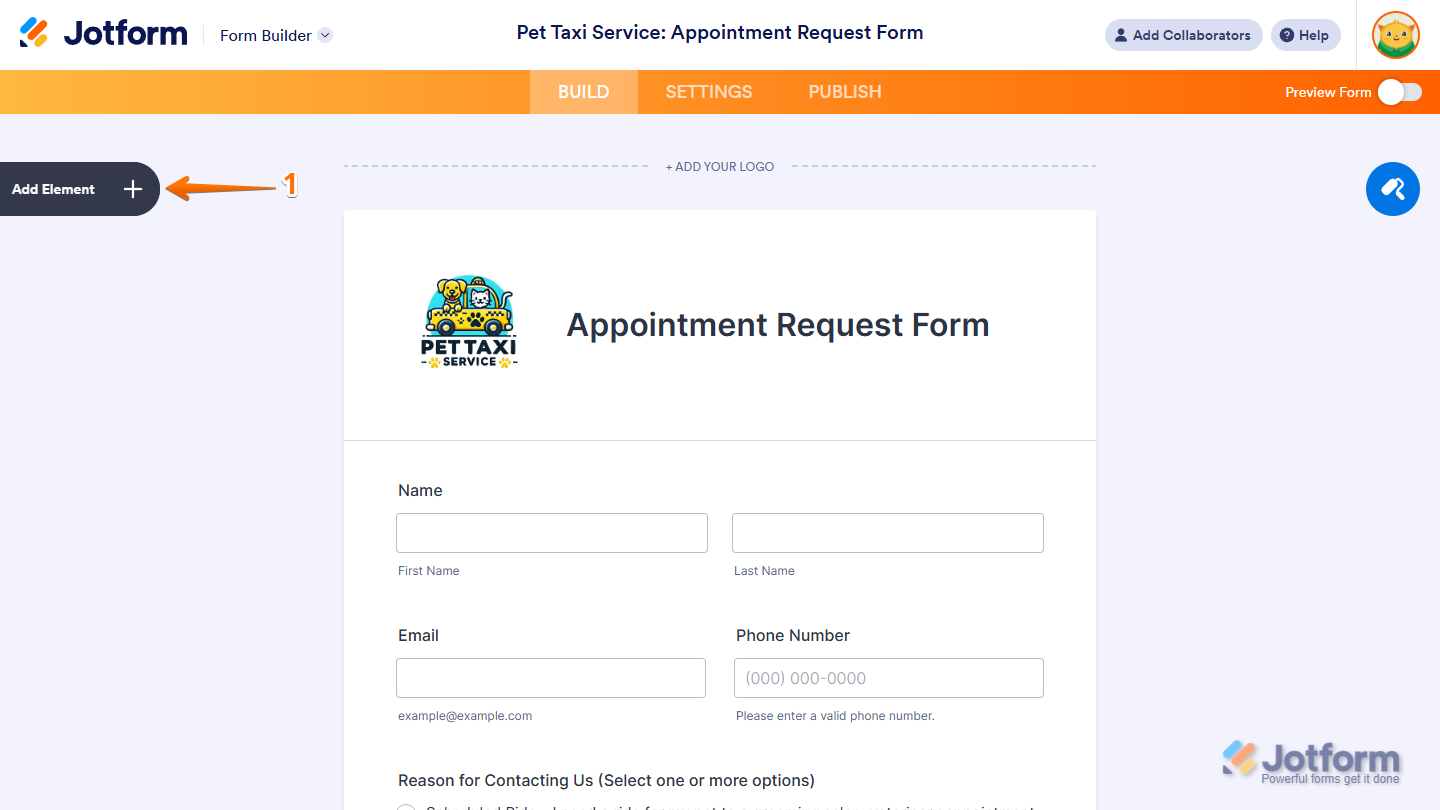
- In Form Builder, click on the Add Element menu on the left side of the page.
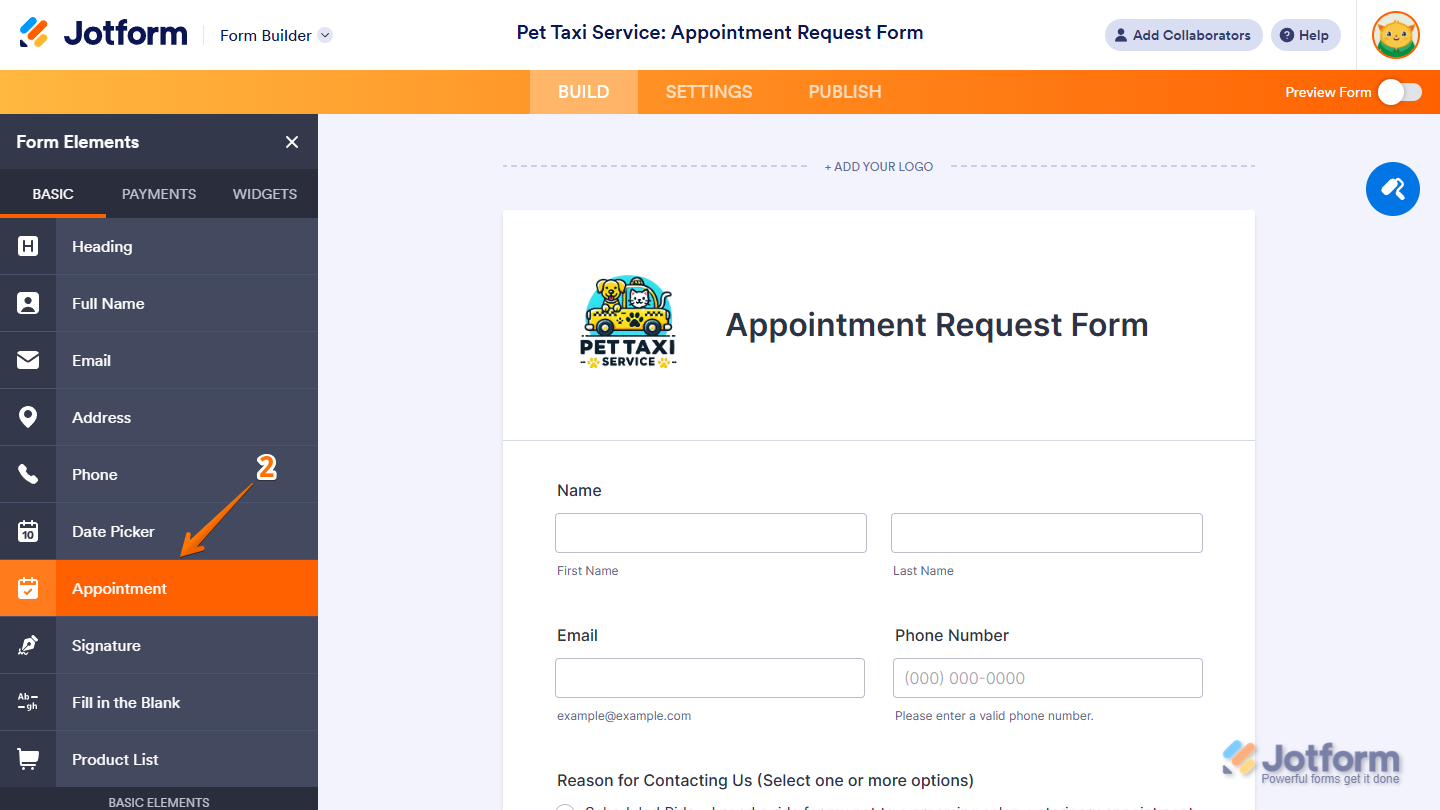
- Now, in the Form Elements menu, under the Basic tab, click on Appointment. Or, just drag and then drop it to where you want it to be on your form.
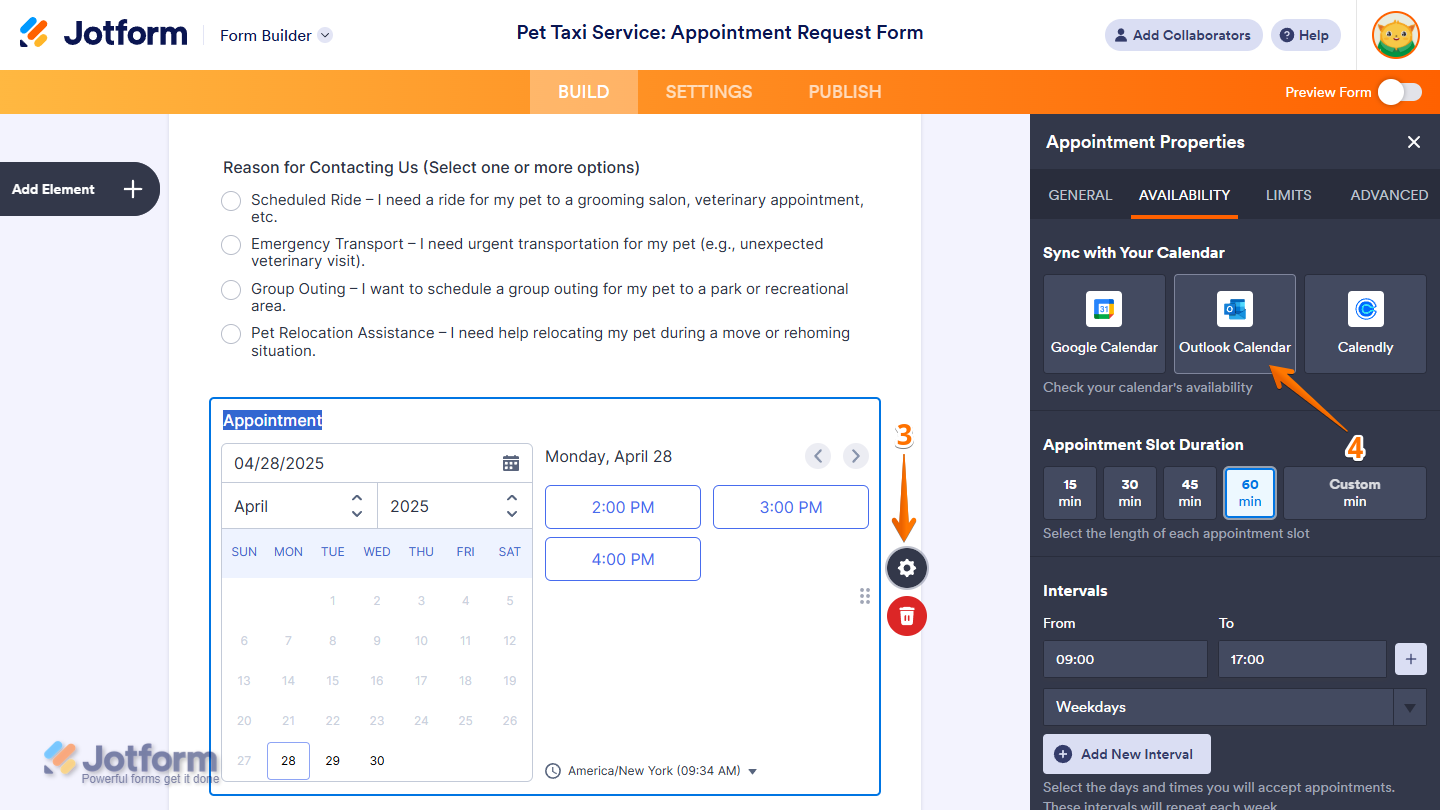
- Next, on the right side of the Appointment field, click on the Gear icon.
- In the Appointment Properties window, under the Availability tab, click on Outlook Calendar in the Sync with Your Calendar section.
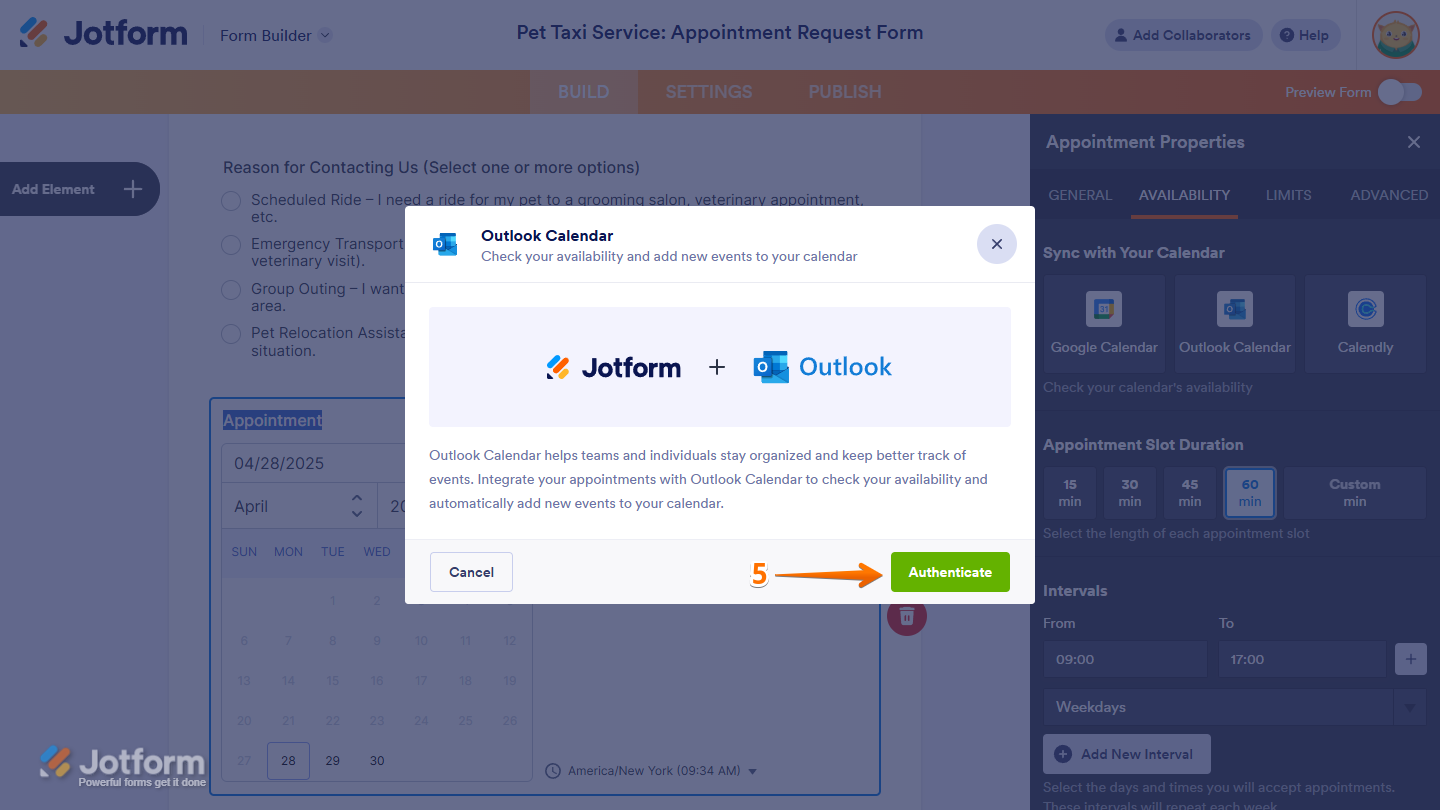
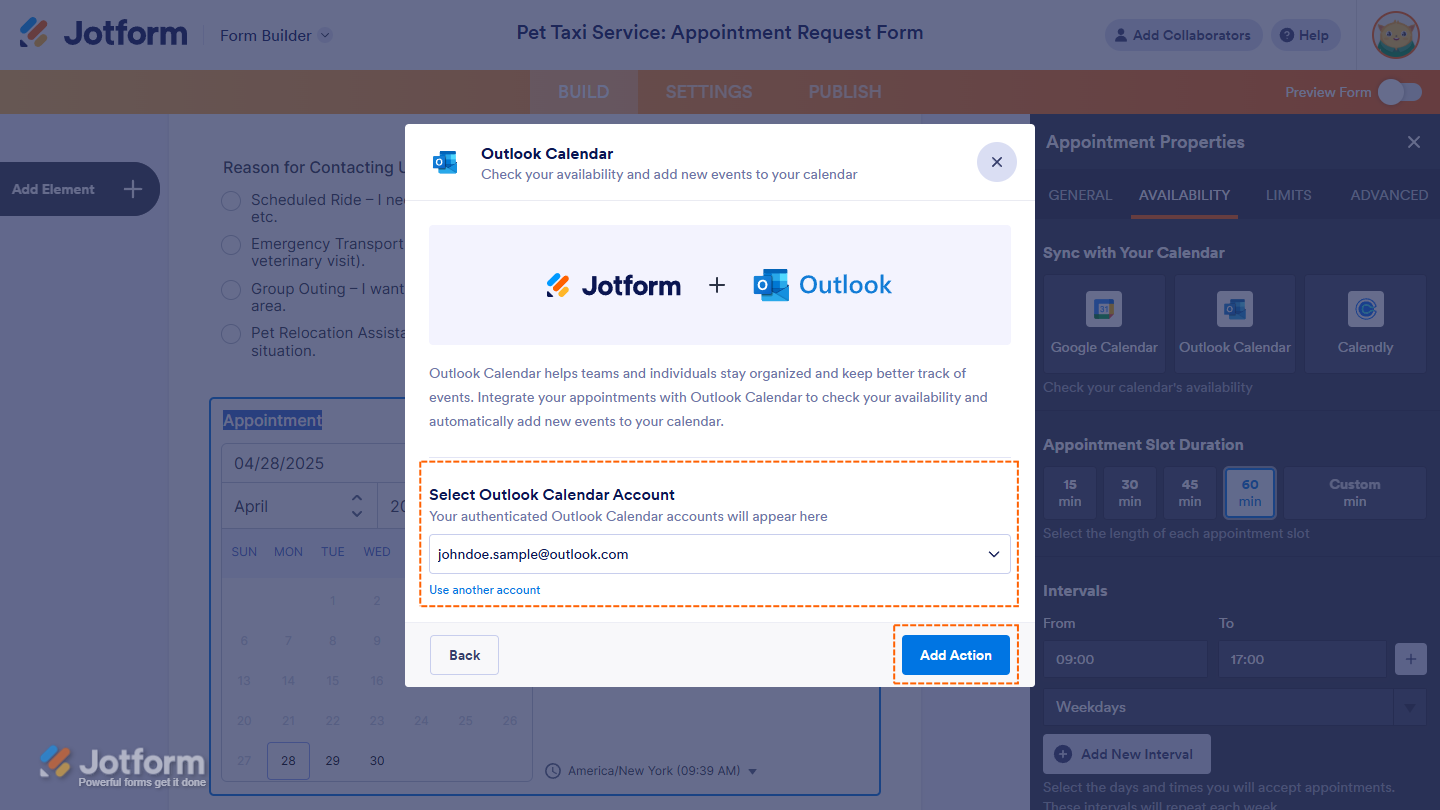
- Now, in the Outlook Calendar modal window, click on Authenticate at the bottom. And then, in the pop-up window, log in and authorize access for the integration to your Microsoft account.
If there is a saved Microsoft account you’ve integrated any of your forms with before, you can choose its email address from the dropdown and click on the Add Action button on the right to use it. Or, you can also click on Use Another Account below the dropdown to log in and authorize access for the integration to a different Microsoft account.
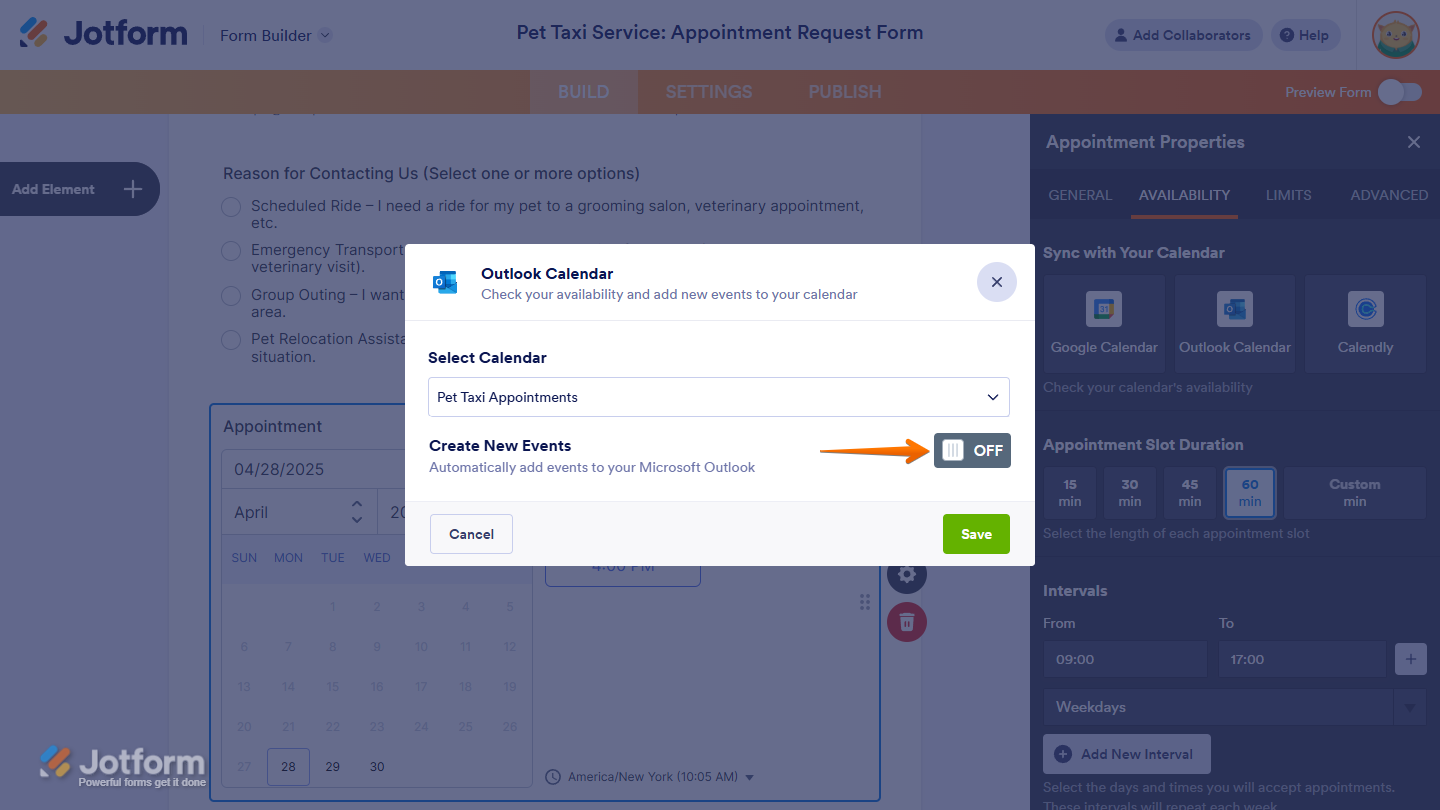
- Next, click on the Select Calendar Dropdown menu to select a calendar and configure the following by entering custom event details and/or matching them to supported form fields:
- Event Title — Set the title that will appear for the event in Outlook Calendar. You can enter a custom title or insert dynamic values from your form by selecting supported form fields such as Full Name, Email, Address, Phone, Date Picker, etc., from the dropdown menu. These fields reflect user selections or answers. You can also insert global fields like Form ID, Form Title, Submission ID, and Submission Date.
- Attendees — Select one or more email fields from your form to send event invitations. Only email fields can be selected. The Event Invitation email will be sent to the email address entered in the selected Email field(s).
- Event Description — Add event details to appear in the event’s description box in Outlook Calendar. Select supported form fields, such as Long Text, Dropdown, Single Choice, Multiple Choice, etc., from the dropdown menu to automatically populate the description with user selections or answers submitted through the form. You can select multiple fields.
- Meeting Location — Select from one of the following options to set the meeting location:
- Microsoft Teams Meeting — Sets Microsoft Teams as the meeting location to indicate the meeting will take place over Microsoft Teams. This is only available when the connected Outlook Calendar is linked to a Microsoft account with Microsoft Teams activated.
- Skype — Sets Skype as the meeting location if Microsoft Teams is not active on the Microsoft account linked to the connected Outlook Calendar.
- Select From Form Fields — When you choose this option, another dropdown will appear where you can select a supported form field, such as Short Text, Long Text, Phone, Address, and Address subfields (street address, city, state, postal code). The selected field’s value will then populate the meeting location for a more dynamic setup.
- Custom — When you select this option, an input box will appear where you can manually enter a preferred location such as an address, business name, or meeting place.
- Then, once everything is set, click on Save.

That’s it! You’ve successfully integrated your form with Microsoft Outlook Calendar.
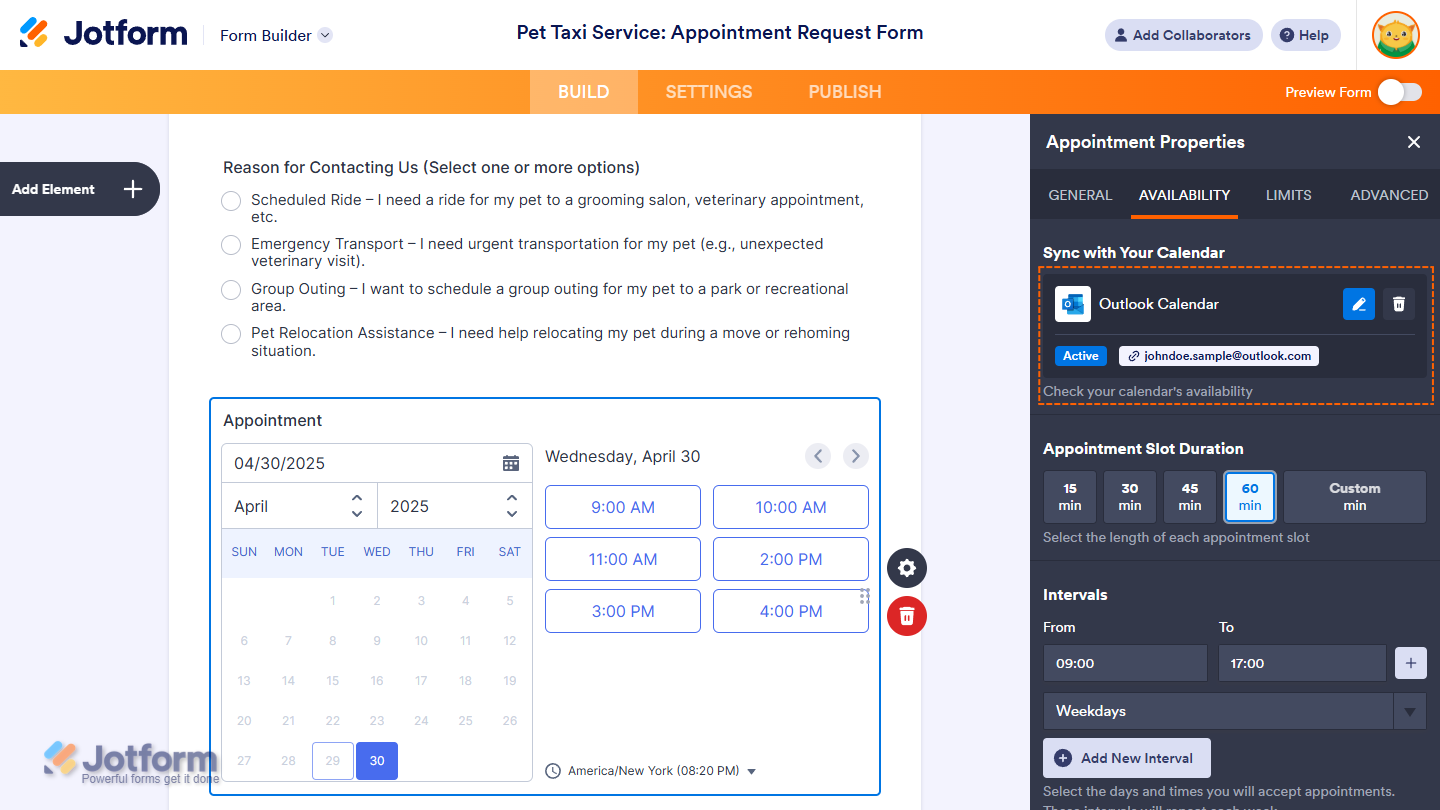
Now, every time a respondent books an appointment through your form, the details will automatically sync with your Outlook Calendar, ensuring everything stays aligned without manual updates.
You can toggle Create New Events to the Off position if you want to temporarily stop sending events to your calendar. This will pause event creation without resetting or removing the integration, allowing you to enable it again later when needed.
Notes
- If you don’t select a form field for the Event Title or leave it blank, it will default to the Form Title.
- The selected form fields for the Event Description will include both the field labels and their corresponding values.
- Attendees will receive an Event Invitation email at the email address they provided on the form, sent from an Outlook email address. If the person who set up the integration used a Microsoft account linked to an Outlook email address, the invitation will come from that address.
- If the Event Invitation email is sent to multiple email addresses, all recipients will be able to see the other email addresses it was sent to.
- If you have multiple appointment fields in a single form, you can integrate each one with a different Microsoft account.

Send Comment:
1 Comments:
52 days ago
Can you allow the appointments to be custom length times for each? Versus having the appointments at a set 30 min, 1 hour, etc