Overview
As an Admin, you can add and create users in your Server. Each added user takes up one of your available user “seats” or “licenses” and will have different permissions based on their user type.
Types of Users
When you create a user (which we’ll cover below), there are two different types of user permissions:
- Server Admin: This type of user has no restrictions—they can access the Admin Console, create and manage forms, tables, and other resources.
- User: This type of user can create and manage forms owned by them, as well as any assets that are owned by a Team they’re a member of.
Inviting Users
You can either use a link or an email to invite a new user to the platform. We’ll walk through both options, starting with an email.
Invite by Email
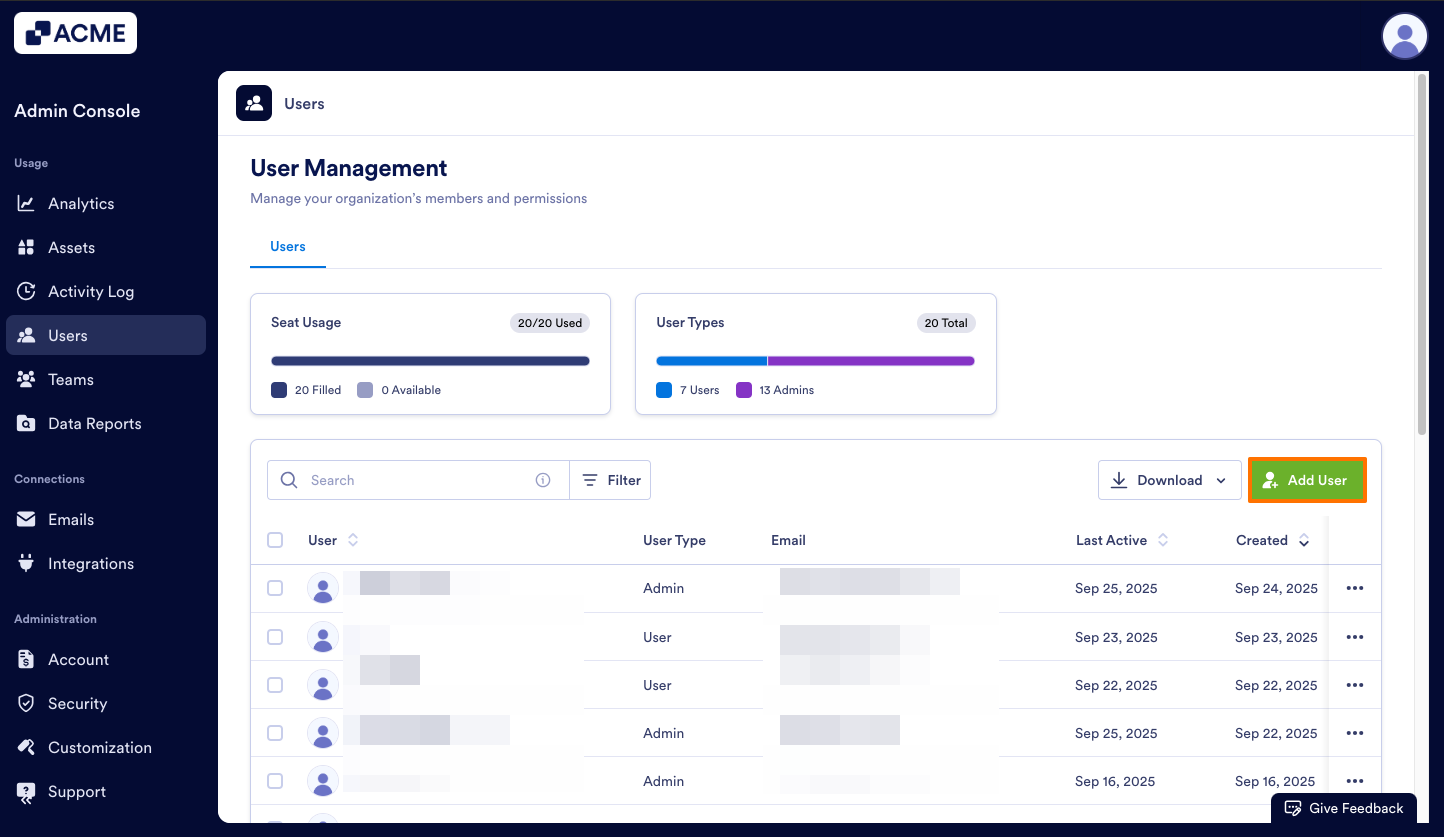
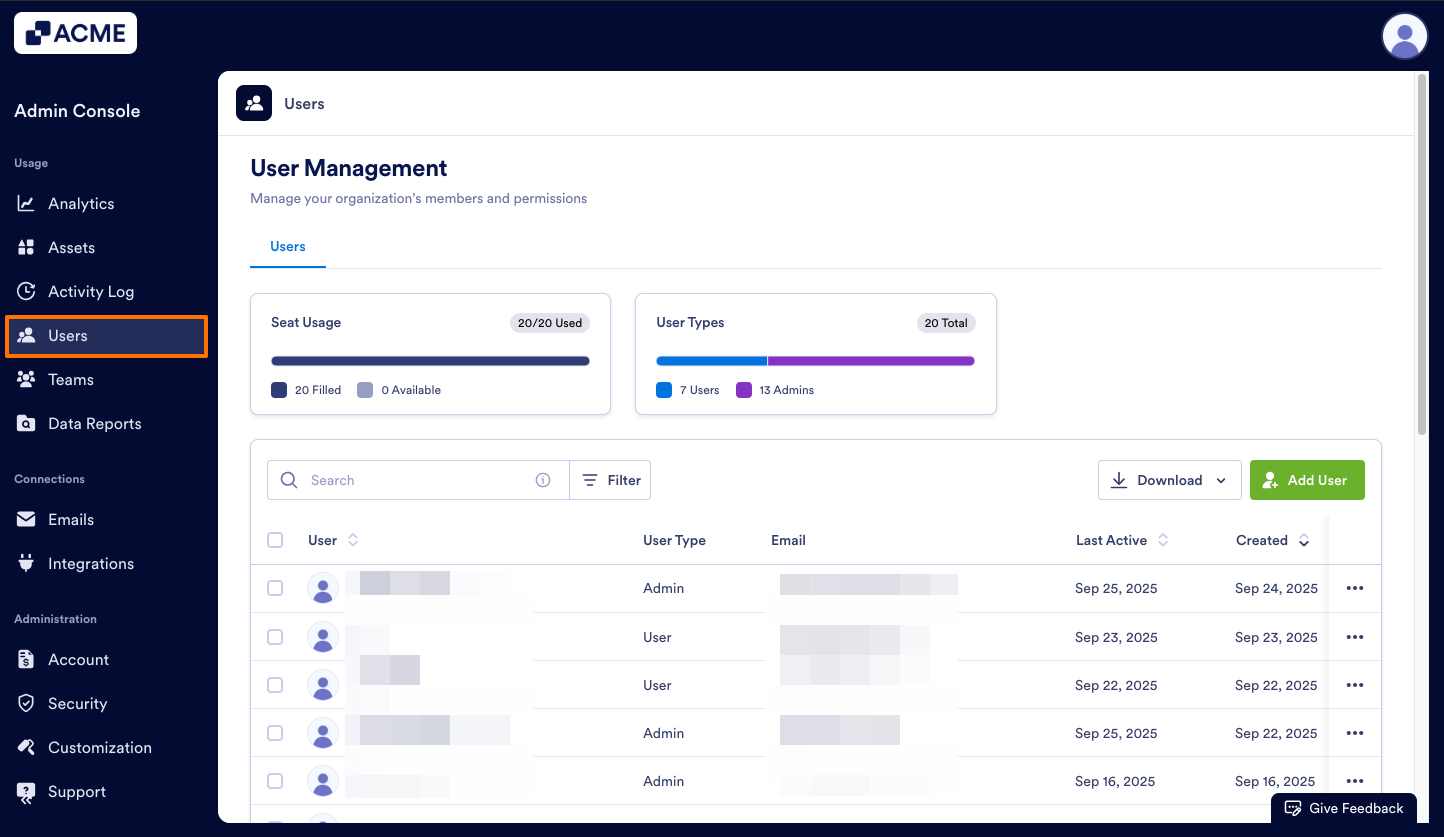
- In the Admin Console, click on Users on the left-hand side of the page.

- Under the Users tab, click on Add User.
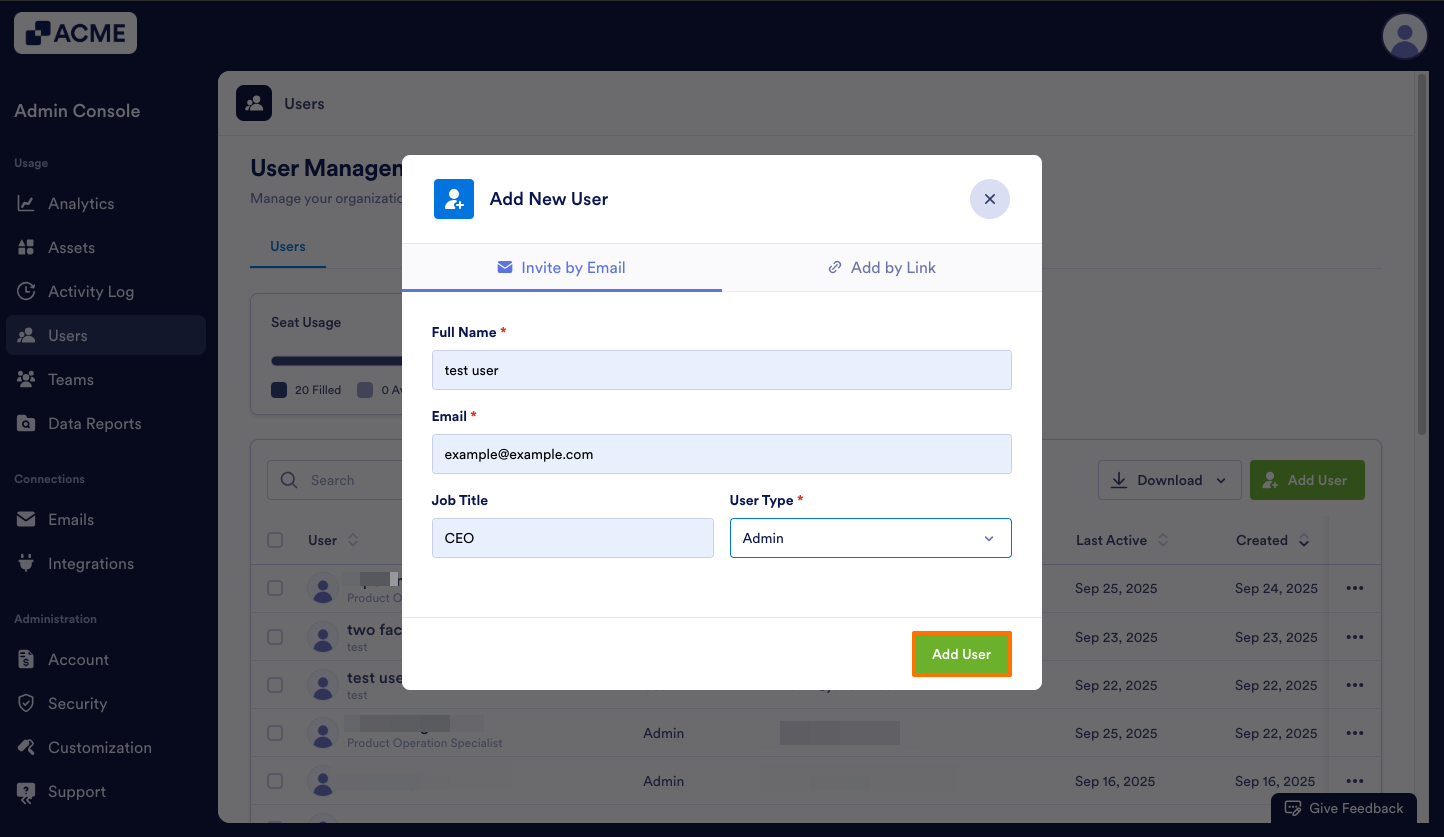
- In the pop-up window, under Invite by Email, enter the user’s Full Name, Email, and Job Title (optional).
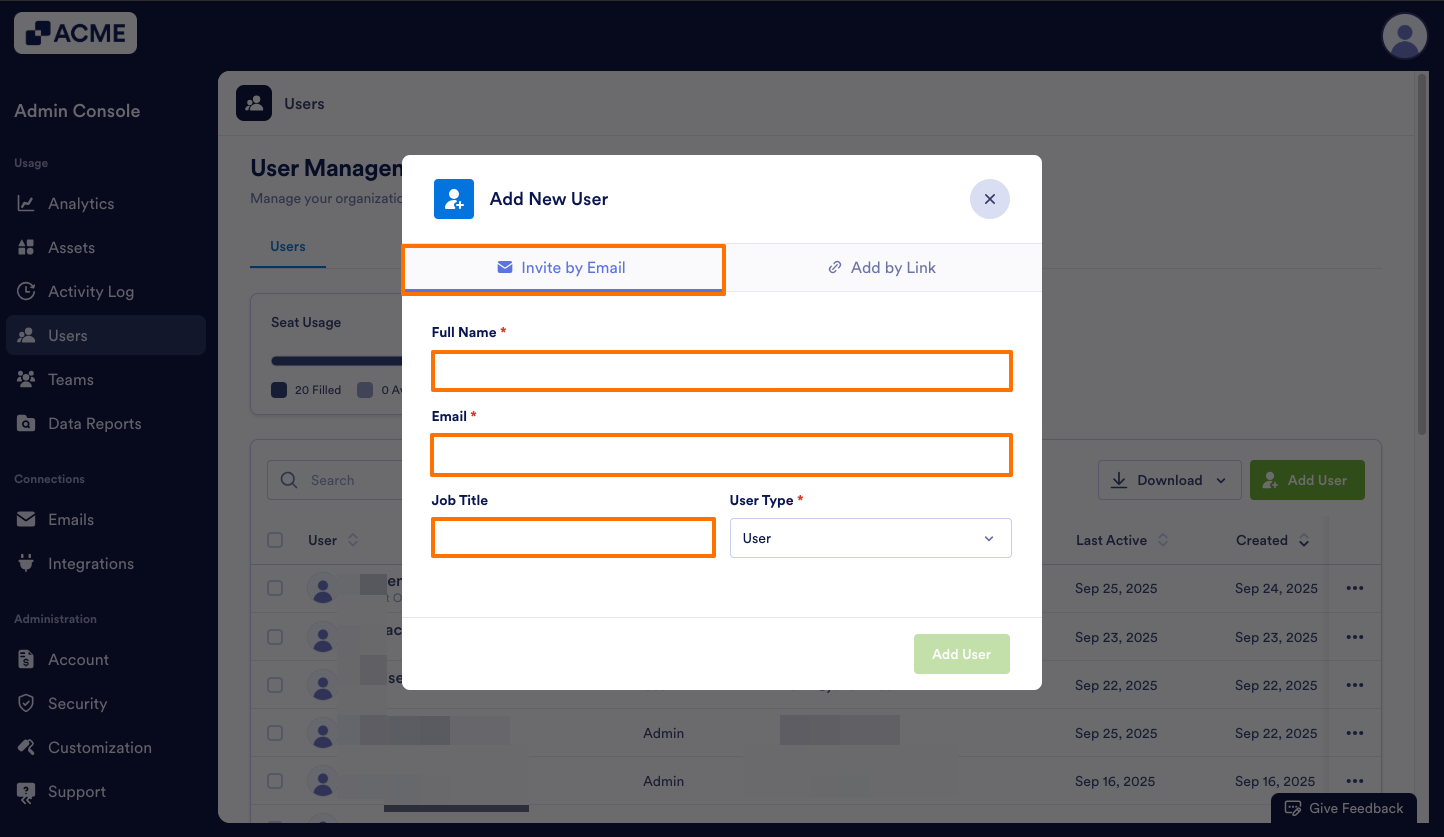
- Then, select the User Type in the drop-down menu and click Add User.
The invited user will get an email inviting them to sign up for an account on your Server.
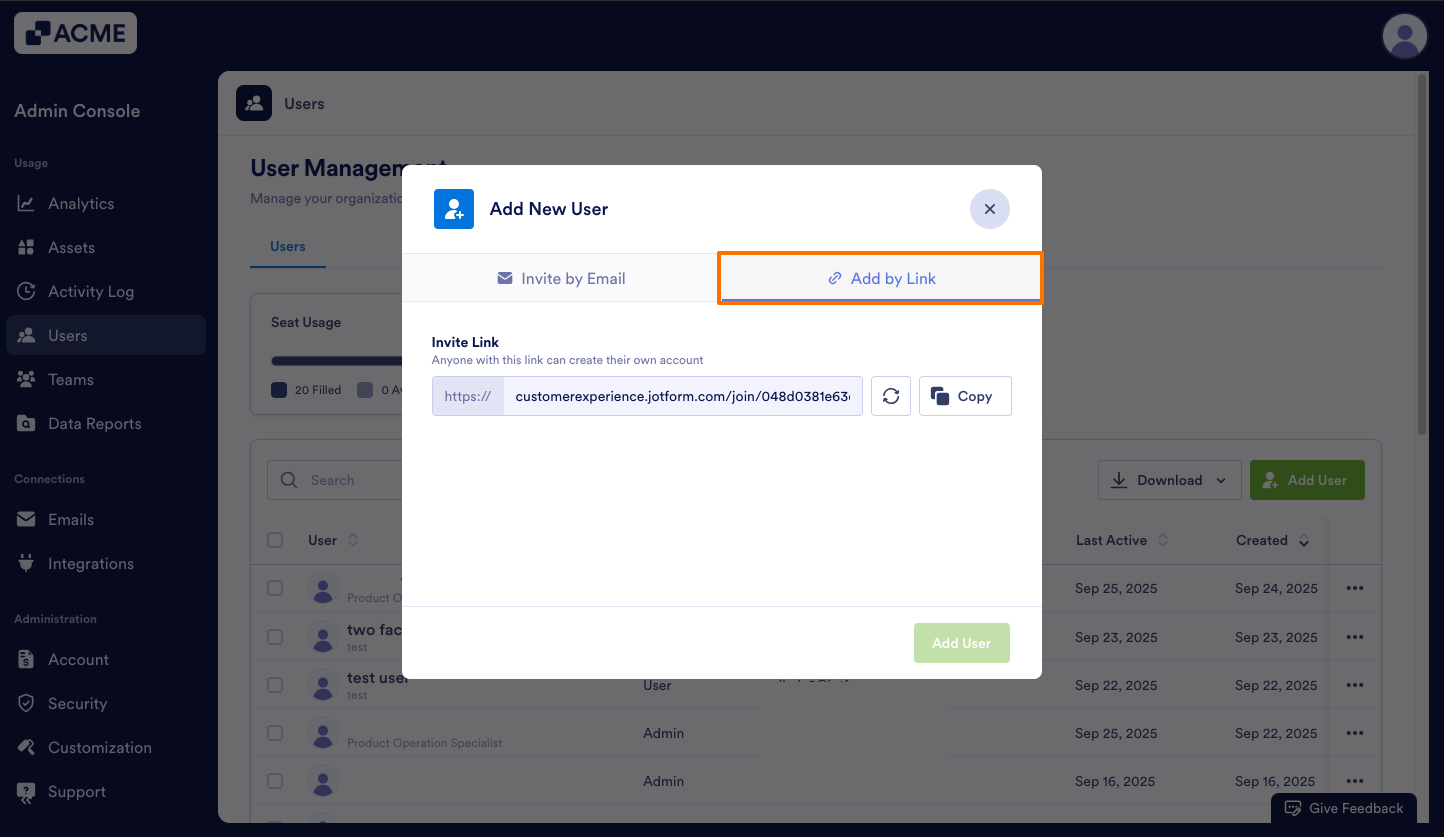
Invite by Link
- In the Admin Console, click on Users on the left-hand side of the page.
- Under the Users tab, click on Add User.

- Click on Add by Link.
- Finally, click Copy and share this link with your user.
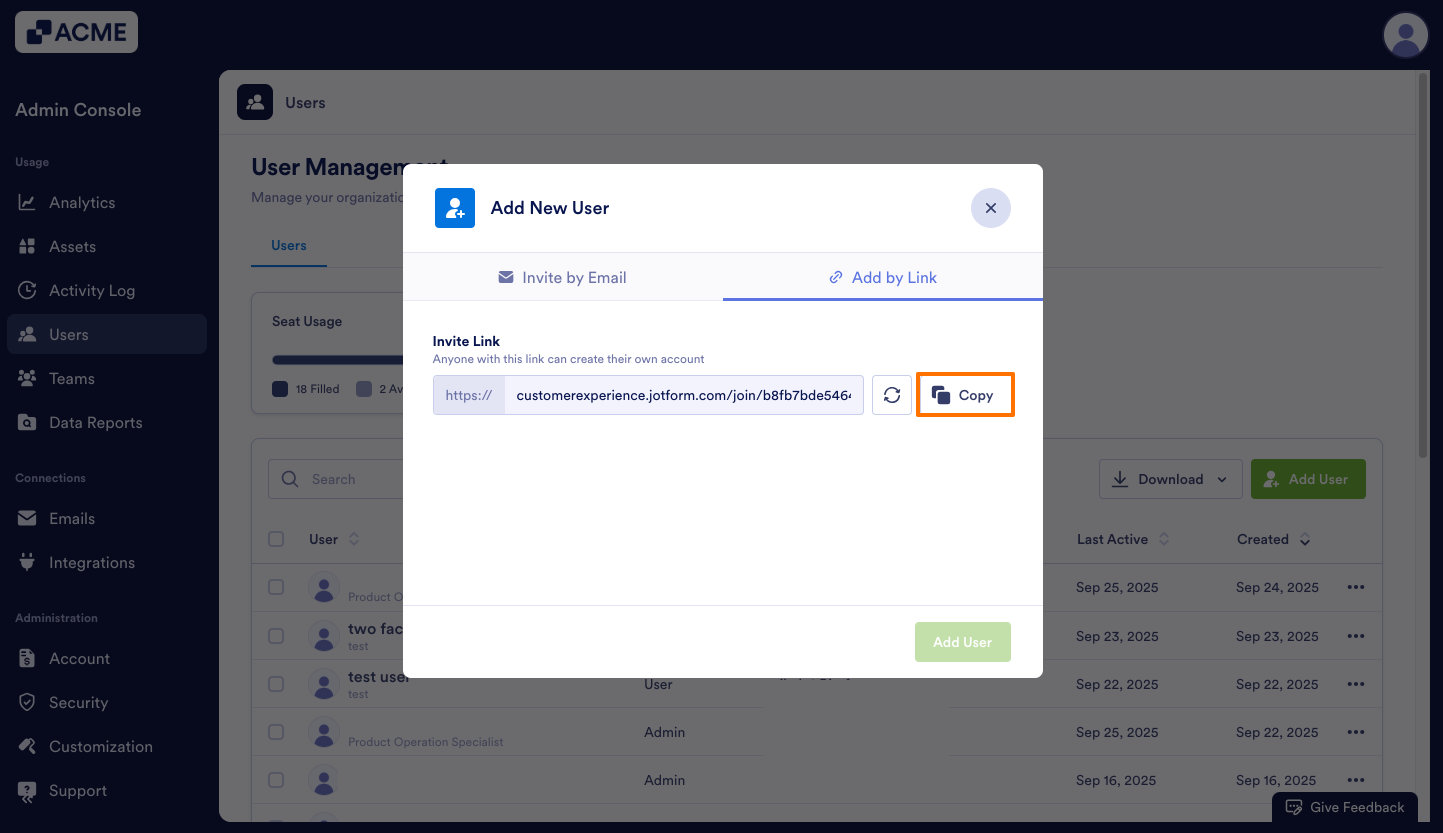
When they open the link, they’ll be prompted to sign up for a User account on your server.
If you need to update their profile information or user permissions, you can also do this in the Admin Console. We’ll go over that in our guide, How to Update User Information in the Admin Console.

Send Comment: