With Microsoft Entra ID SSO Prefill, you must configure the User Attributes & Claims settings to populate user data into your Jotform Enterprise forms automatically. This step ensures a seamless, secure, and efficient form-filling experience by reducing manual entry, improving data accuracy, and streamlining workflows for your organization.
Configuring SAML Attributes With Microsoft Entra ID
Ensure that you have already created the SAML Application with Jotform Enterprise. If you don’t have it yet, create one first. If you’ve already created it, proceed with the steps below.
- Log in to your Microsoft Entra ID admin center.
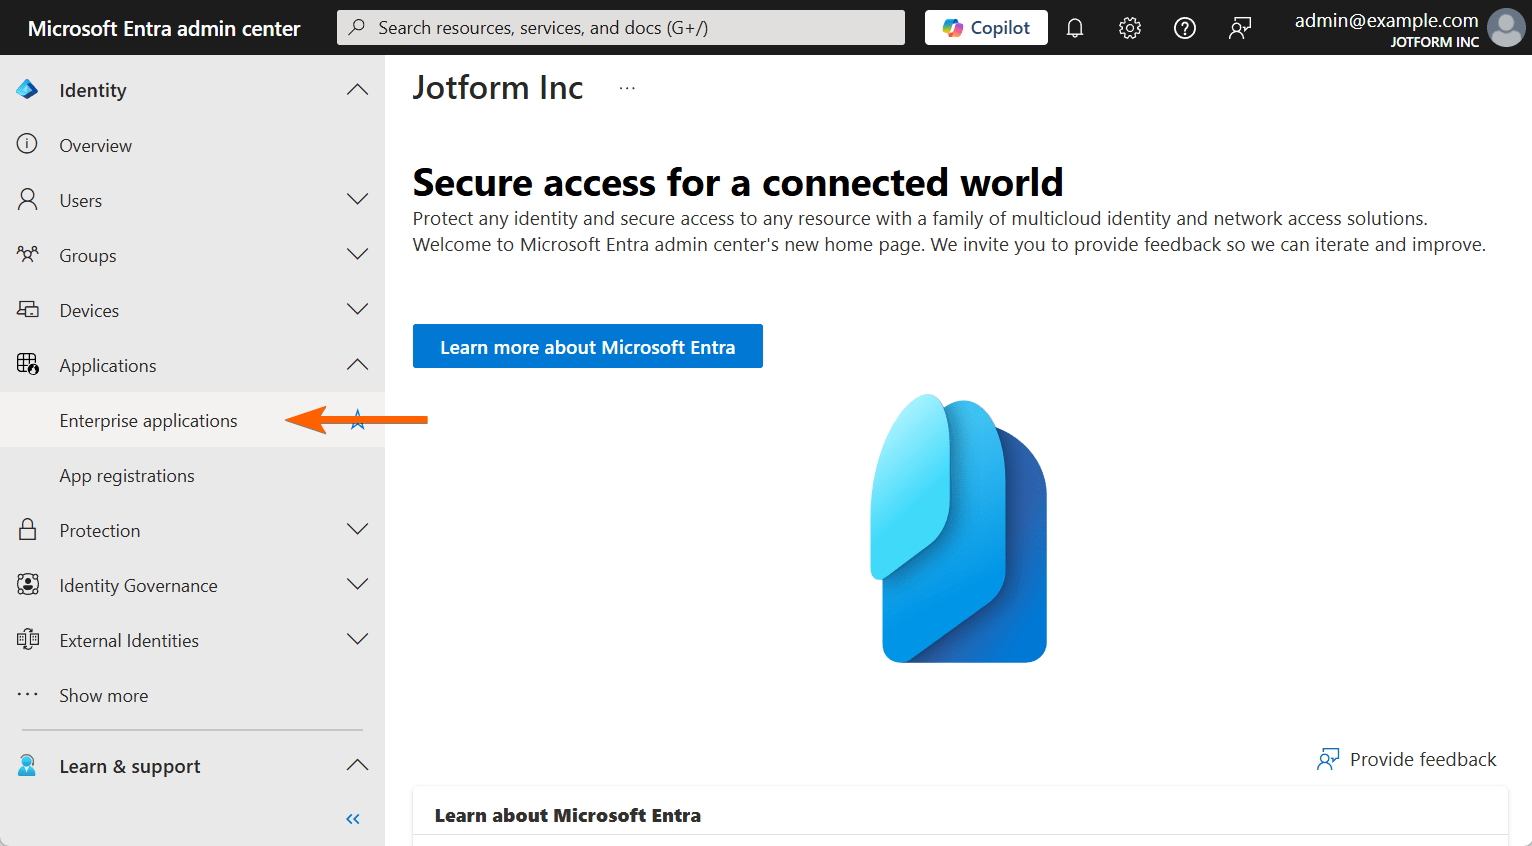
- On the left, toggle Applications and click on the Enterprise Applications option.
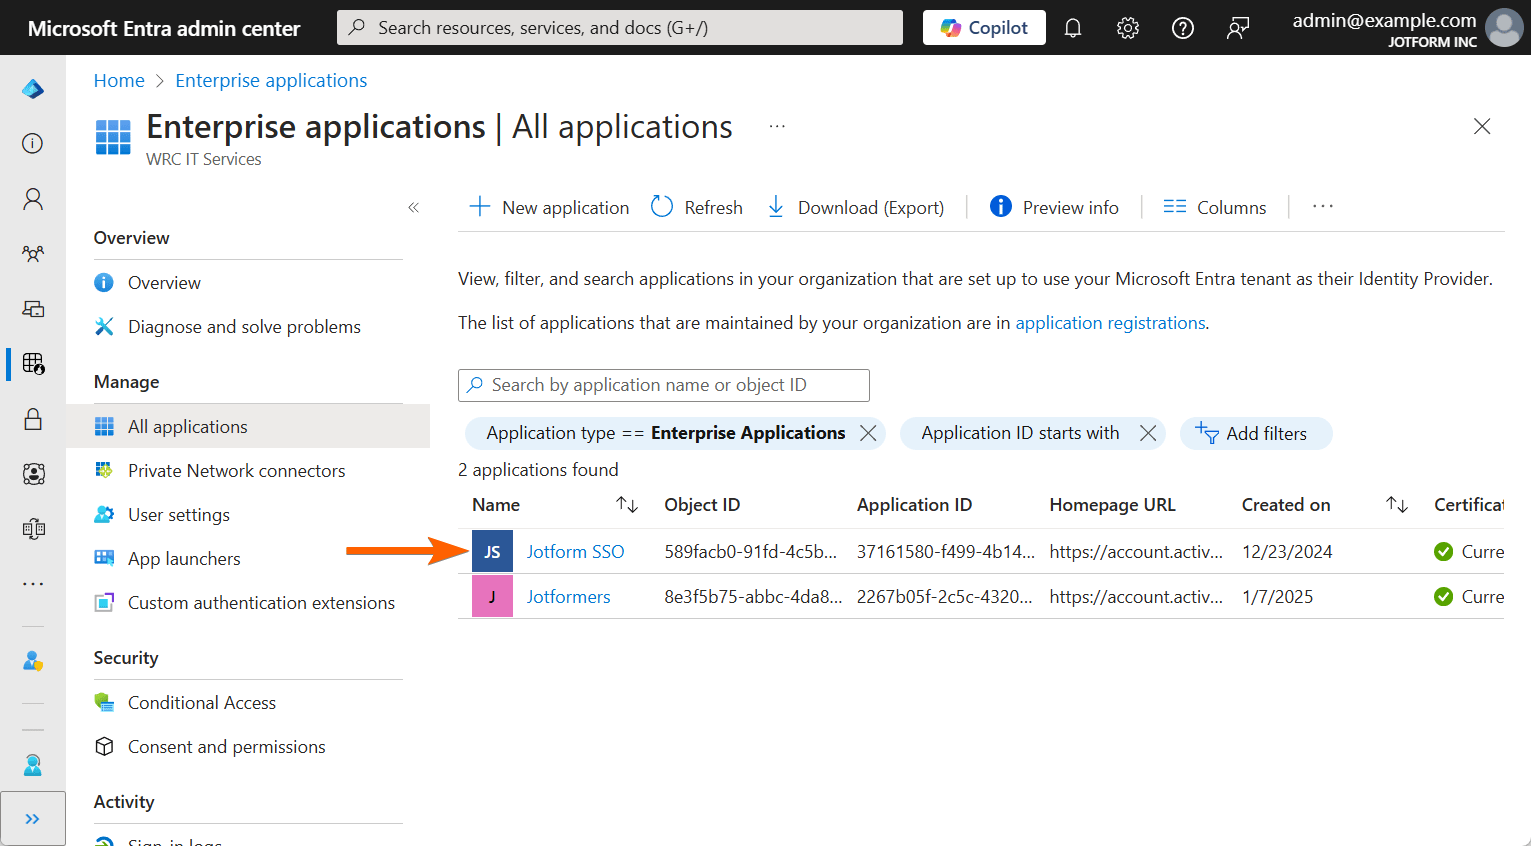
- Select the SAML Application you’ve created for Jotform Enterprise from the list.
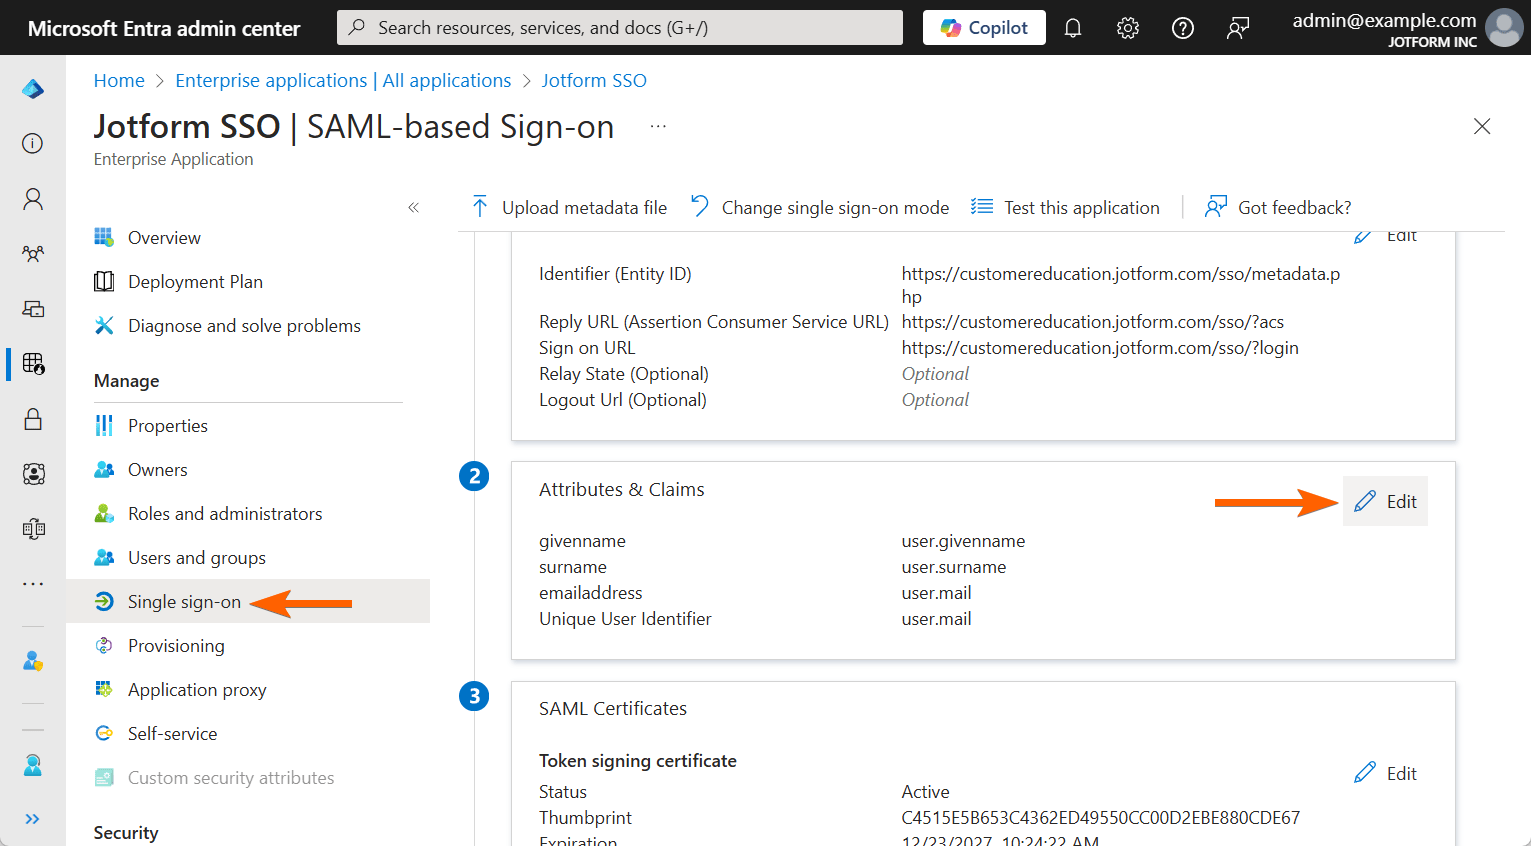
- Go to the Single Sign-On tab and click the Edit button from the Attributes & Claims section.
- Click the Add a New Claim button to add the required Attribute & Claims, or click on the existing claims from the Additional Claims section and ensure you map the claims as follows:

| Claim Name | Value |
|---|---|
| Email Address | user.email |
| First Name | user.givenname |
| Last Name | user.surname |
| Phone Number | user.telephonenumber |
| Title | user.jobtitle |
| Department | user.department |
Note
The above Attributes & Claims are just basic parts of Microsoft Entra ID’s Source Attributes. You can add and map more by clicking the Add a New Claim button as instructed.
- Save your Attributes & Claims configuration and proceed with the SAML Attribute Mapping in your Jotform Enterprise Server.
Setting up the SAML Attribute Mapping in Jotform Enterprise
After configuring the Attributes & Claims, the attributes will not appear in your SSO Prefill settings without first adding them through the SAML Attribute Mapping in your Jotform Enterprise Server. Here’s how you can do that:
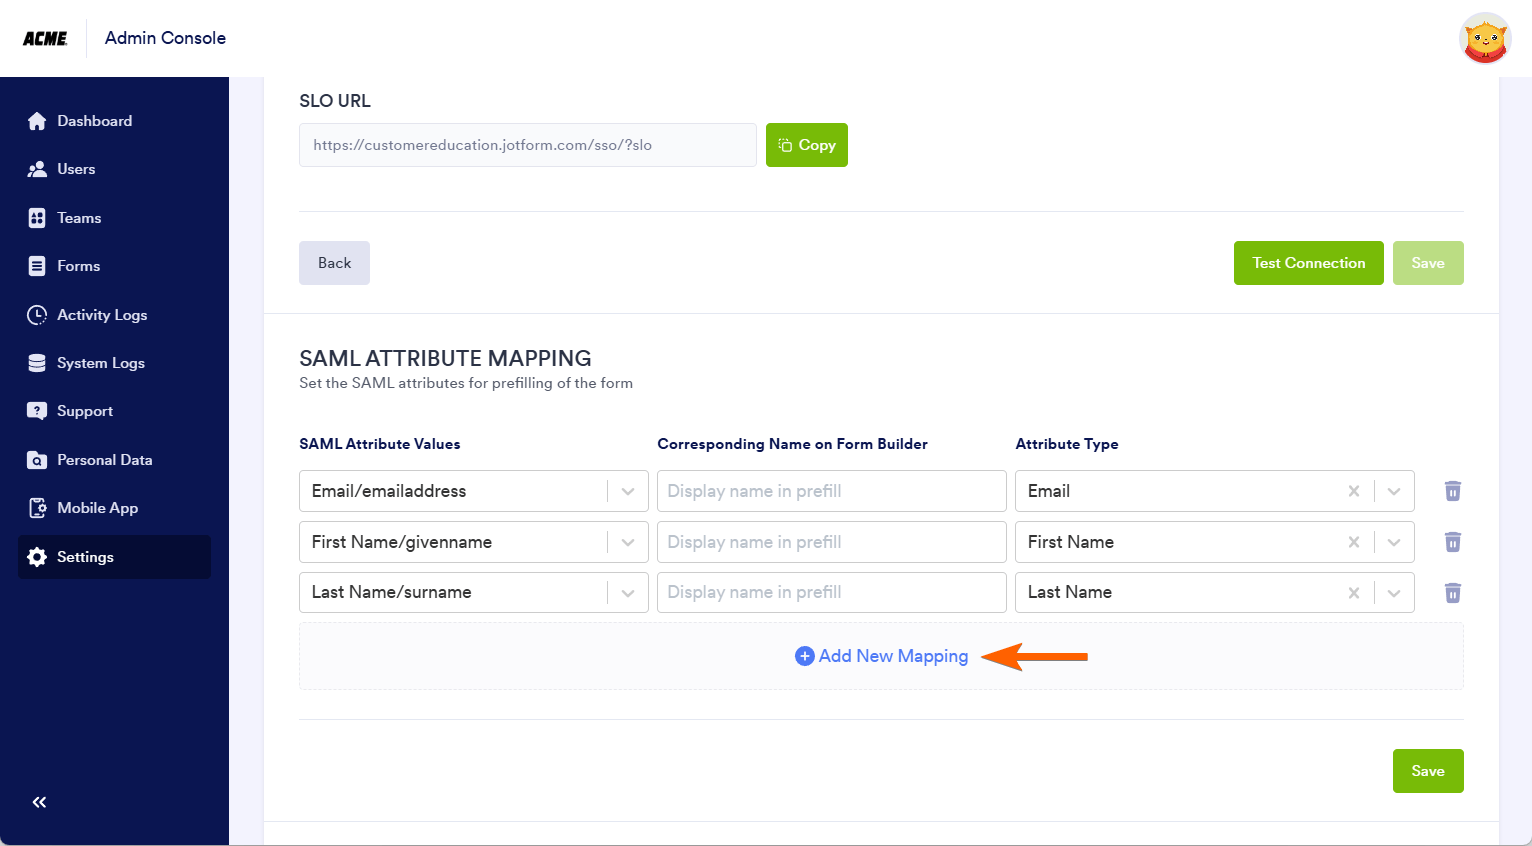
- Go to the Settings page of your Jotform Enterprise Admin Console.
- Scroll to the SAML Attribute Mapping of the SSO Settings and click the Add New Mapping button.
Note
If the section says your SAML Attribute could not be detected, logging out and logging in again would fix it.
- Map the attributes you’ve added earlier through the Attributes & Claims in Microsoft Entra ID.
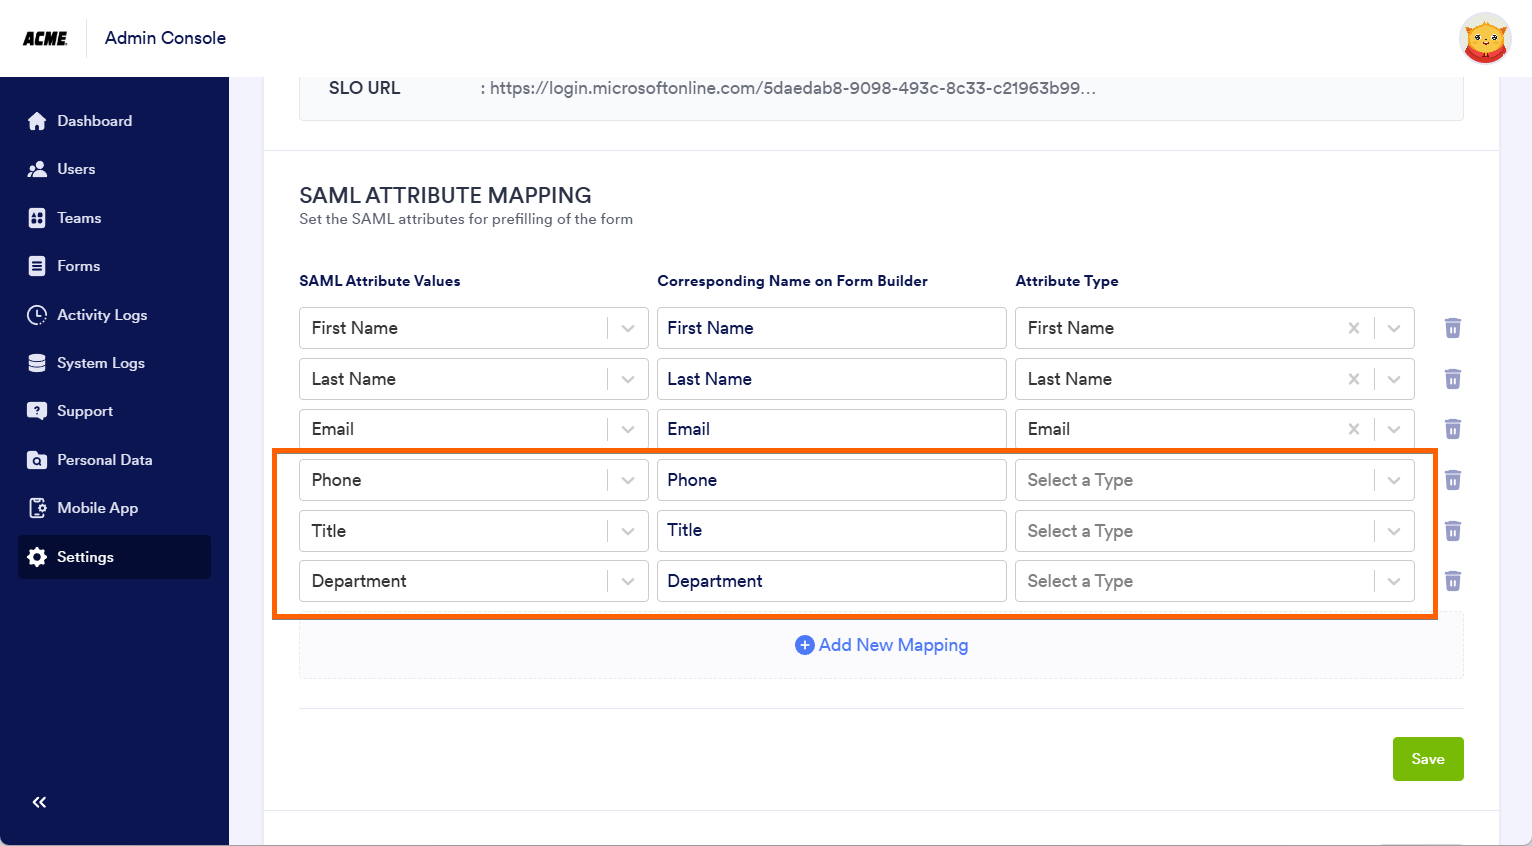
Note
The available Attribute Types are specifically designed for the first name, last name, and email in Jotform Enterprise. However, you can add more mapping without selecting from the Attribute Type as long as you input both SAML Attribute Values and Corresponding Name on Form Builder fields.
- Click the Save button to save your SAML Attribute Mapping.
- Now, go back to your SSO Prefill settings. You should now be able to add these new fields.


Send Comment: