The Form element in Jotform Workflows allows you to add follow-up forms to your flow. You can assign follow-up forms to your respondents or defined recipients and monitor their progress in Jotform Inbox or Tables. The invitation to the form is sent via email which you can customize to your liking.
To assign a follow-up form
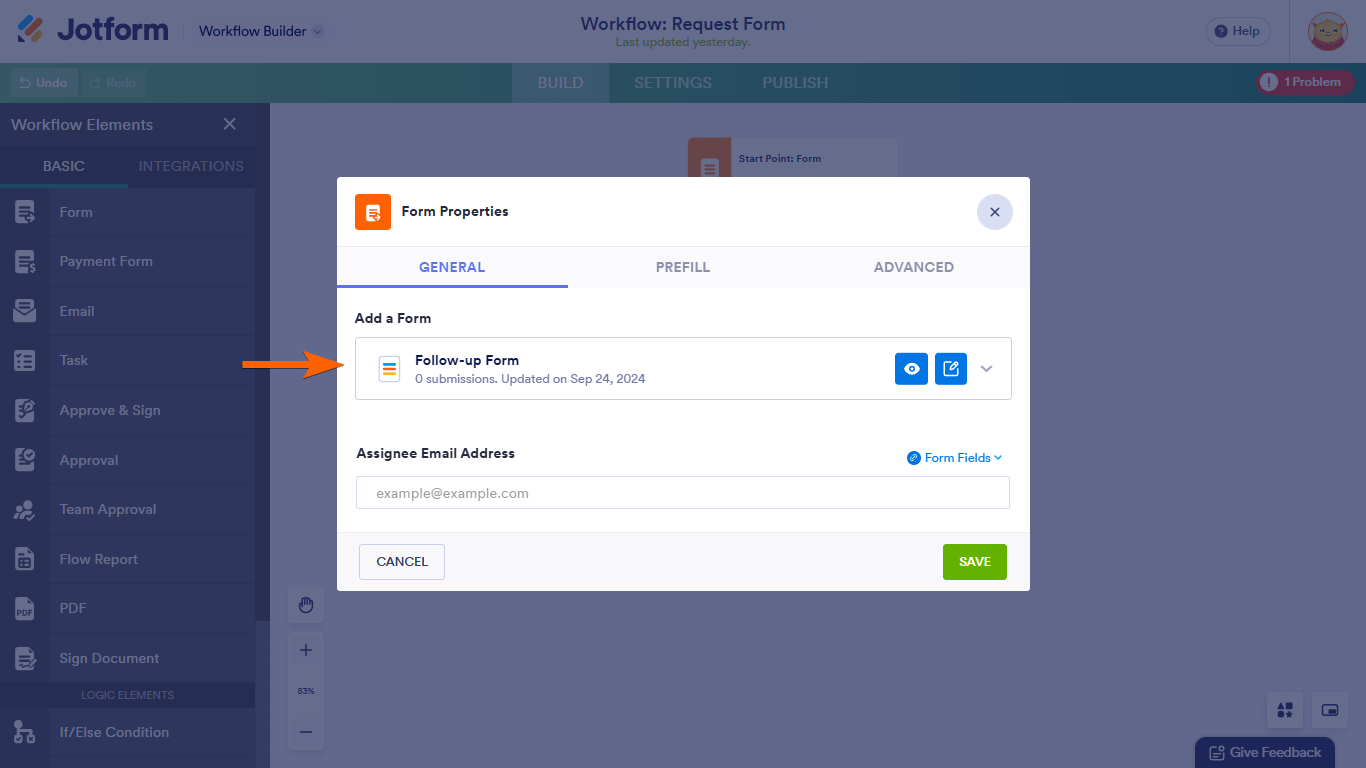
- In the Workflow Builder, add a Form element to your flow.
- Select the gear icon to open properties.
- Choose a follow-up form to send under Add a Form.
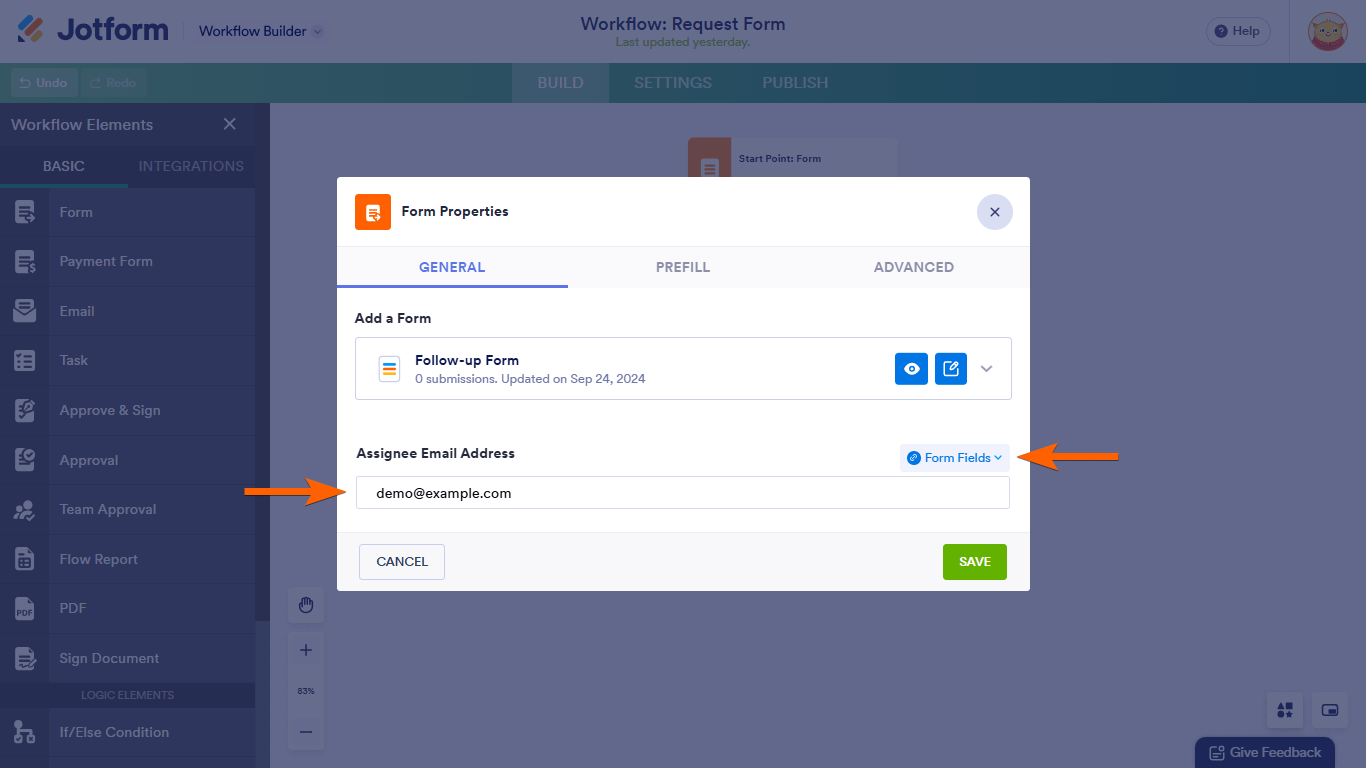
- Under Assignee Email Address, enter the recipient email address or select Form Fields to assign the email address dynamically.
- Save your settings and complete the rest of your flow.
Enabling Prefill
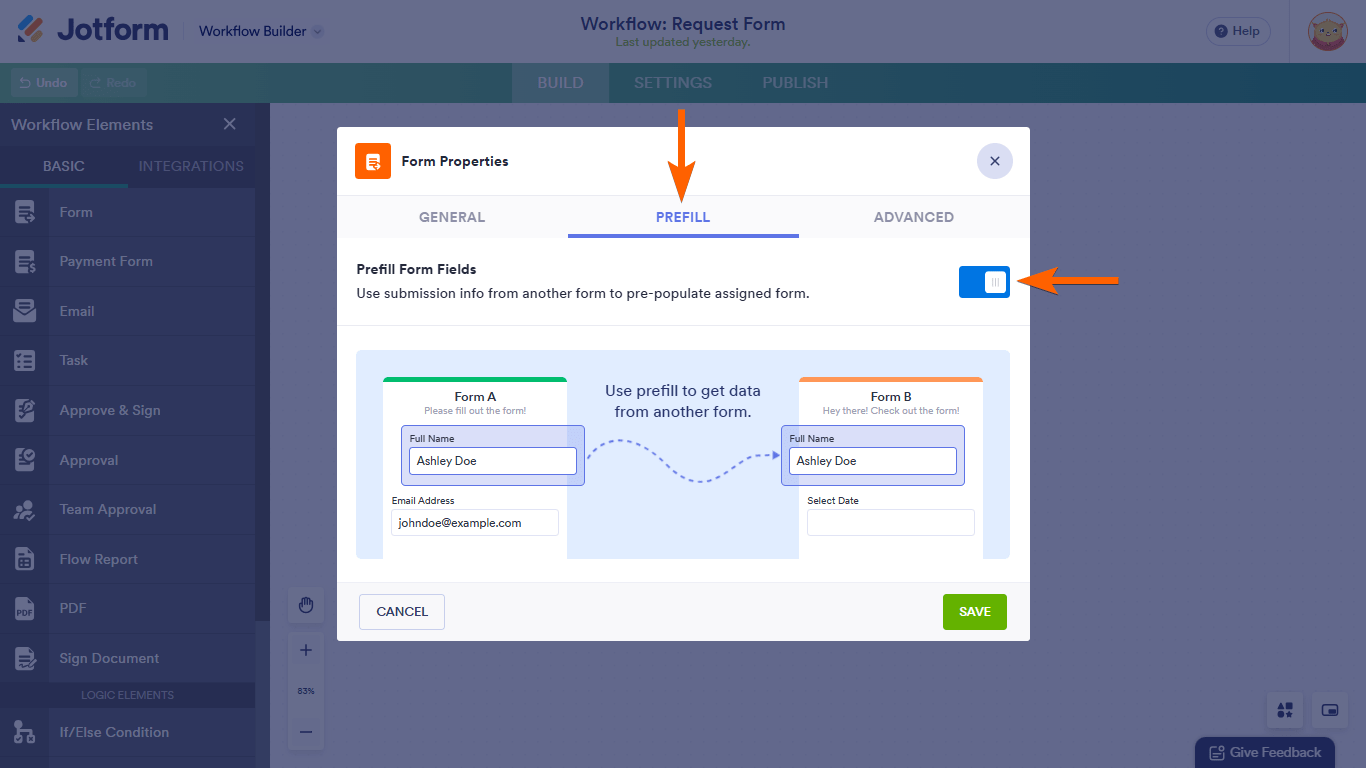
You can pass your respondents’ answers from the main form to the follow-up form with Prefill. To set up Prefill
- Open Form Properties, then go to Prefill.
- Turn on Prefill From Fields.
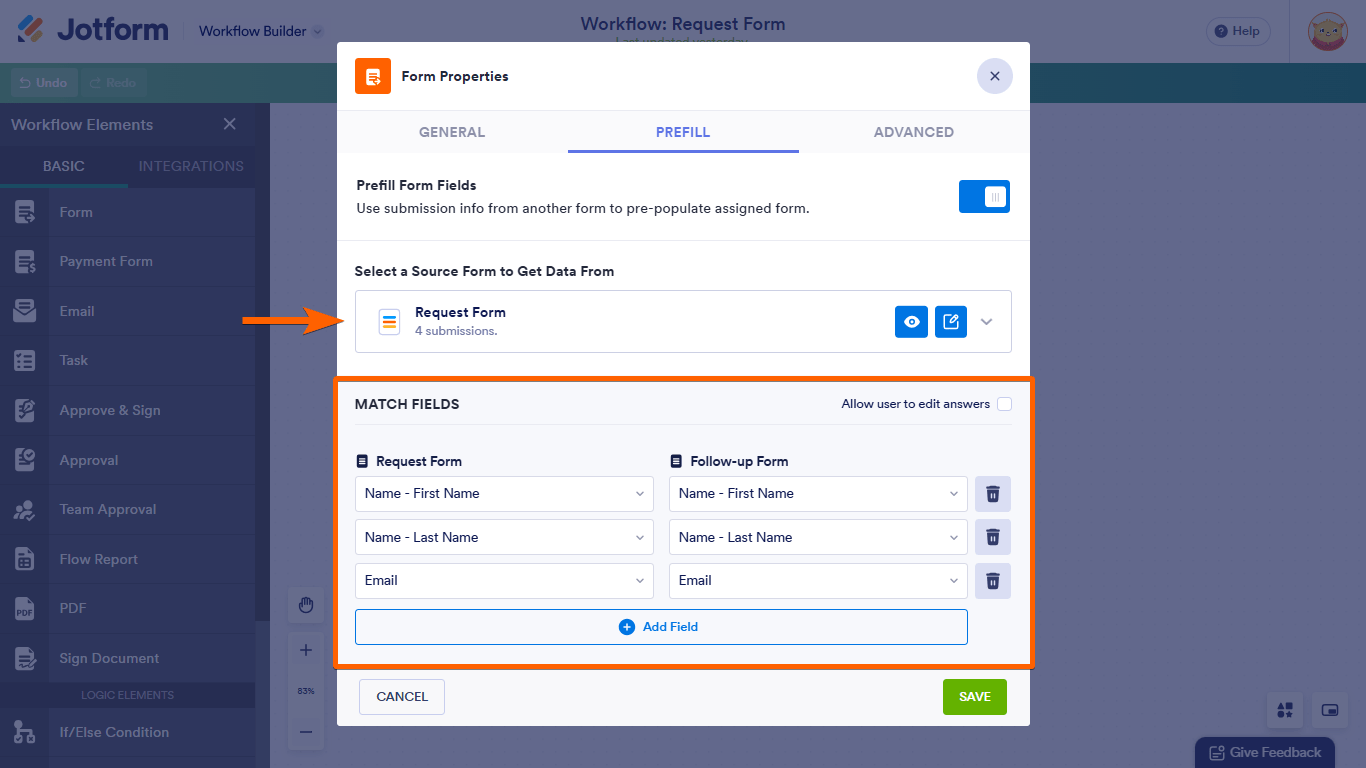
- Choose a source form.
- Map the form fields under Match Fields, then save your settings.
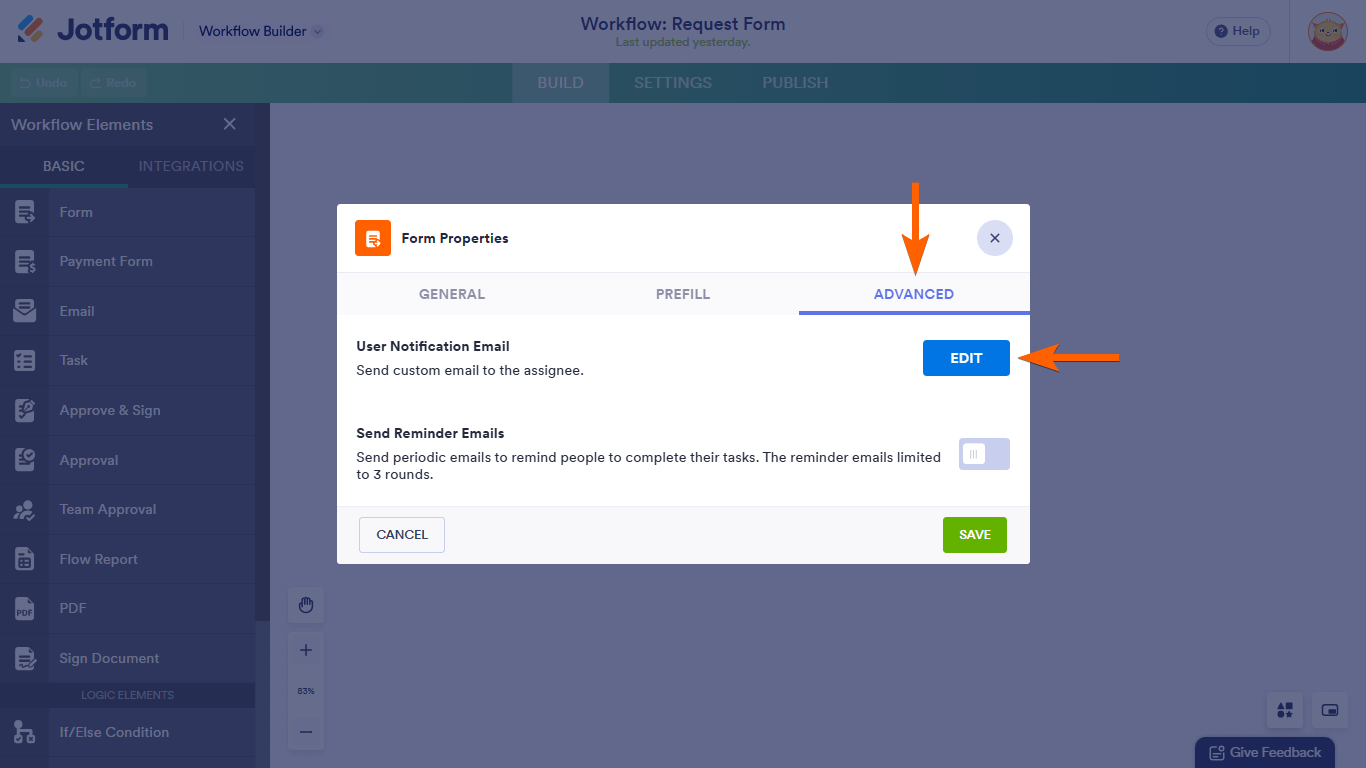
Customizing the Invitation Email
You can edit the email template, sender name and address, as well as add attachments and set up reminders under the Advanced tab.
To customize the invitation email
- Open Form Properties, then go to Advanced and select Edit.
- Under the Email tab, customize your email’s subject and content to your liking.

The View Form button in the email content is a dynamic link to your form. Keeping it is highly recommended.
Here are more options available for your email:
- Sender Name — Found under the Sender tab, Sender Name is the “from” name that appears in the email.
- Reply-to Email — Found under the Sender tab, Reply-to Email is the destination address when your recipients reply to your email.
- Attach File — Found under the Advanced tab, Attach File allows you to add attachments to your email.
- Sender Email — Found under the Advanced tab, Sender Email lets you change the email address to show as the sender.

Send Comment:
2 Comments:
338 days ago
At step Choose a follow-up form to send under Add a Form.
I don't see all of my forms. Which forms show up?
More than a year ago
I have an expense reimbursement form that needs to be approved by the President and then passed to the Treasurer. There's a section on the form "For Office Use Only" that's completed by the treasurer. In the end I'd like there to be one pdf with all signatures and completed treasuer section...