Jotform’s advanced SSO capabilities allow you to configure multiple instances of various SSO providers within your Enterprise Server, offering unmatched flexibility for your organization. Multiple SSOs are advantageous if different teams within your organization rely on distinct authentication systems from providers like Okta, Google, Microsoft Entra ID, OneLogin, and more.
Configuring multiple instances of the different SSO providers streamlines management and ensures a smooth login experience across your preferred identity platform.
Note
This article uses Okta and Google SSO, but the steps are identical to those of other providers. The only difference is the mapping of the metadata details.
Adding Okta as the First SSO Provider
Ensure that your Okta Metadata details are ready! If you already have it, let’s add it!
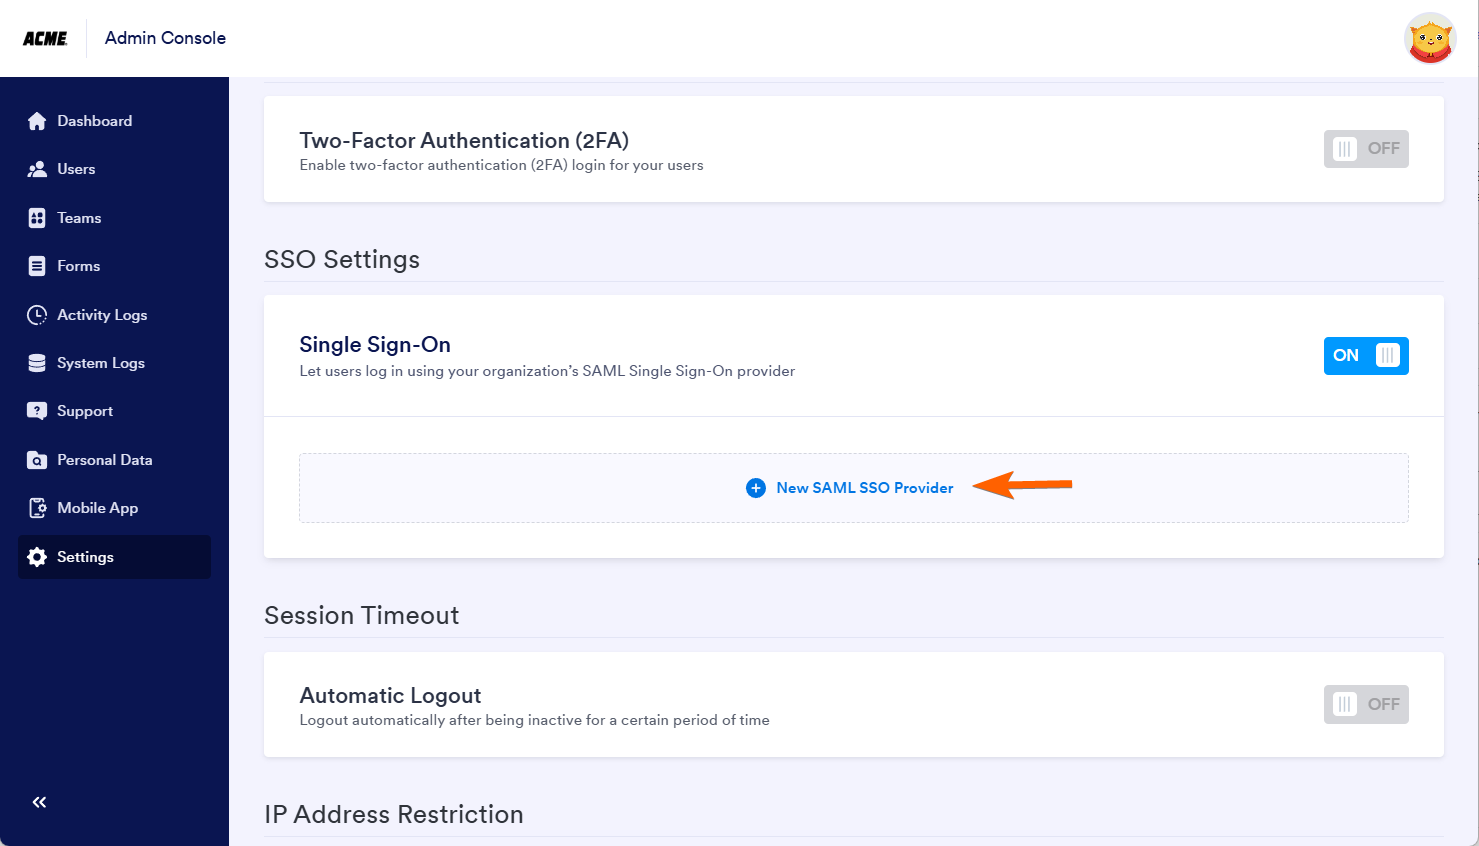
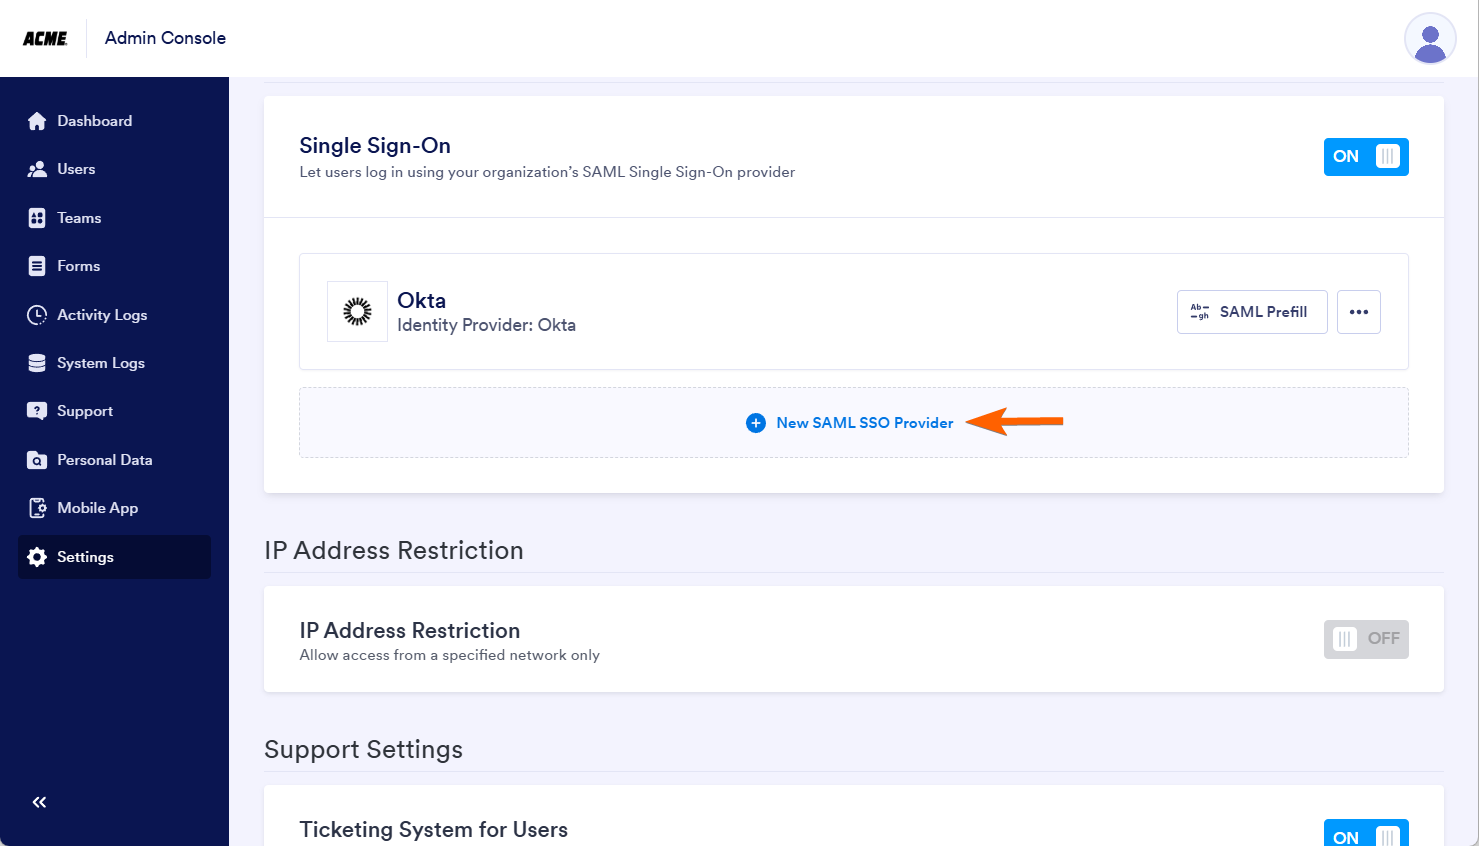
- On your Jotform Enterprise Admin Console, go to the Settings section.
- Go to the SSO Settings and toggle Single Sign-On from the list of features.
- Click the New SAML SSO Provider button.
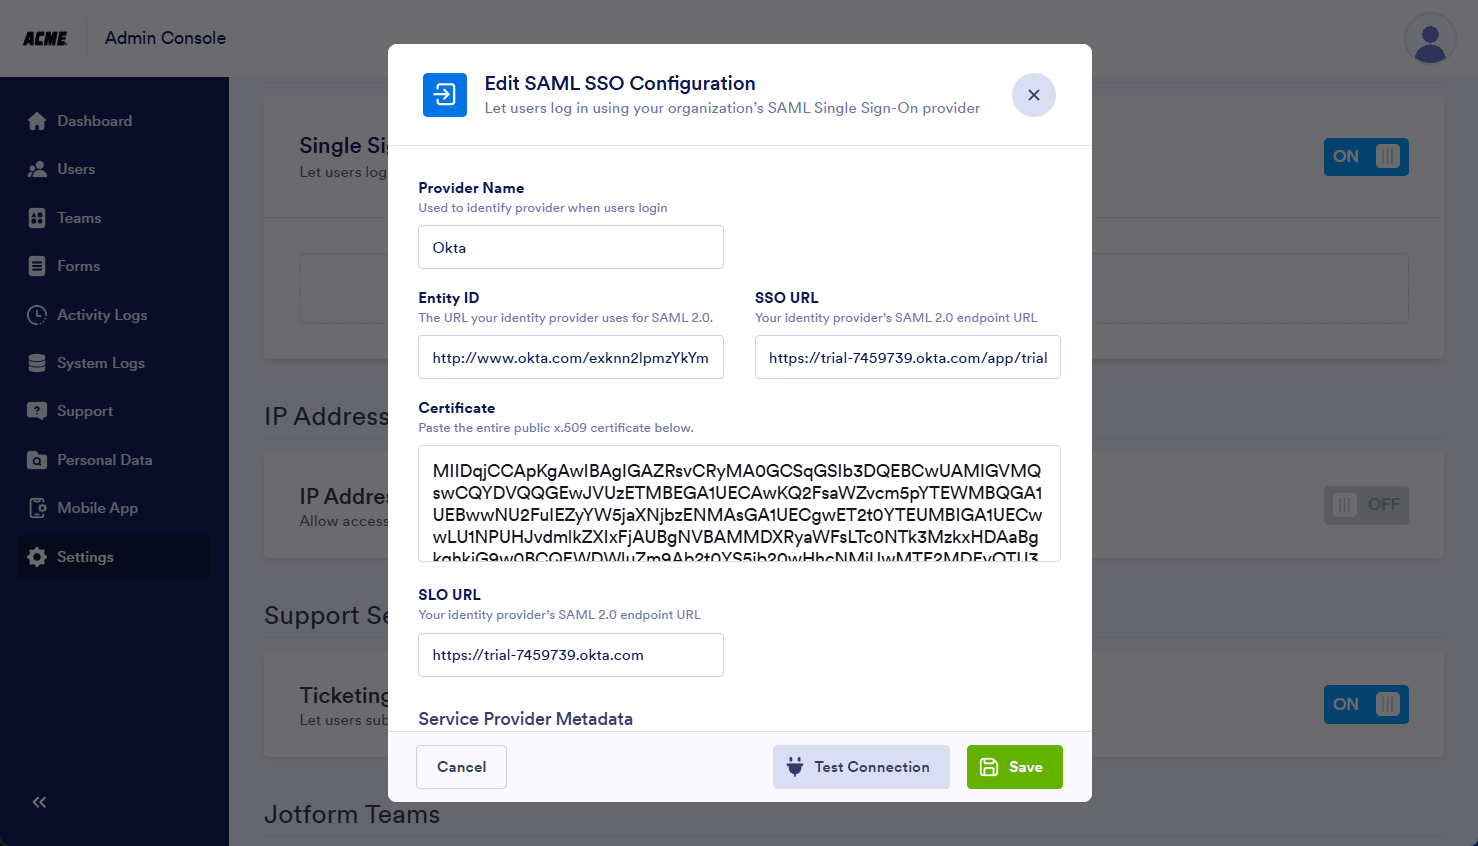
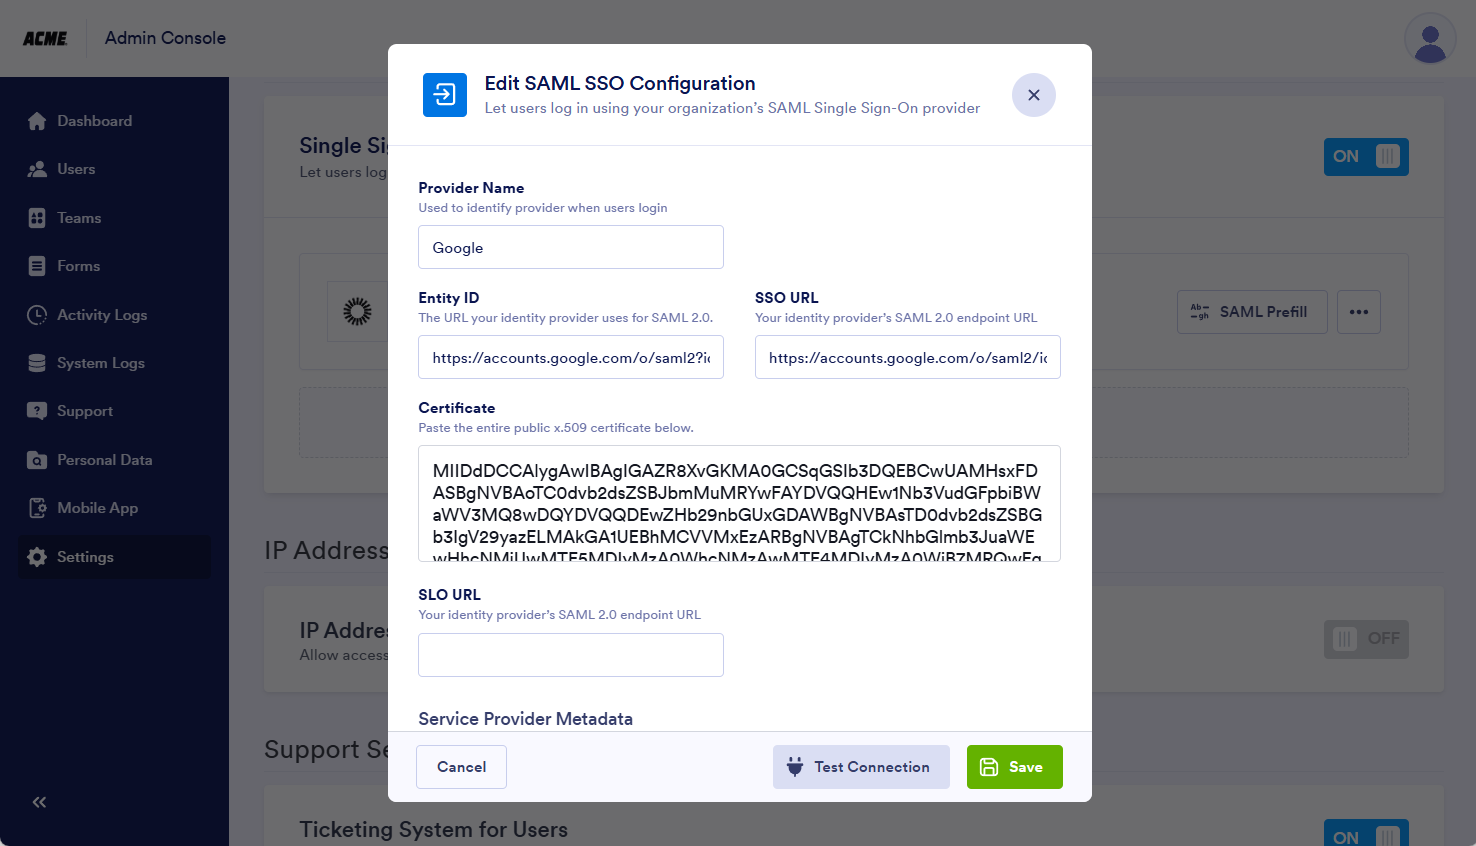
- Edit and map the following SAML SSO Configuration:
- Provider Name — Enter the name of the provider. You can input a more personalized name here for identification purposes.
- Entity ID — Input the Issuer URL from Okta.
- SSO URL — Paste the Sign on URL.
- Certificate — Your Signing Certificate from Okta.
- SLO URL — Paste the Sign out URL.
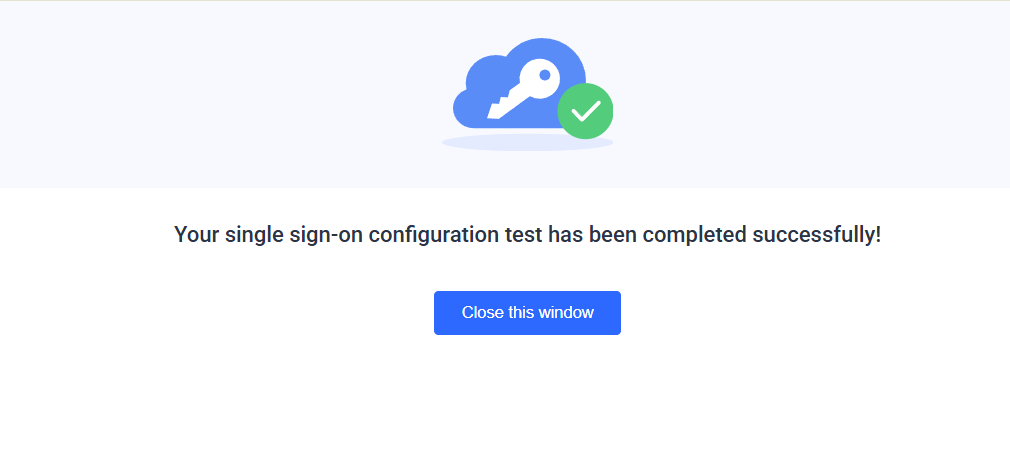
- Click the Test Connection to ensure that your SSO is working. If it’s working, you should receive the following message in the popup window:
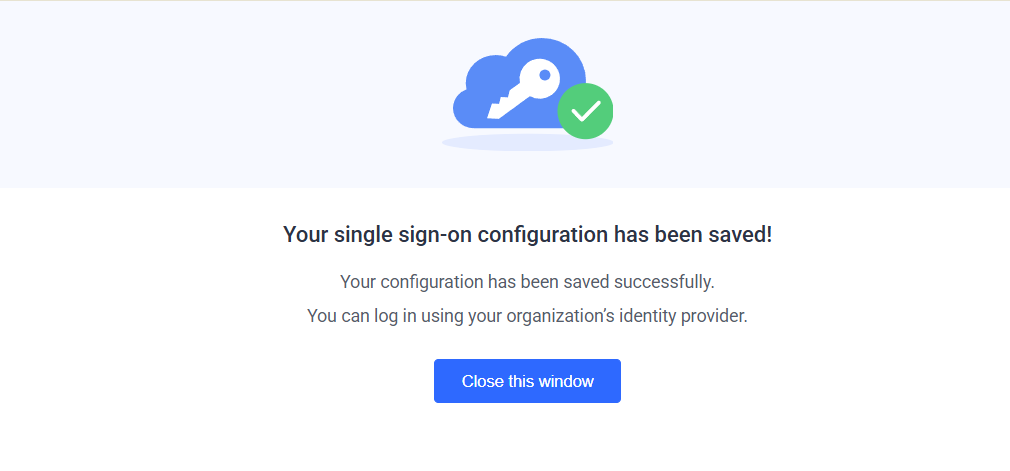
- Finally, click the Save button to complete the configuration. You’ll get the following confirmation message. Close the window to see your saved SSO configuration.
See also:
Adding Google as the Second SSO Provider
Adding Google will follow the same configuration as adding Okta. To add Google as the second SSO
- Click the New SAML SSO Provider button, which is still in the Single Sign-On section.
- Enter and map the following metadata details from your Google SAML application:
- Provider Name — Enter the name of the provider. You can type Google.
- Entity ID — Use your Google SAML Entity ID.
- SSO URL — Use your Google SAML SSO URL.
- Certificate — Use your Google SAML Certificate.
Note
Google SSO does not offer SLO, so you should leave the SLO URL blank in the configuration. You must contact Enterprise Support if you wish a custom logout URL for your Jotform Enterprise server.
- Click the Test Connection button to confirm if your configuration works. If it works, click the Save button to complete the integration and save it to your list of SSO providers.
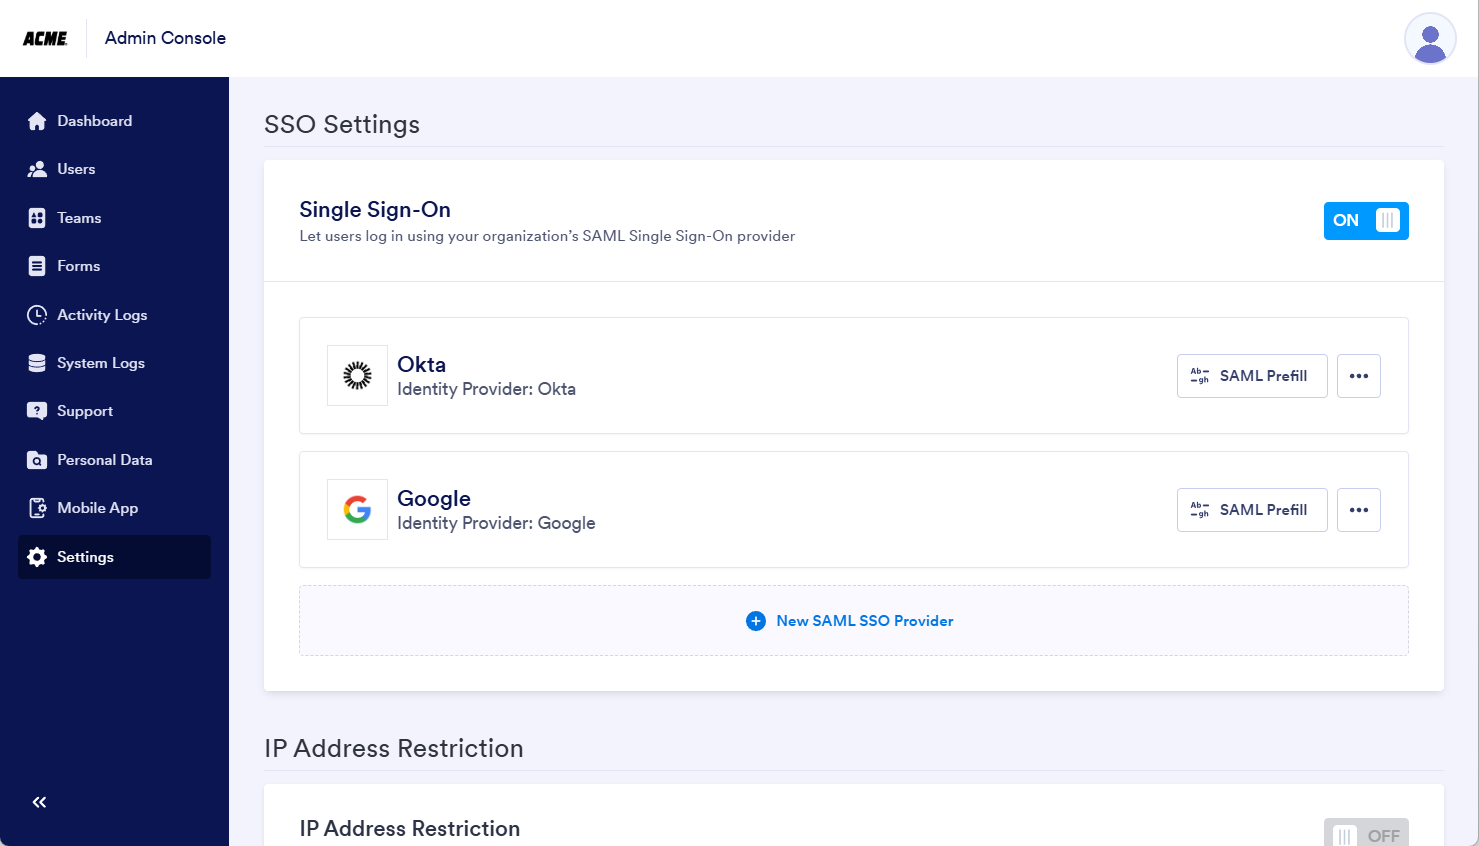
After adding, you’ll see all of the SSO providers listed on the SSO Settings section of your Jotform Enterprise Server. Here’s an example:
See also: How to Configure Google SSO for Jotform Enterprise.
Managing Single Sign-On Configurations
On each saved SSO configuration, click on the Menu (three-doted vertical icon) to manage them. You can edit the configuration, test the connection, and delete it from the list.

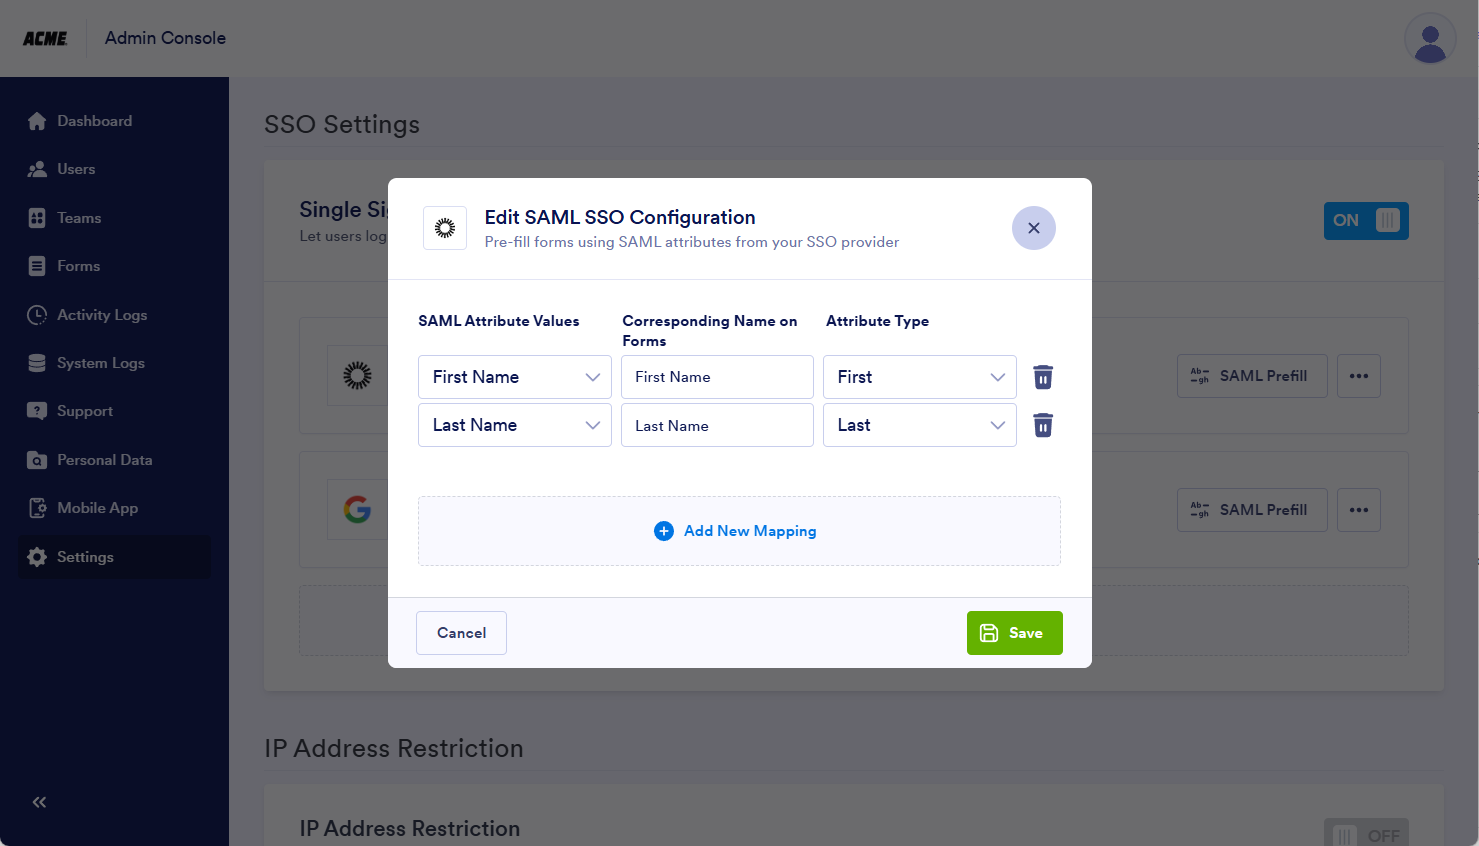
You can also configure the SAML Prefill of your SSO configurations. Click the SAML Prefill button to set it up.
Logging In to Your Server with Multiple SSO
When logging in, you should see all of the SSO instances you’ve added to your Jotform Enterprise server. Here’s how the login screen looks:

As you can see, they’re both labeled as Okta and Google, both based on the SSO configurations.
If you’re looking for our general information related to SSO integration, visit How to Enable SSO Integration to learn more.

Send Comment: