In Form Builder, basic elements like Multiple Choice and Single Choice work well for things like event slots, product options, or sign-up choices. But they don’t let you limit how many times an item can be selected or track the number of selections. To do that, you can use our Inventory, Ticket Purchases, Gift Registry, and Quantity Gift Registry widgets.
Choosing the Widget to Use
Using a widget lets you set form fields, so options become unavailable once their limit is reached. Understanding how each widget works will help you choose just the right one, so let’s take a look at them:
- Inventory — This lets you set up one item at a time and set its Available Quantity.
- Ticket Purchases — Use Min and Max Selection to limit how many items each customer can pick. This widget doesn’t have quantity selection.
- Gift Registry — This is similar to Ticket Purchases, but it only lets you set Max Selection. No quantity selection here either.
- Quantity Gift Registry — Without Min and Max Selection, this lets customers pick multiple quantities of each item.
- Weekly Appointment Planner — This has the same options as Gift Registry.
Setting up the Inventory Widget
The Inventory widget is perfect for fair and accurate inventory control, especially for event registration, product orders, or service scheduling. Setting it up takes just a few simple clicks. Here’s how to do it:
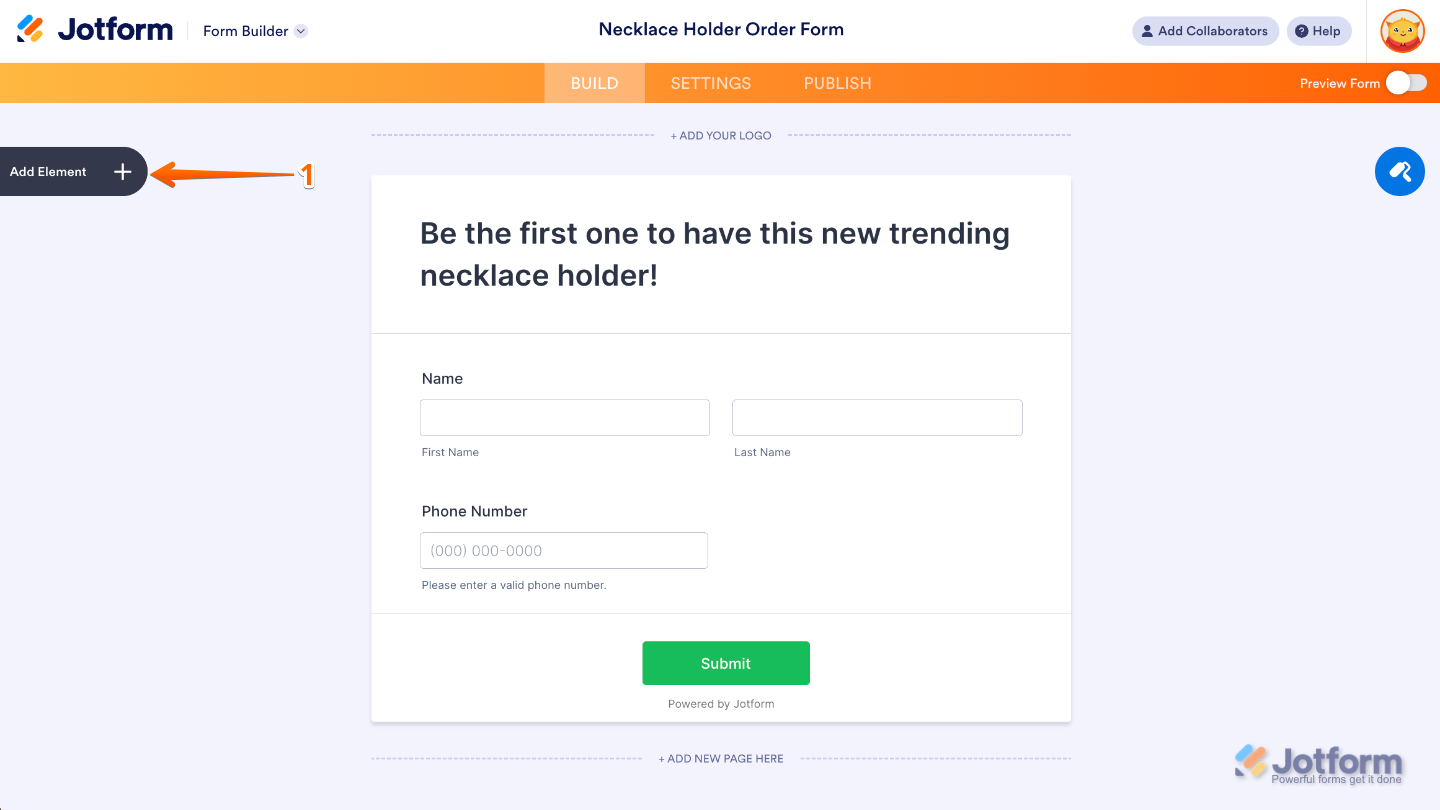
- In Form Builder, click on Add Element on the left side of the page.

- Now, in the Form Elements menu, under the Widgets tab, search for the Inventory widget and then click on it. Or, just drag and then drop it to where you want it to be on your form.

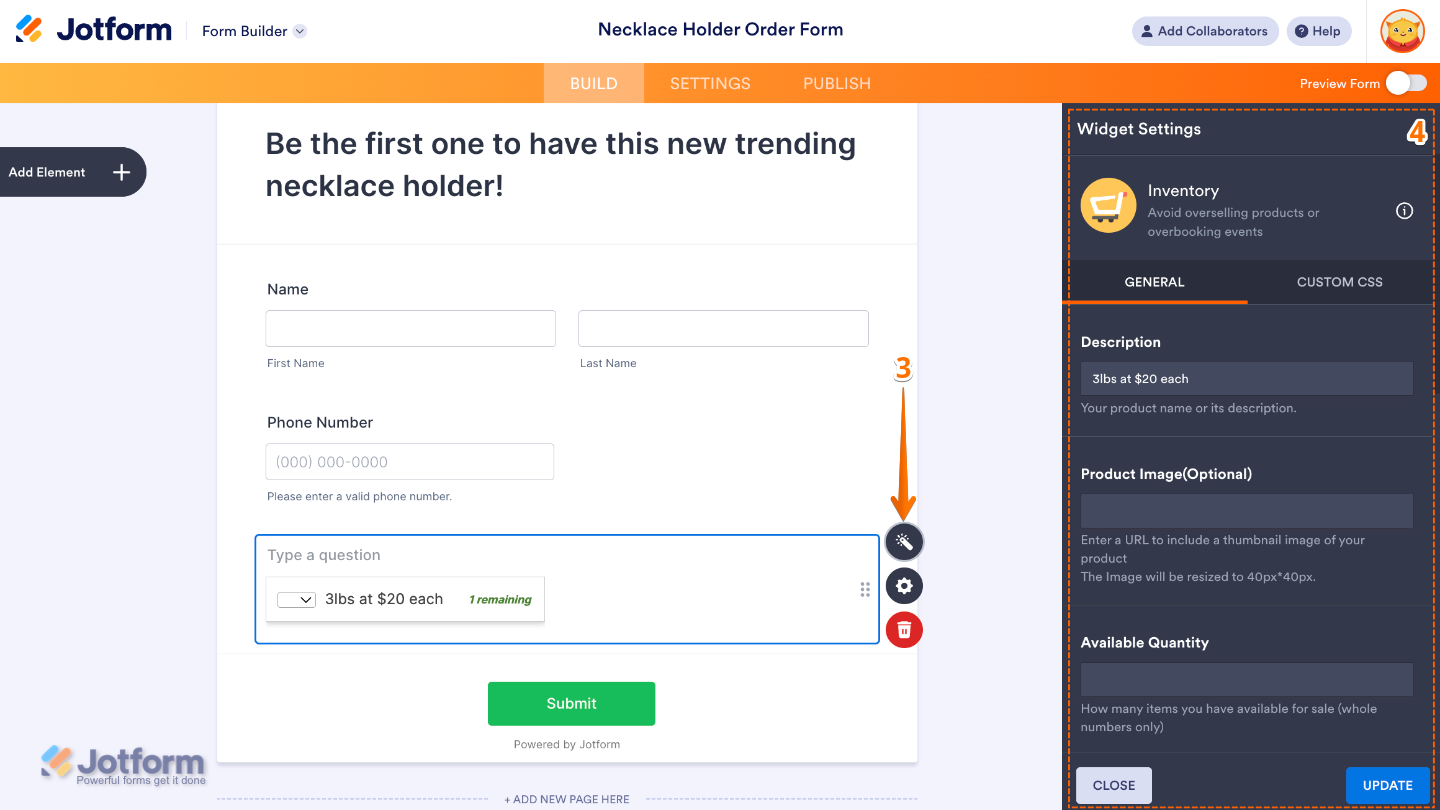
- Next, on the right side of the Inventory widget, click on the Wand icon.
- Then, in the Widgets Settings window, configure the following things:
- Description — You can add the product name or description.
- Product Image — Enter the full URL of the image as the product thumbnail.
- Available Quantity — Set the number of items you have available.
- Quantity Type Input — Select Dropdown (default) as the quantity selector or a number input.
- Quantity Range — Enter a range that customers can choose from. This is available when you select Dropdown as the Quantity Input Type.
- Submit Value With Label — Select No if you only want to get the quantity value for calculation purposes. Select Yes to include the product’s name or description in calculation results and form emails.
- Counter Label — Customize the text shown after the available quantity.
- Hide Quantity — Select No to show the available quantity and counter label. Select Yes to hide both.
- Error Message — Customize the message shown when a user selects a quantity that exceeds the available amount.
Setting up the Ticket Purchases Widget
The Ticket Purchases widget makes event registration easy by combining inventory tracking, custom ticket types, and built-in payments, all in one simple form. Setting it up only takes a few quick steps. Here’s how to do it:
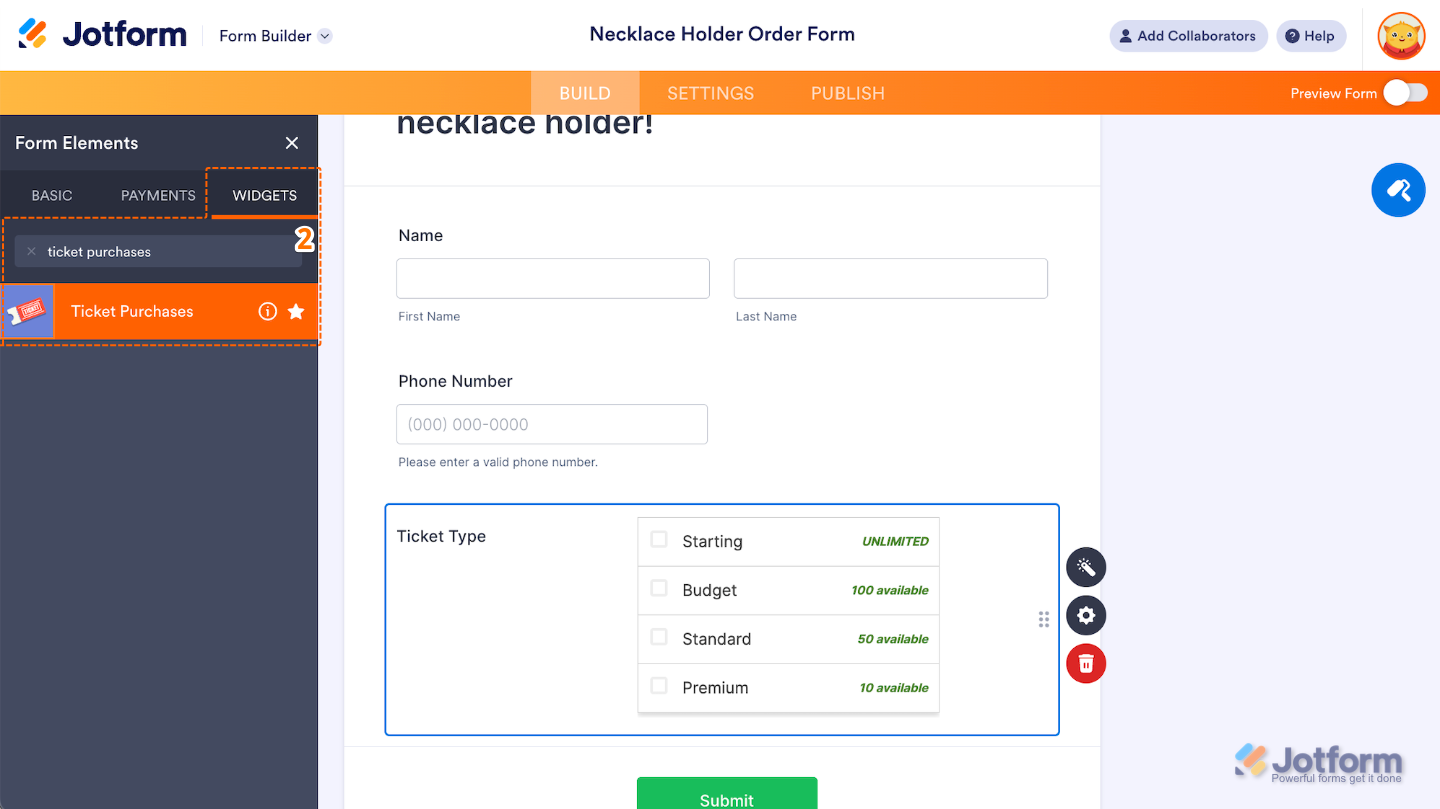
- In Form Builder, click on Add Element on the left side of the page.

- Now, in the Form Elements menu, under the Widgets tab, search for the Ticket Purchase widget and then click on it. Or, just drag and then drop it to where you want it to be on your form.
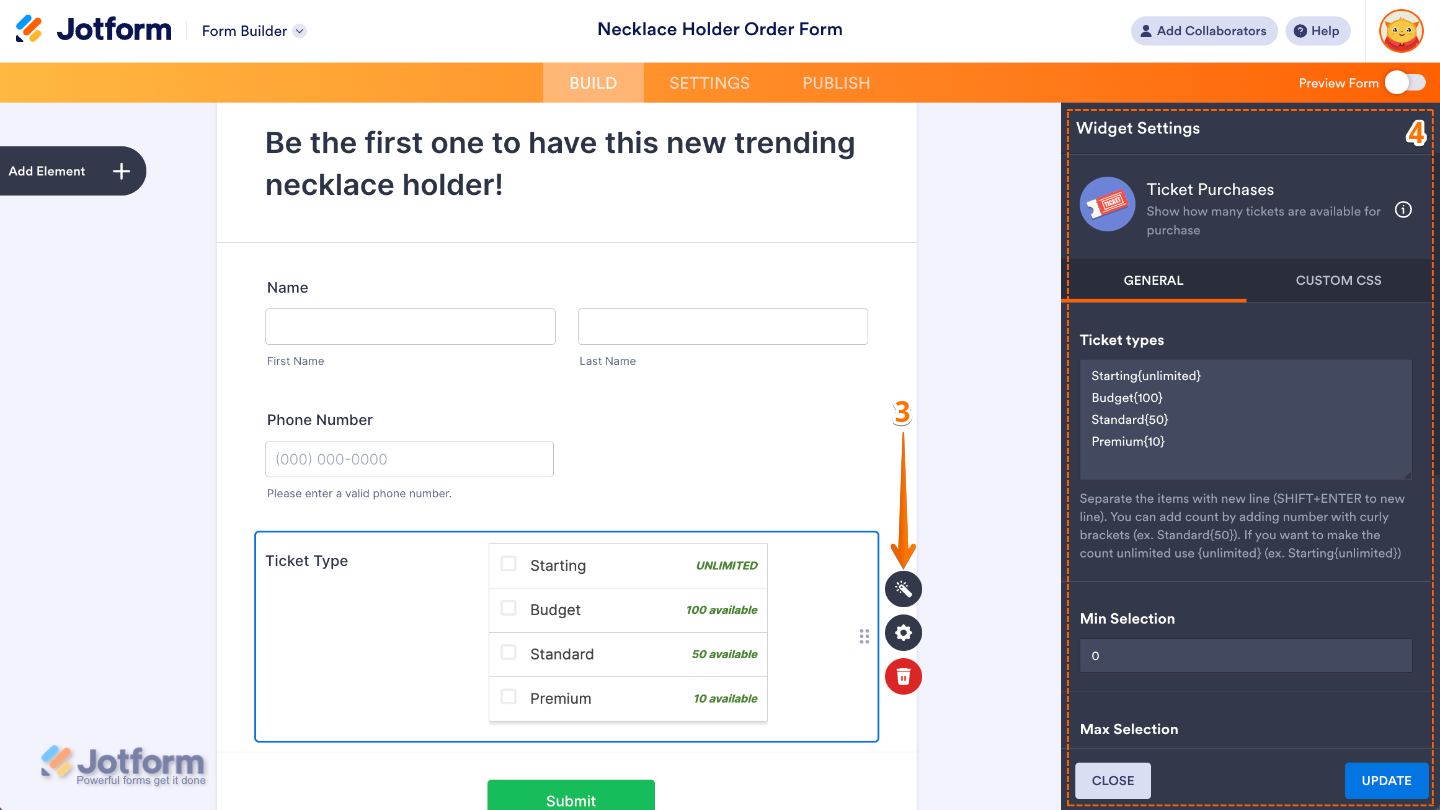
- Next, on the right side of the Ticket Purchases widget, click on the Wand icon.
- Then, in the Widgets Settings window, configure the following things:
- Ticket Types — Enter a list of your products, one per line. Add the available quantity in curly brackets, like you see in the widget settings. To make an item unlimited, just write “unlimited” inside the brackets.
- Min Selection — Set the minimum number of items customers must select from the widget.
- Max Selection — Set the maximum number of items customers can select. Leave it blank to let them select all the items.
- Counter Label — Change the text next to the number counter.
- Unlimited Label — Change the text UNLIMITED for items set with an unlimited quantity.
- None Available — Enter the text that’ll be shown when there aren’t any items left.
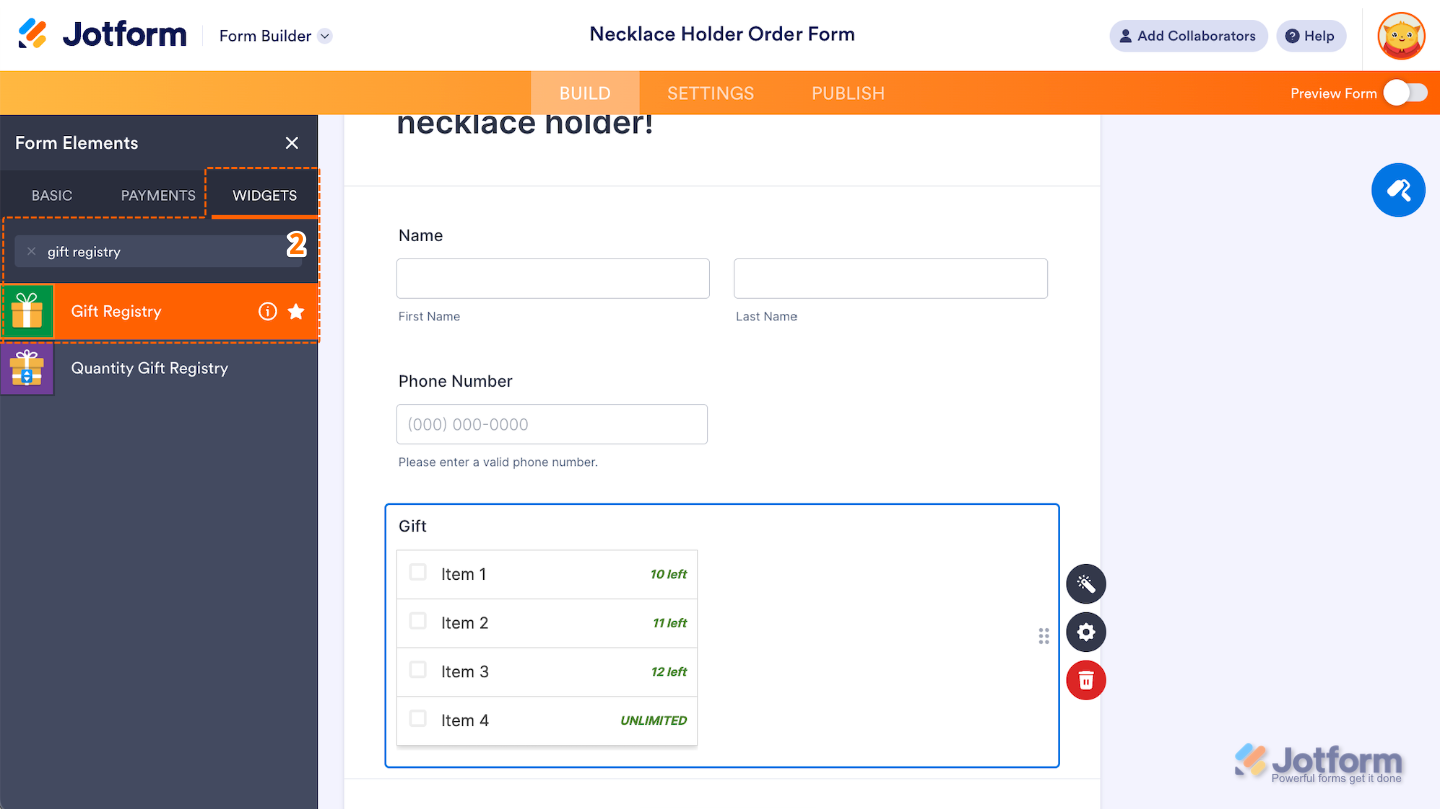
Setting up the Gift Registry Widget
The Gift Registry widget is great for collaborative giving and organized contributions, letting you manage item reservations without the need for manual tracking. You can set it up in just a few easy steps. Here’s how to do it:
- In Form Builder, click on Add Element on the left side of the page.
- Now, in the Form Elements menu, under the Widgets tab, search for the Gift Registry widget and then click on it. Or, just drag and then drop it to where you want it to be on your form.
- Next, on the right side of the Gift Registry widget, click on the Wand icon.
- Then, in the Widgets Settings window, configure the following things:
- Items — List your items here. Put the available quantity in curly brackets. Use “unlimited” for unlimited quantity.
- Max Selection — Set a number to limit item selection. Leave blank to allow all items.
- Counter Label — Change the text next to the number counter.
- Unlimited Label — Change the text UNLIMITED for options with unlimited quantity.
- None Available — Enter the text that’ll be shown when there aren’t any items left.

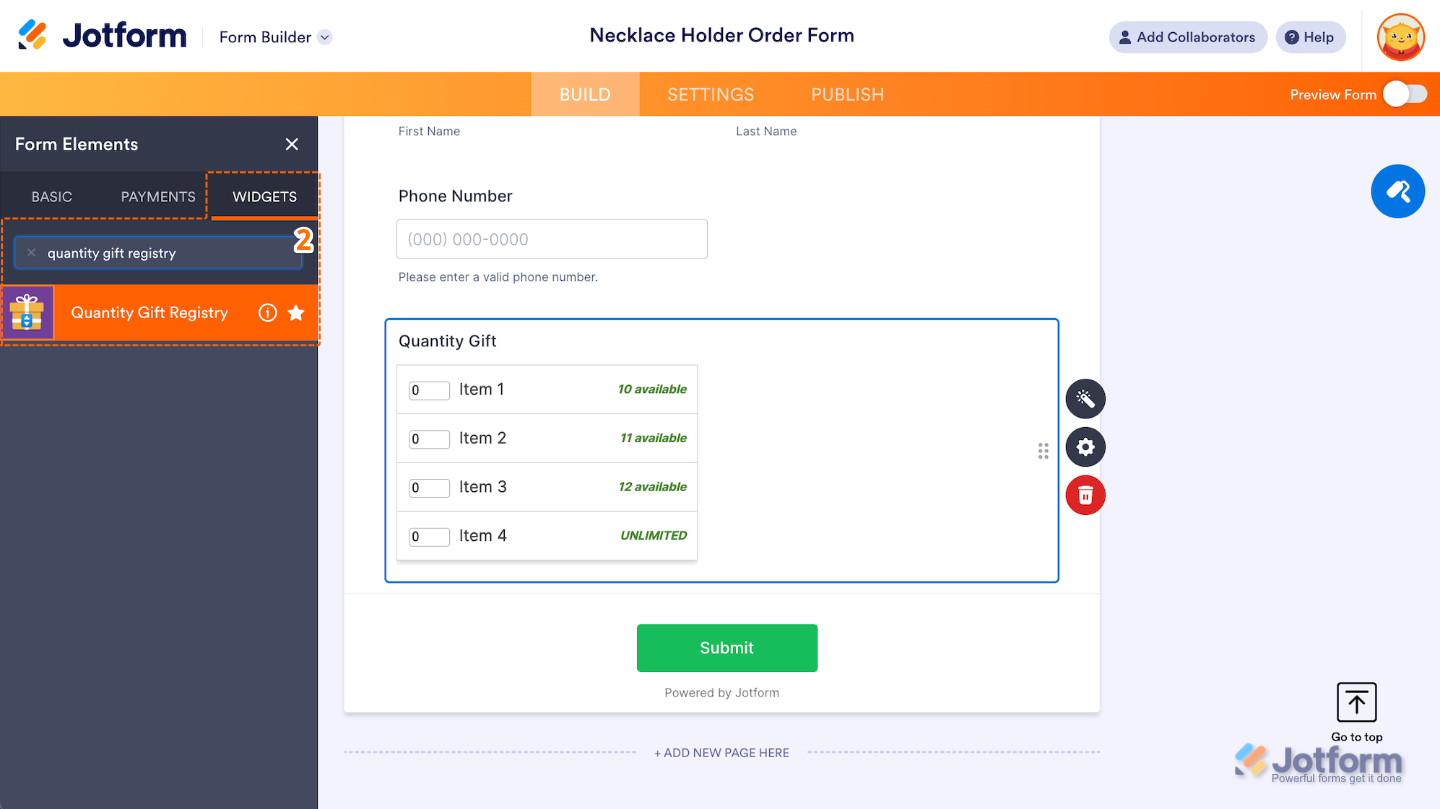
Setting up the Quantity Gift Registry Widget
The Quantity Gift Registry widget combines inventory control with flexible quantity selection, making it ideal for shared resources, gift coordination, and organized item distribution. Setting up the widget takes just a few simple steps. Here’s how to do it:
- In Form Builder, click on Add Element on the left side of the page.

- Now, in the Form Elements menu, under the Widgets tab, search for Quantity Gift Registry widget and then click on it. Or, just drag and then drop it to where you want it to be on your form.
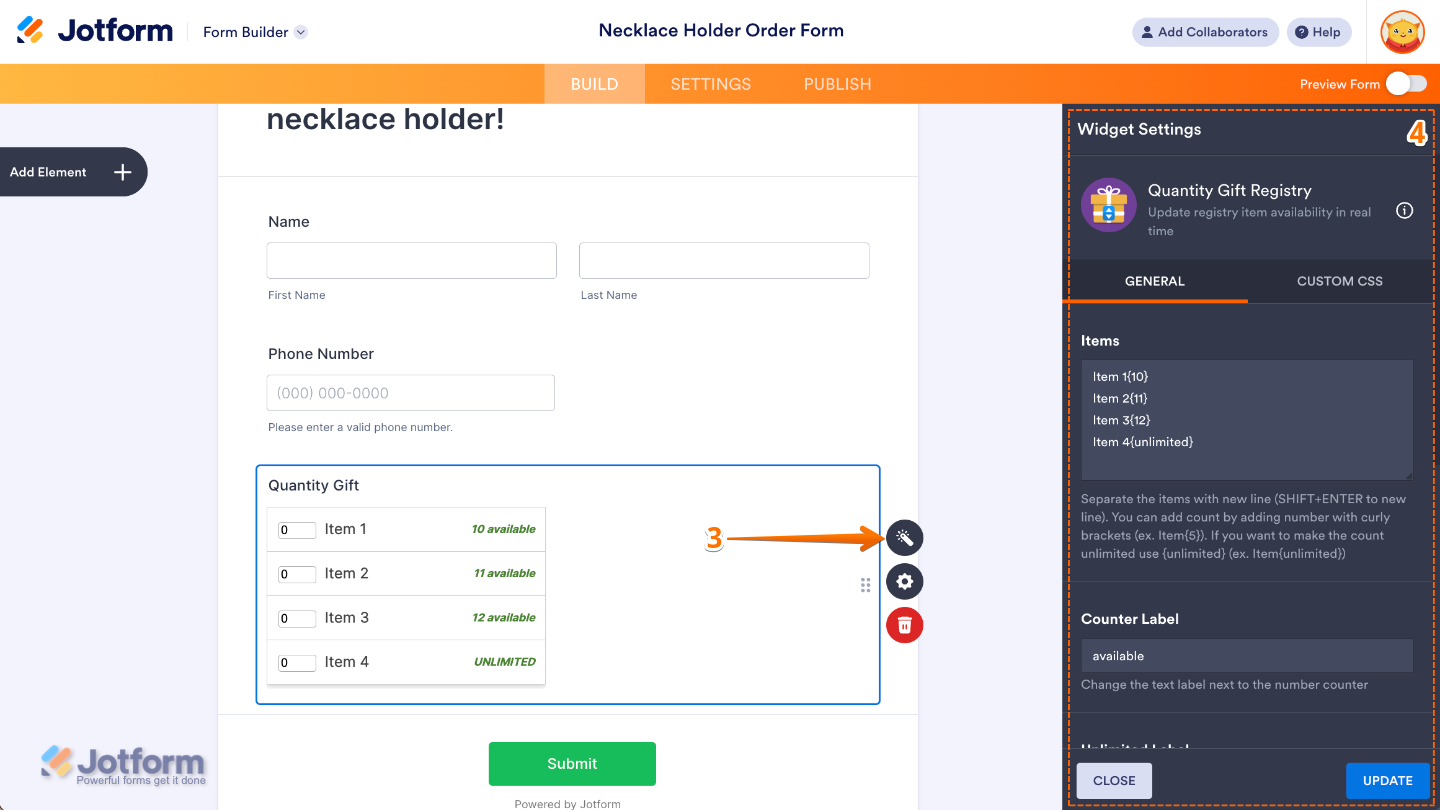
- Next, on the right side of the Quantity Gift Registry widget, click on the Wand icon.
- Then, in the Widgets Settings window, configure the following things:
- Items — List your items here. Put the available quantity in curly brackets. Use “unlimited” for unlimited quantity.
- Counter Label — Change the text next to the number counter.
- Unlimited Label — Change the text UNLIMITED for options with unlimited quantity.
- None Available — Enter the text that’ll be shown when there aren’t any items left.
- Calculate Total — Send the total number of selected items for calculation. This doesn’t affect your submission value.
- Invalid Input Message — This is shown if the ordered items exceed the number of items available.

Send Comment:
7 Comments:
141 days ago
I am using the Pizza template. How do I set it up to where the user can only choose 1 option from the entire form?
212 days ago
seat map ?
289 days ago
Hello,
I tried to use the gift registry to limit the number of people selecting a certain option.
but after the first click it shows STOCK ERROR on customer side and I don't received any form back
More than a year ago
How do I enable the form so that all times can be checked that people are available. It is limiting me to one per row and column?...
More than a year ago
I have setup a calendar for individuals to book time slots over a two month period. There are multiple time slots on the calendar but how I have it setup it will only allow the individual to select one slot on the calendar. Is it possible in the appoints to allow more than one appointment select per calendar?
Thanks
More than a year ago
How do I see how many inventory items are remaining after people have started signing up?
More than a year ago
I would like to check if there are two category for selection. Each category submission has different limitation. How can i do the setting for every category on different number of submission? Can you please assist me. Thank you.