With Jotform Enterprise, you can add phone numbers to your Admin Console that users can assign to their Phone and SMS Agents. This makes it possible for agents to handle calls and send texts, giving your team dependable ways to stay connected with the people who matter most—whether that’s customers, clients, or colleagues.
Submitting a Request to Purchase Phone Numbers
Once you’ve enabled Phone or SMS Agent creation for your users, requesting the phone numbers they’ll use for those agents is simple. Here’s how to get started:
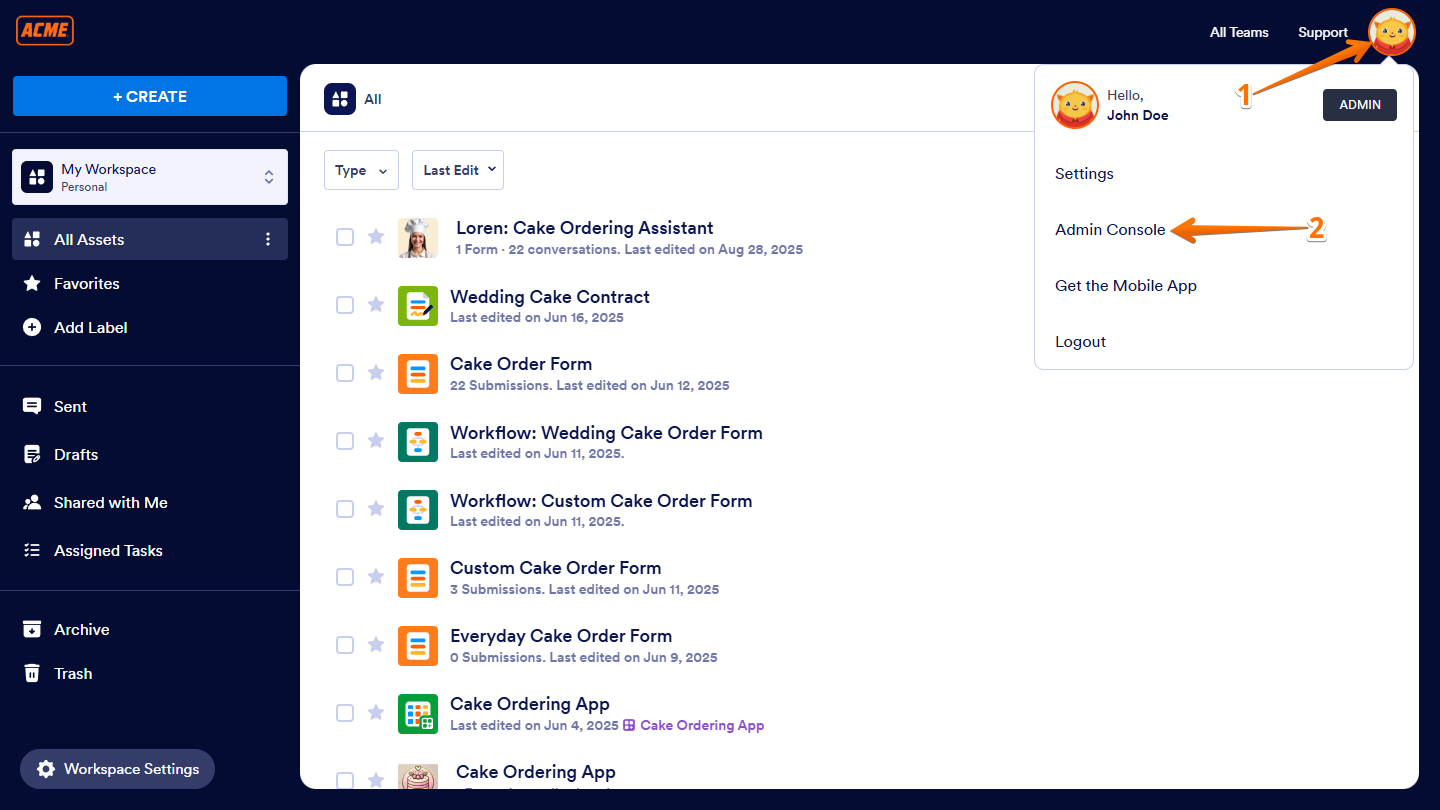
- In the top-right corner of your My Workspace page, click on your Avatar/Profile picture.
- Then, in the menu that comes up, click on Admin Console.
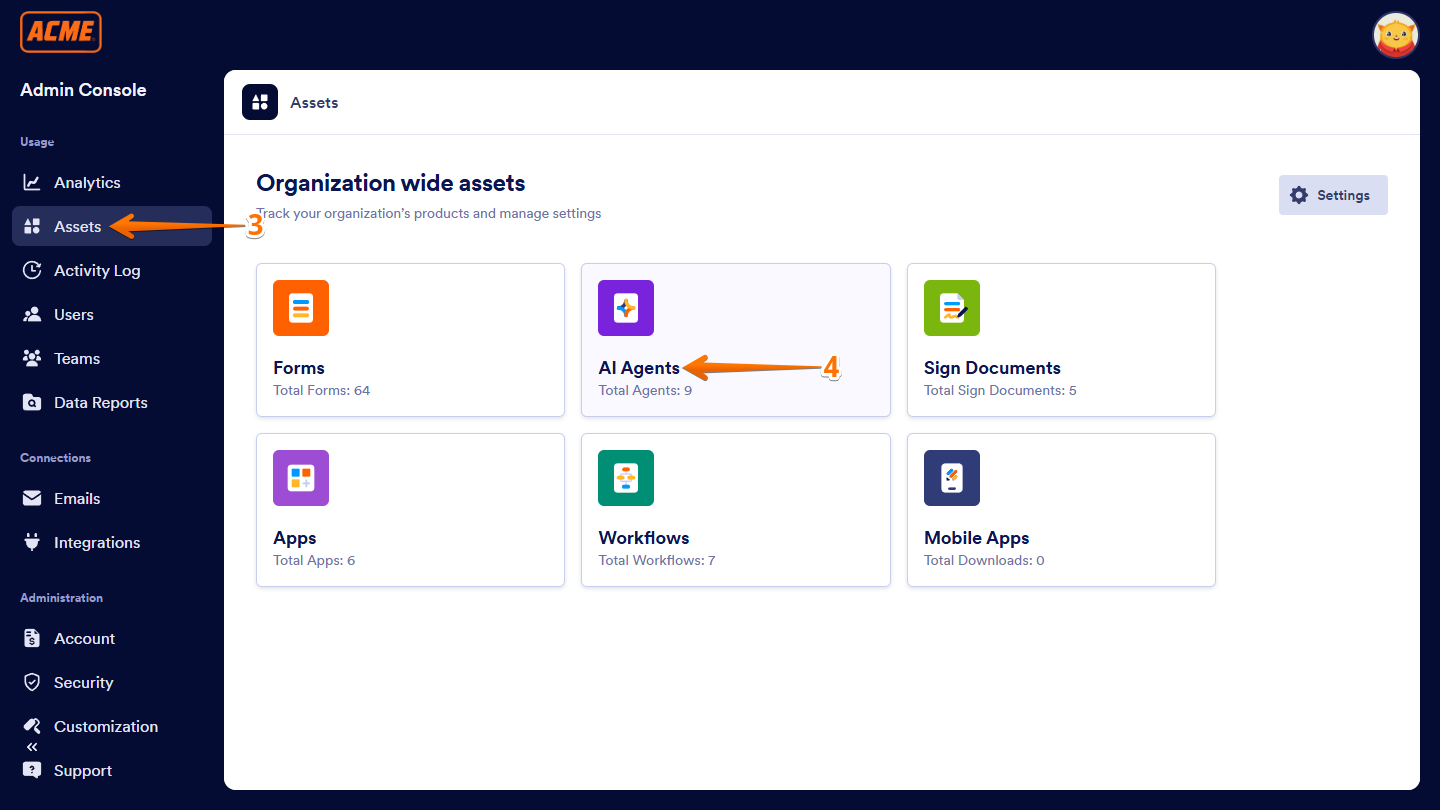
- Now, in the menu on the left side of the Admin Console page, click on Assets.
- Then, in the Organization Wide Assets section on the right, click on AI Agents.

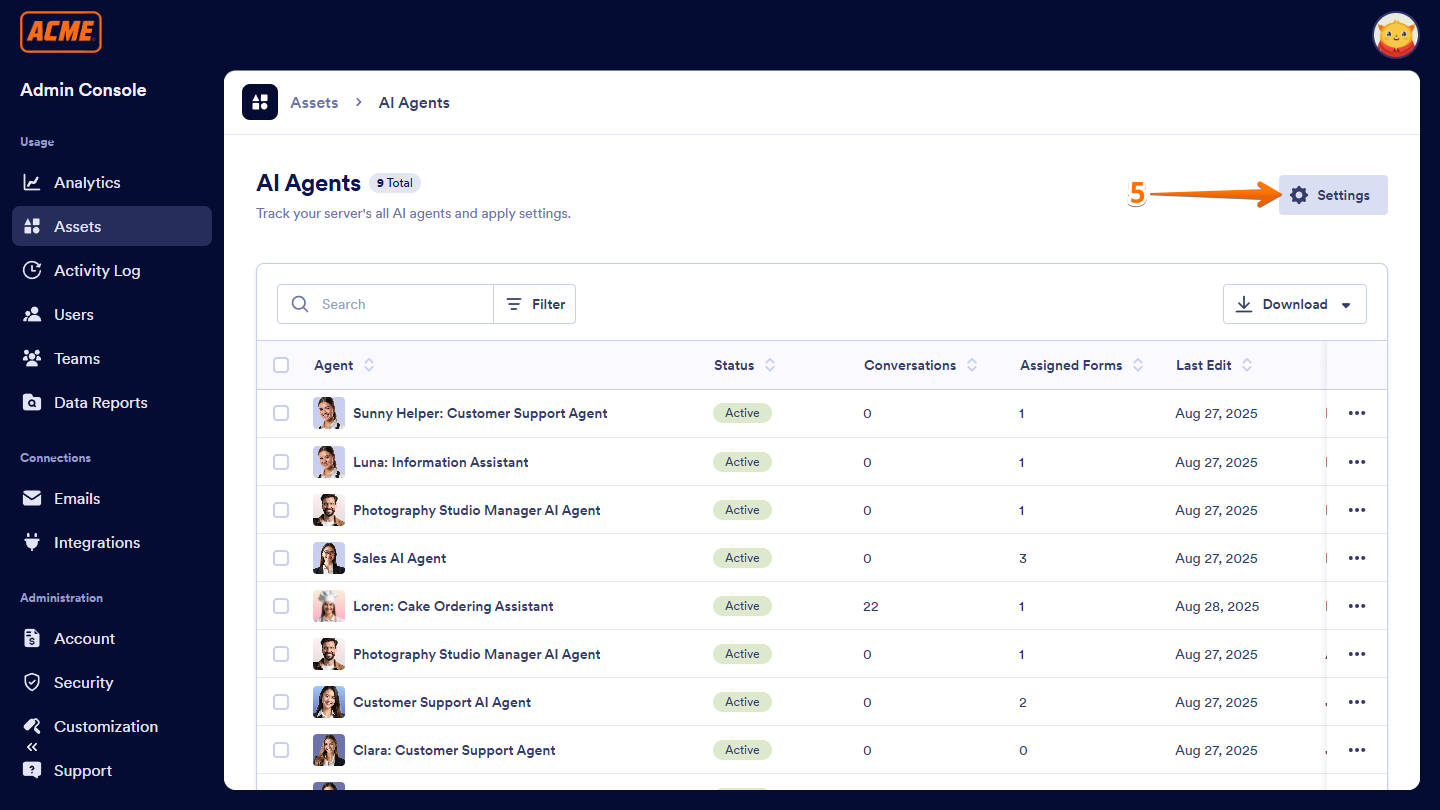
- Next, on the right side of the AI Agents section, click on Settings.

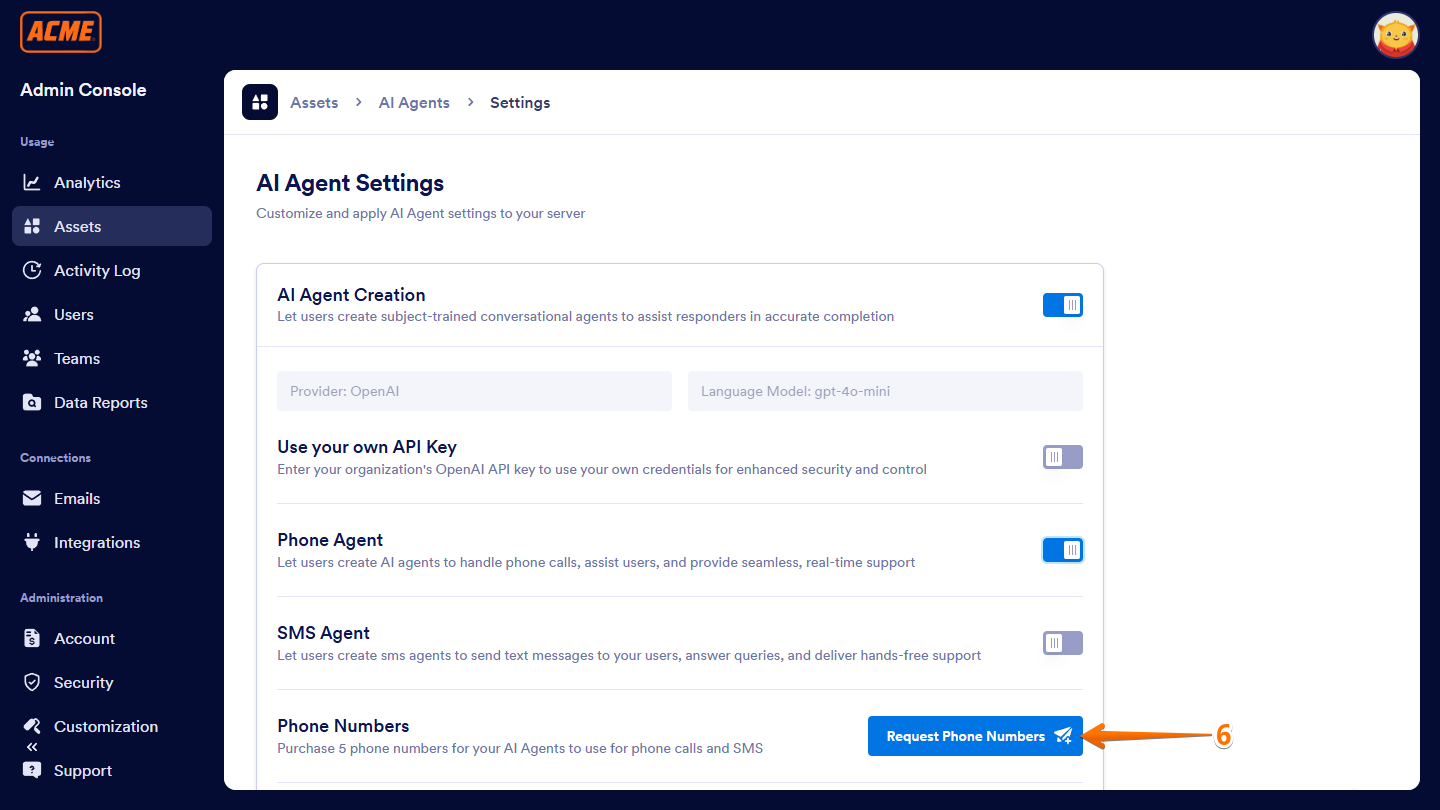
- Now, under the AI Agent Settings section, on the right side of Phone Numbers, click on Request Phone Numbers.
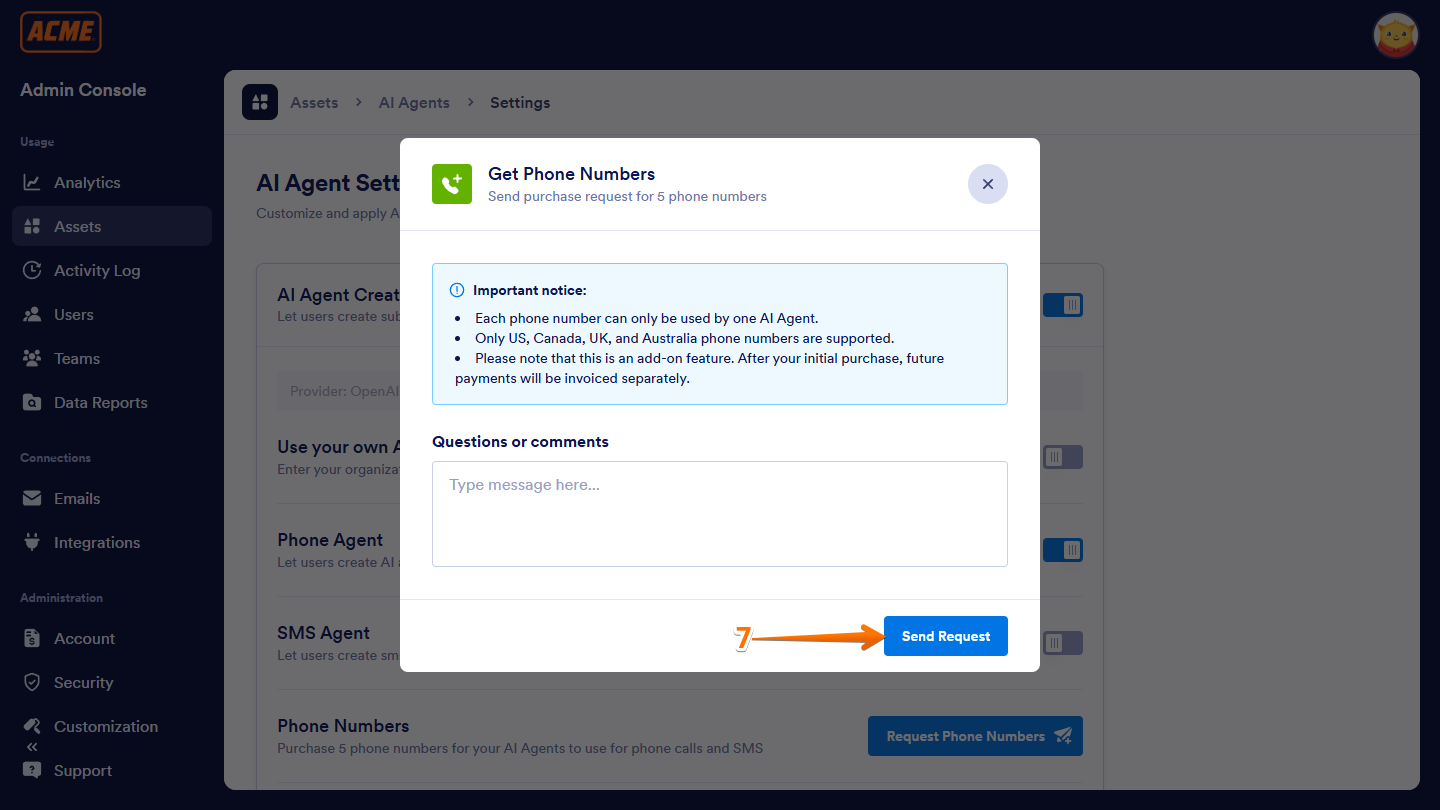
- Then, in the Get Phone Numbers window, enter your questions and comments in the box and click on Send Request.
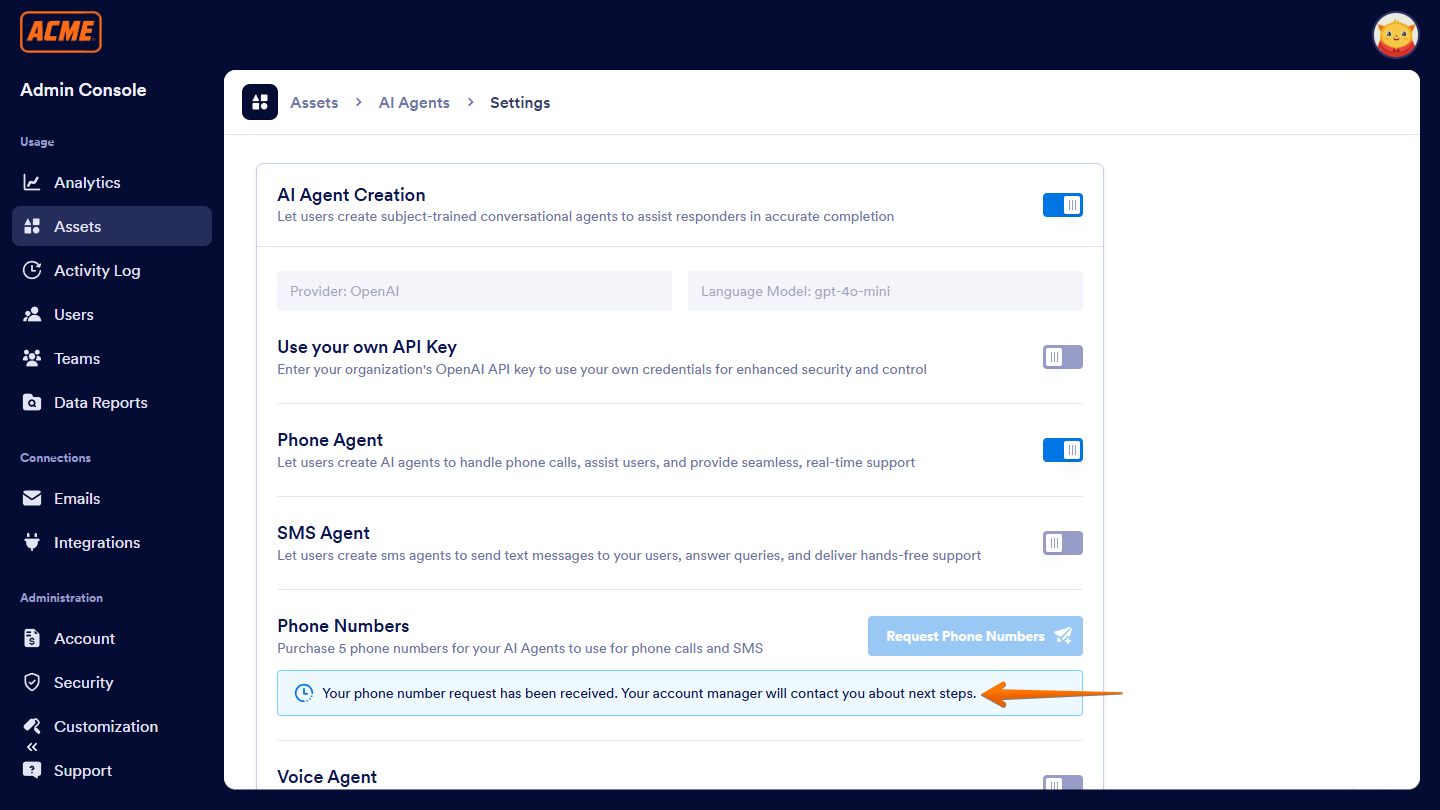
And that’s it. Now, your request to purchase a phone number’s been submitted, and your account manager will reach out to you about the next steps.
Notes
- This only supports US, Canadian, UK, and Australian phone numbers.
- This is an add-on feature. After the initial purchase, ongoing payments for phone numbers will be invoiced separately.
Adding Phone Numbers for Phone and SMS Agents
Once your request is approved and the invoice is paid, you can generate up to 5 phone numbers for your users to assign to their Phone and SMS Agents. Here’s how to get started:
- In the top-right corner of your My Workspace page, click on your Avatar/Profile picture.
- Then, in the menu that comes up, click on Admin Console.

- Now, in the menu on the left side of the Admin Console page, click on Assets.
- Then, in the Organization Wide Assets section on the right, click on AI Agents.
- Next, on the right side of the AI Agents section, click on Settings.
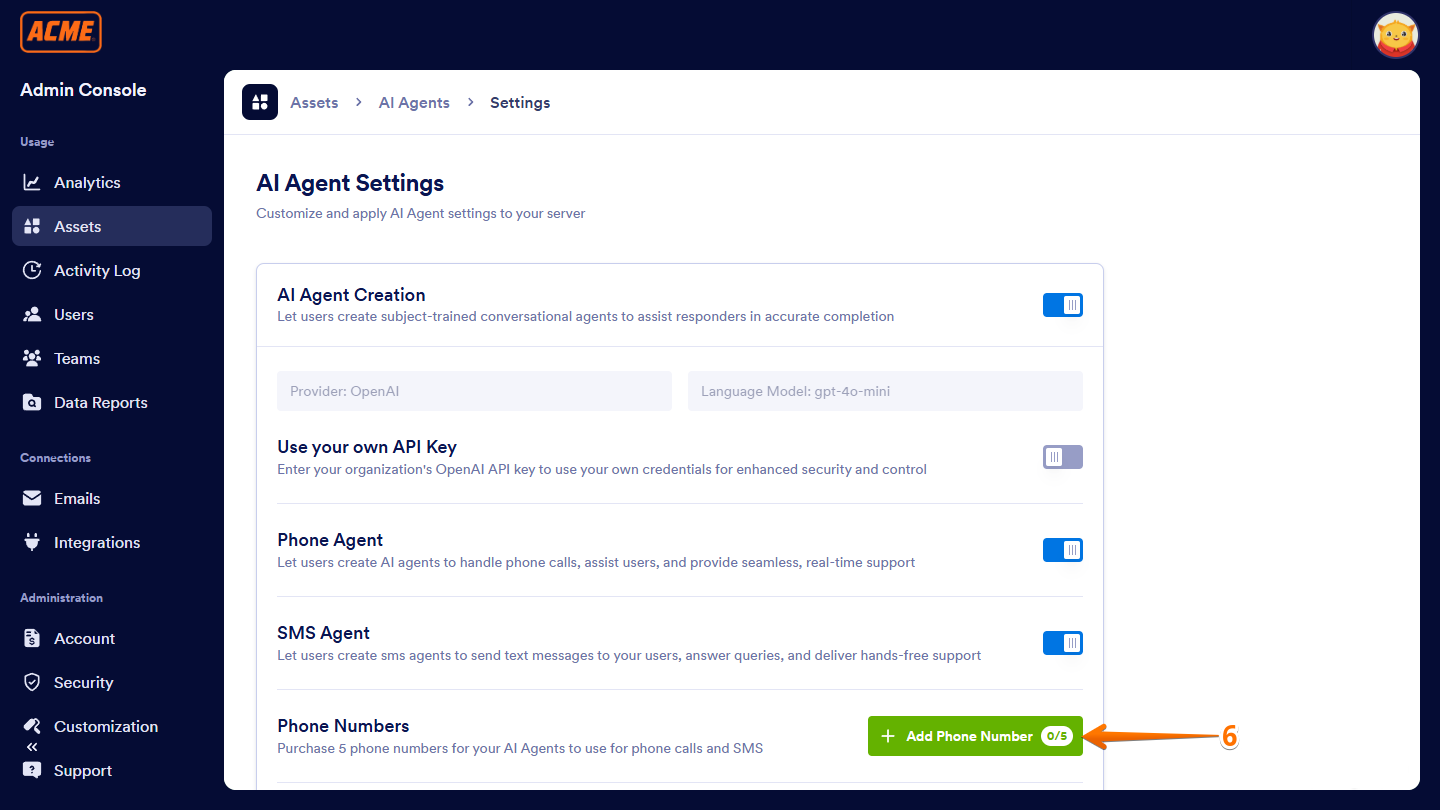
- Now, under the AI Agent Settings section, on the right side of Phone Numbers, click on Add Phone Numbers.
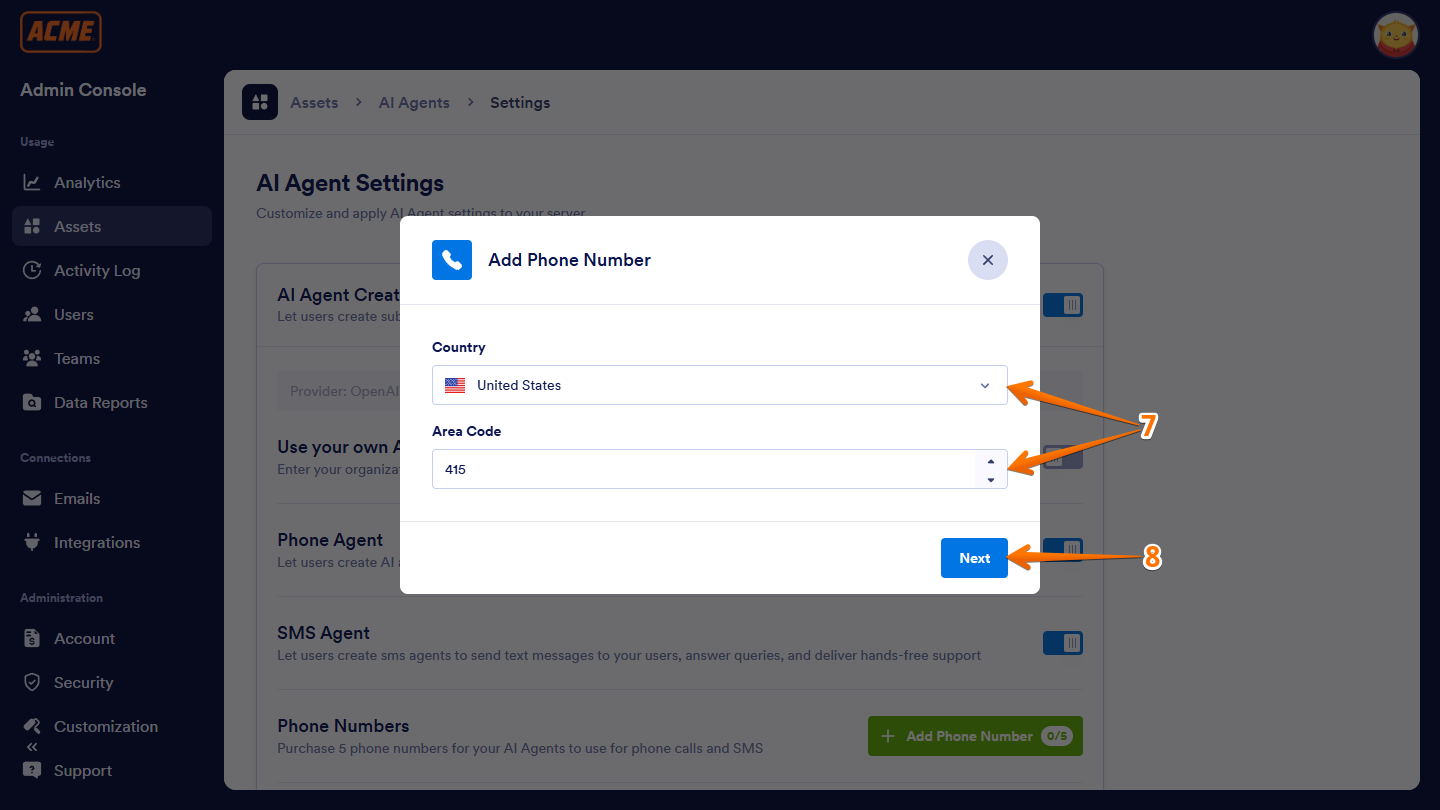
- Then, in the Add Phone Numbers window, select an available country and, if you selected United States or Canada, enter an area code.
- After that, click on Next.
- Now, you’ll see the generated phone number and, if you want a different one, click on Change Number on the right side of it.
- Once everything looks good, click on Add Number to save it.

That’s it. You’ve successfully added the phone number to your Admin Console.

Now your users can use it on their Phone Agents to make and receive calls.
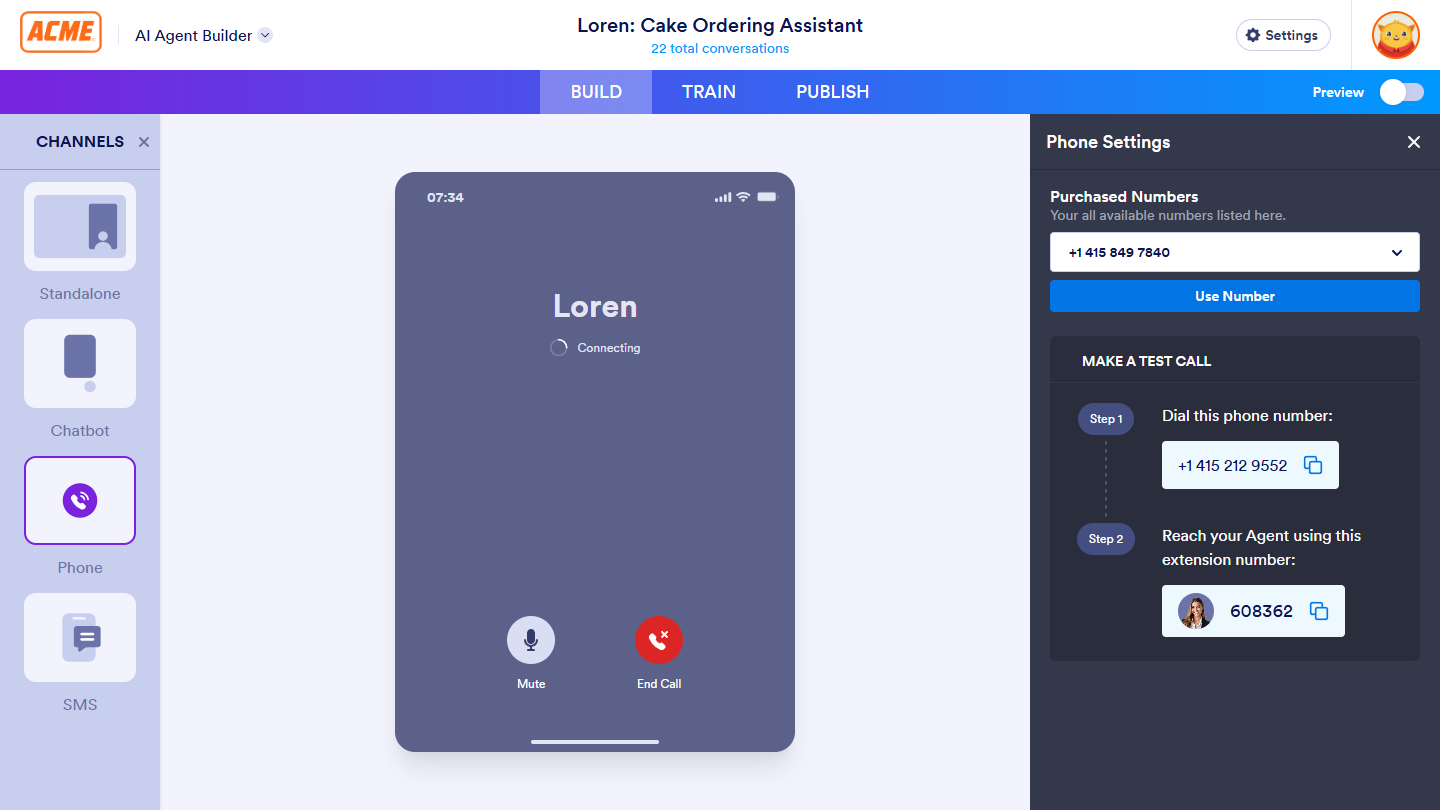
And on their SMS Agents to send and receive text messages.

Note
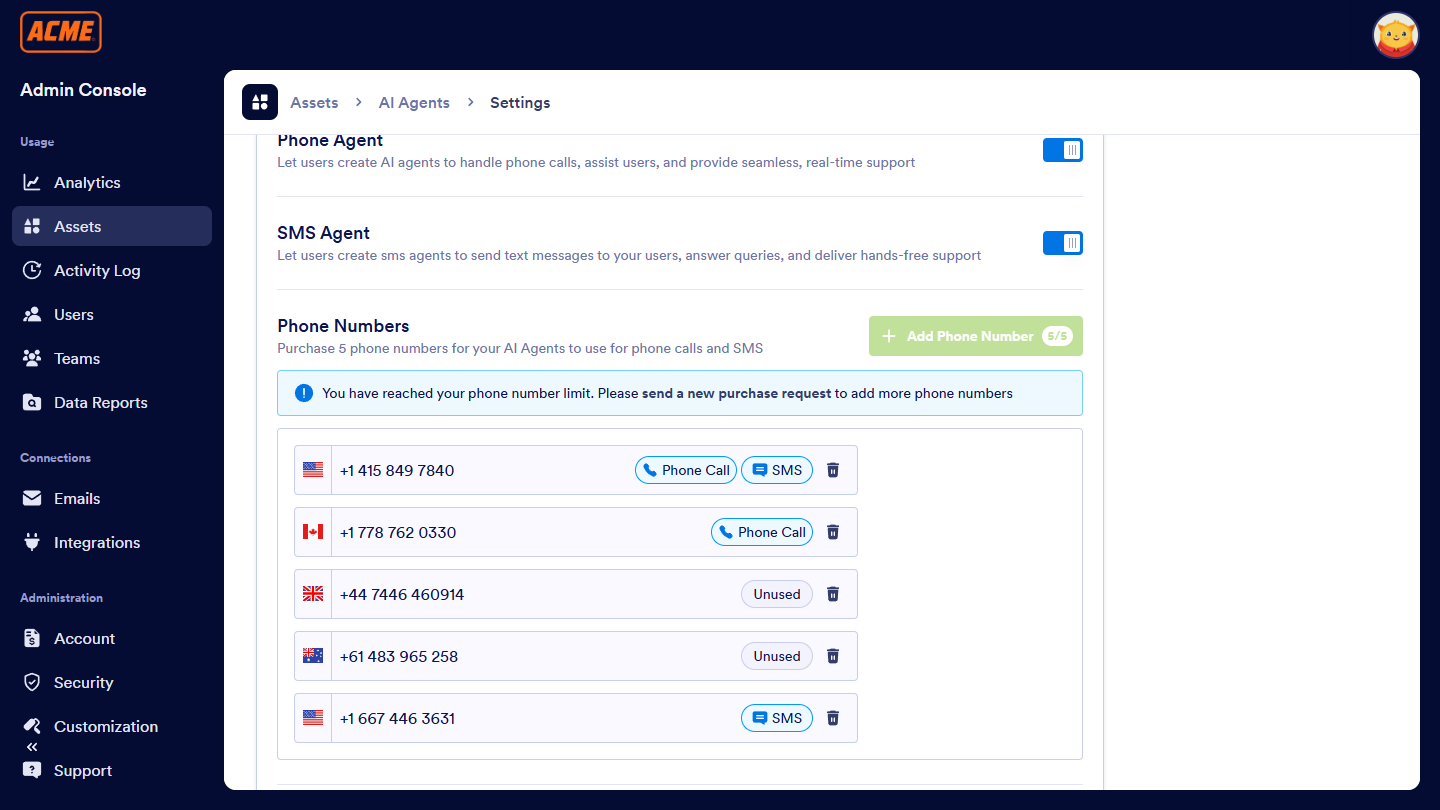
When a phone number is assigned to an AI Agent’s Phone channel or SMS channel, it’ll only remain available as an option for the other channel on another AI Agent. For example, if an AI Agent uses a phone number in its Phone channel, another AI Agent can still use that same phone number in its SMS channel, but not in its Phone channel.
In the Admin Console, you’ll see an indicator on the right side of the phone number showing if it’s unused, or if it’s assigned to a Phone or SMS channel. If you need more phone numbers, you can contact your account manager to purchase additional ones.
Notes
- When generating a US or Canadian phone number, a random area code will be assigned if you leave the field blank or set it to 0.
- AI Agent phone usage has monthly limits in the Enterprise environment. These limits apply at the server level and are based on the combined usage of all your AI Agents, not individual ones. You’ll get email notifications when the server is close to or over the limit. If you need a higher limit, you can reach out to your account manager.

Send Comment: