Overview
As an Admin, not only can you create and update Teams in the Admin Console, but you can also manage members of each Team from there.
Managing Team Members
Roles
Within the Team, there are four roles. Server Admins can only be Team Admins, while other user types can be any of the roles.
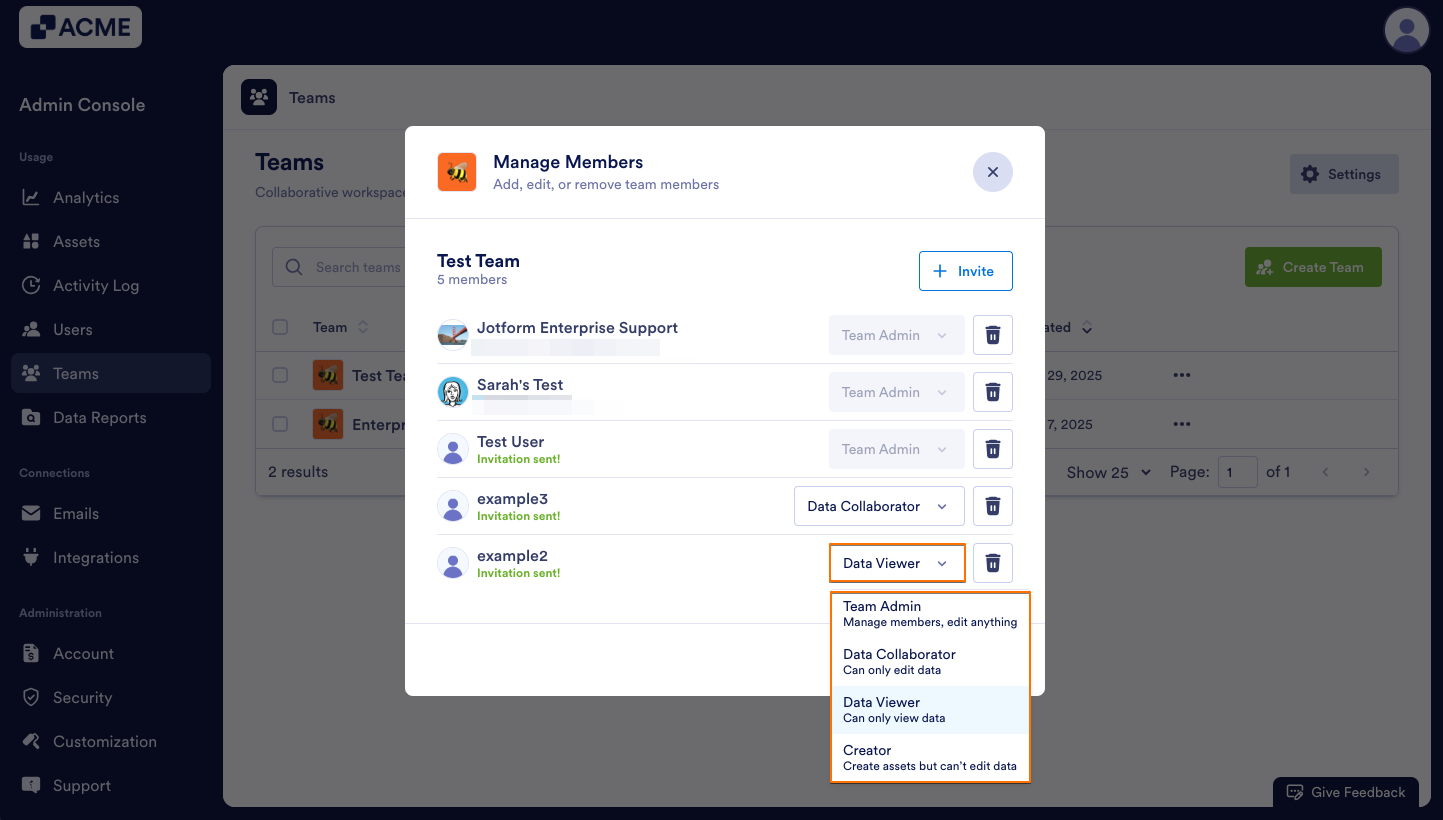
- Team Admin: Can manage Team Members, the Team, create, manage, and edit assets, including data. All server admins are automatically Team Admins.
- Data Collaborator: Can only view and edit data.
- Data Viewer: Can only view data.
- Creator: Can create forms, tables, and other assets but can’t edit data.
Accessing Team Members in the Admin Console
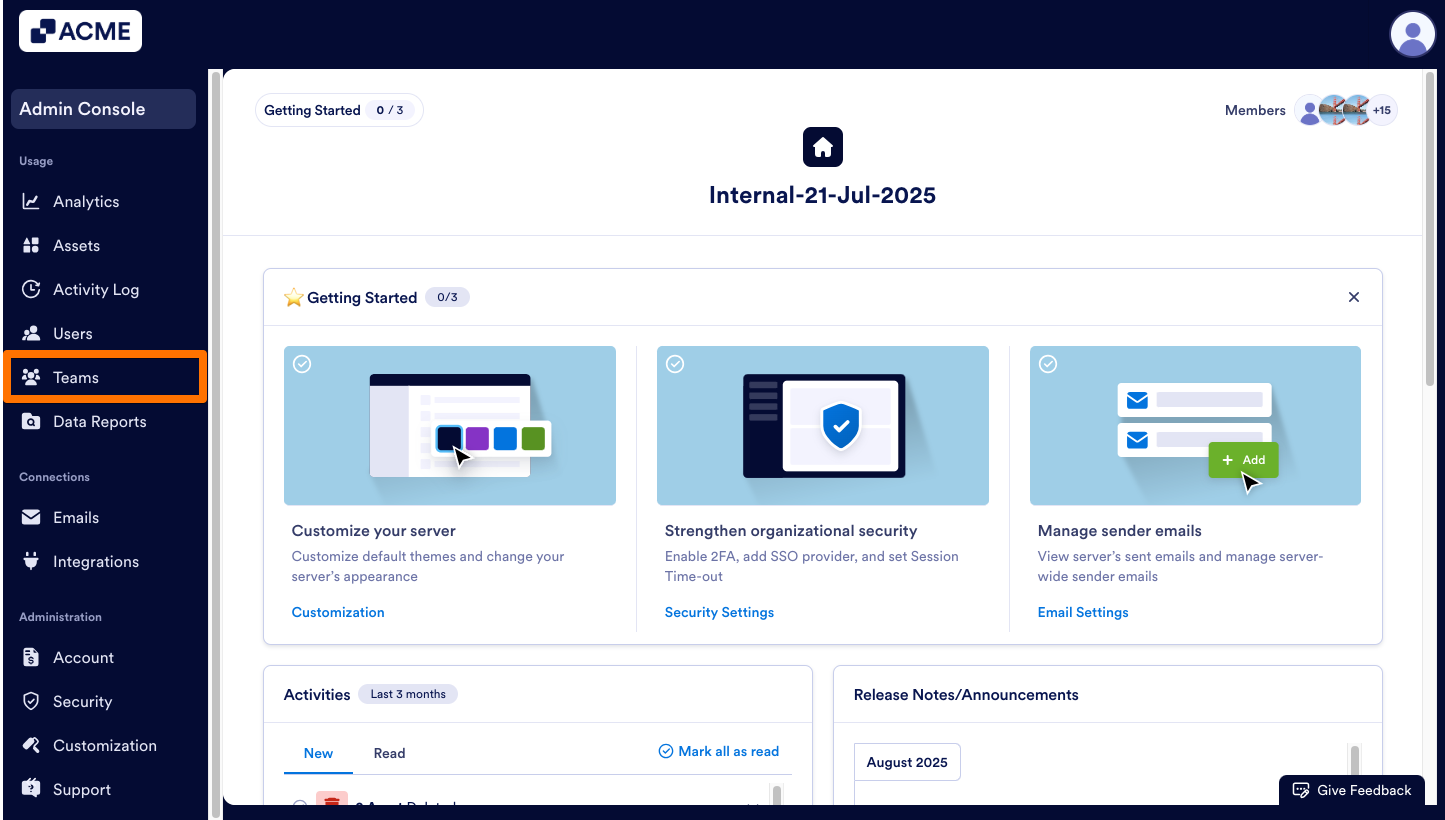
- In the Admin Console, click on Teams from the left-hand side of the page.
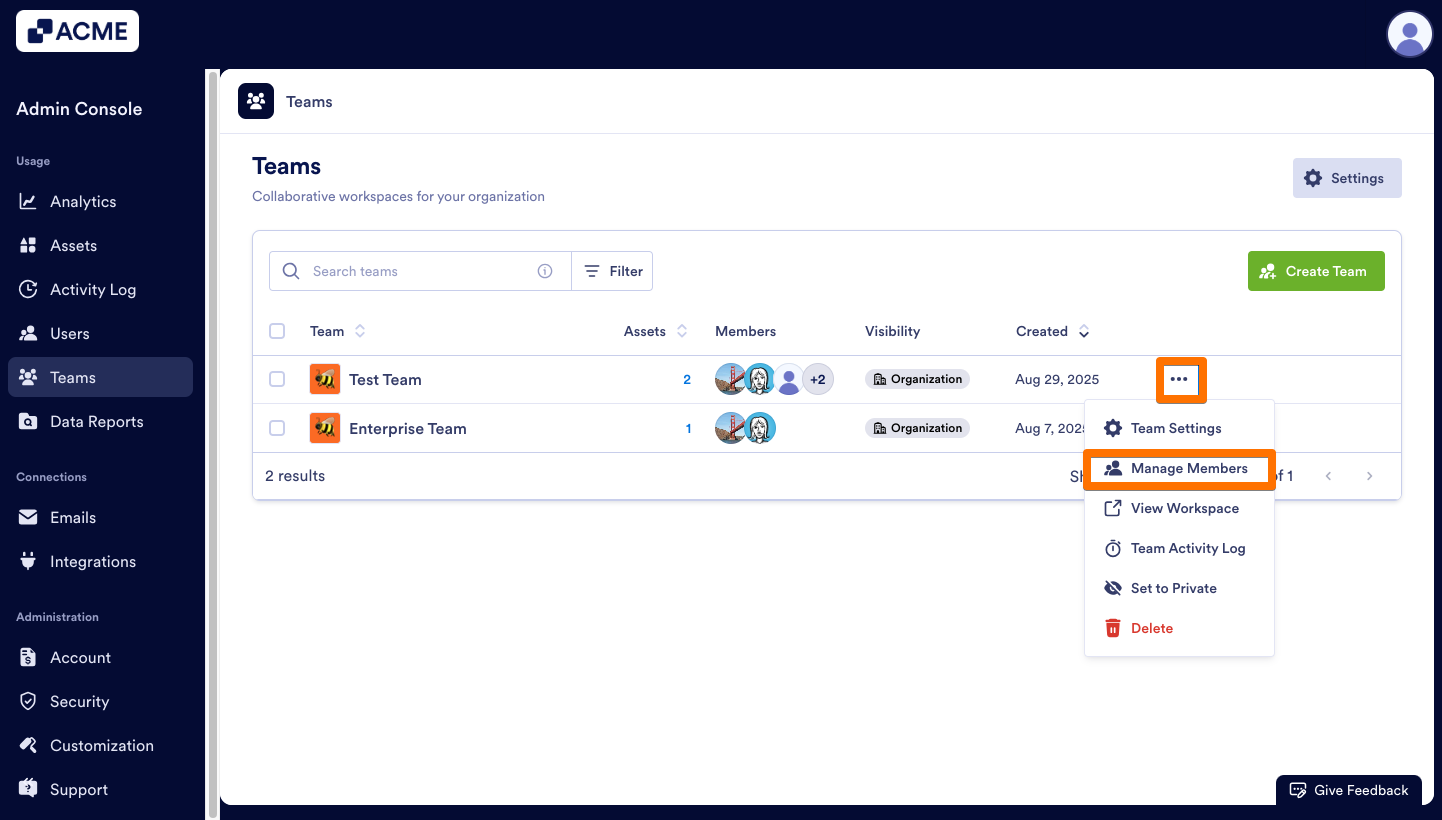
- Now, search for the Team in the Search Bar.
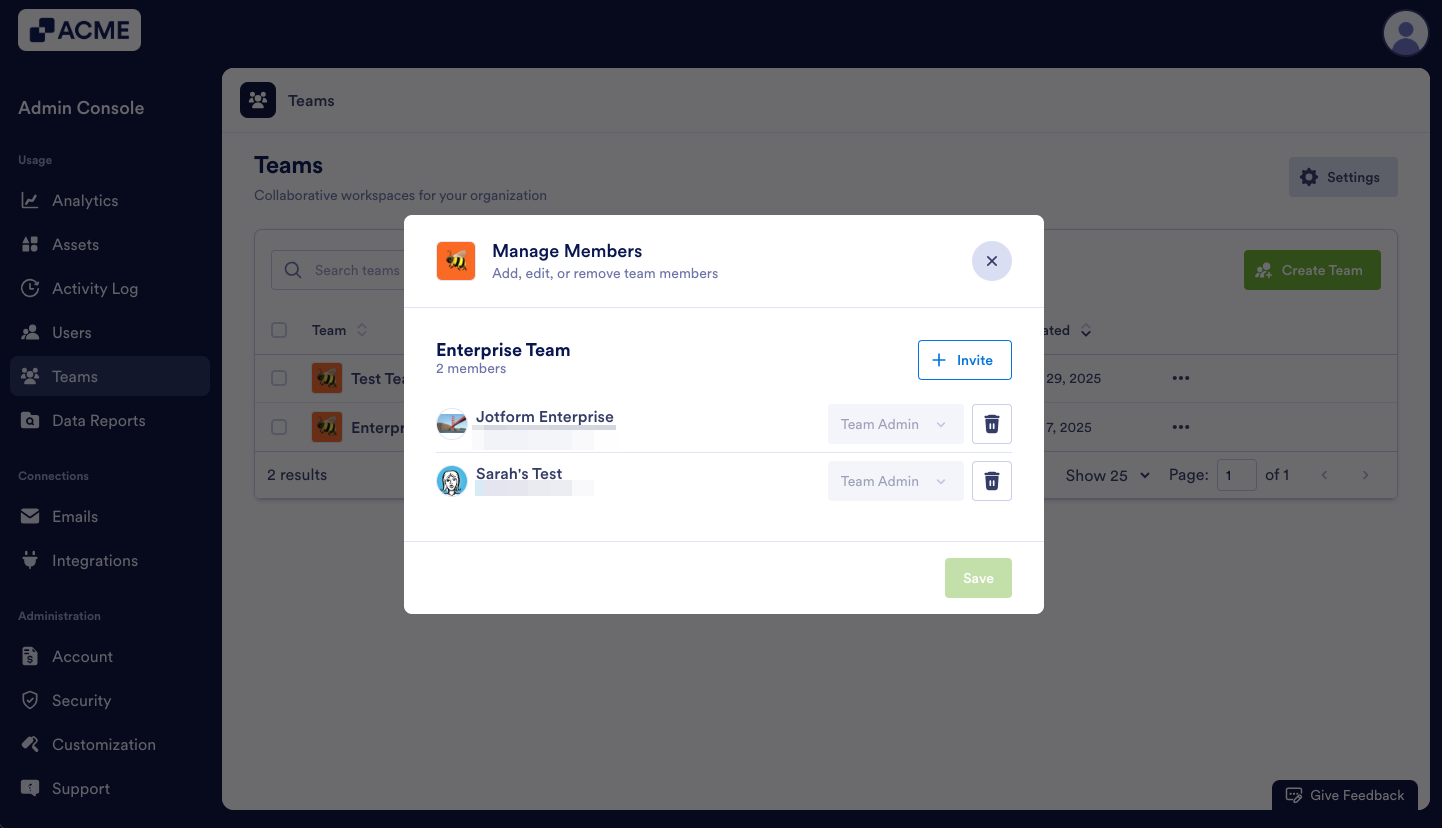
- Click on the three-dot menu on the right-hand side of the page and select Manage Members.
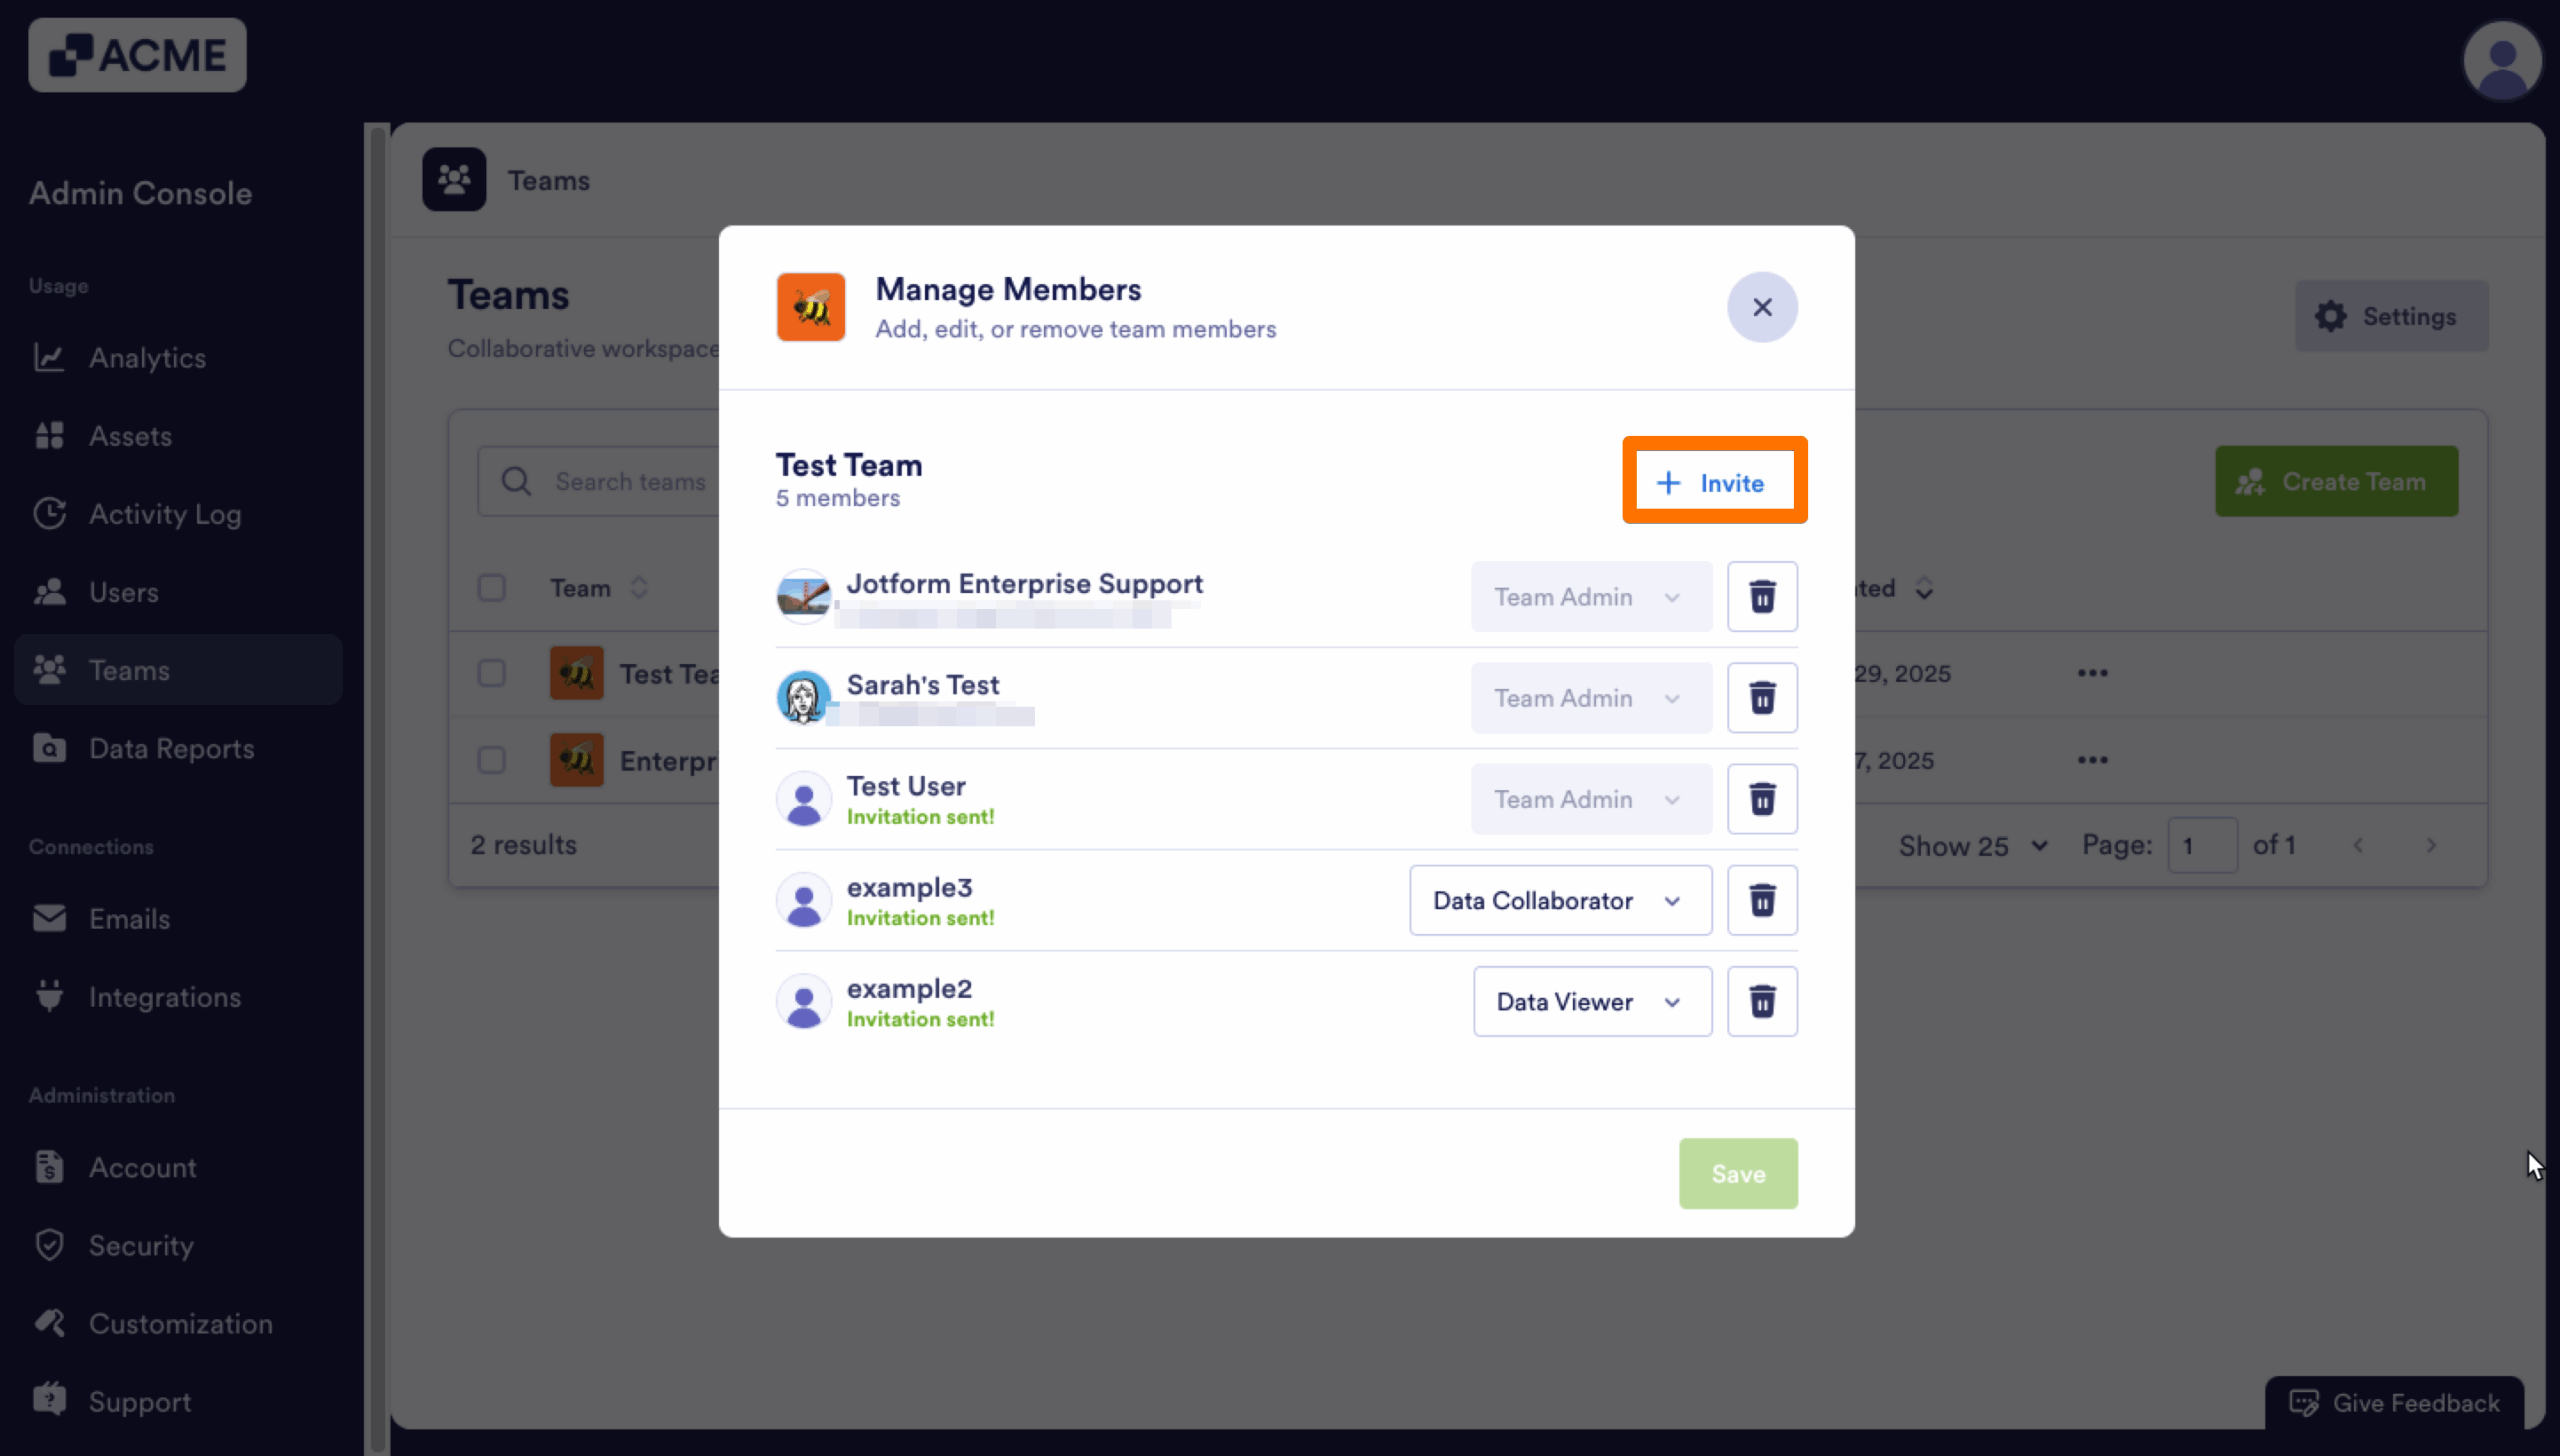
Once the window for the Team is open, you can add, edit, or remove Team Members. We’ll start with Adding Team Members.
Adding Team Members
You can add Team Members to any team and grant them one of four Team Roles. Depending on your server settings, any non-users that are added to a Team take up a user seat.
This can be done via Email, a link, or a CSV Upload. We’ll walk through all three methods below:
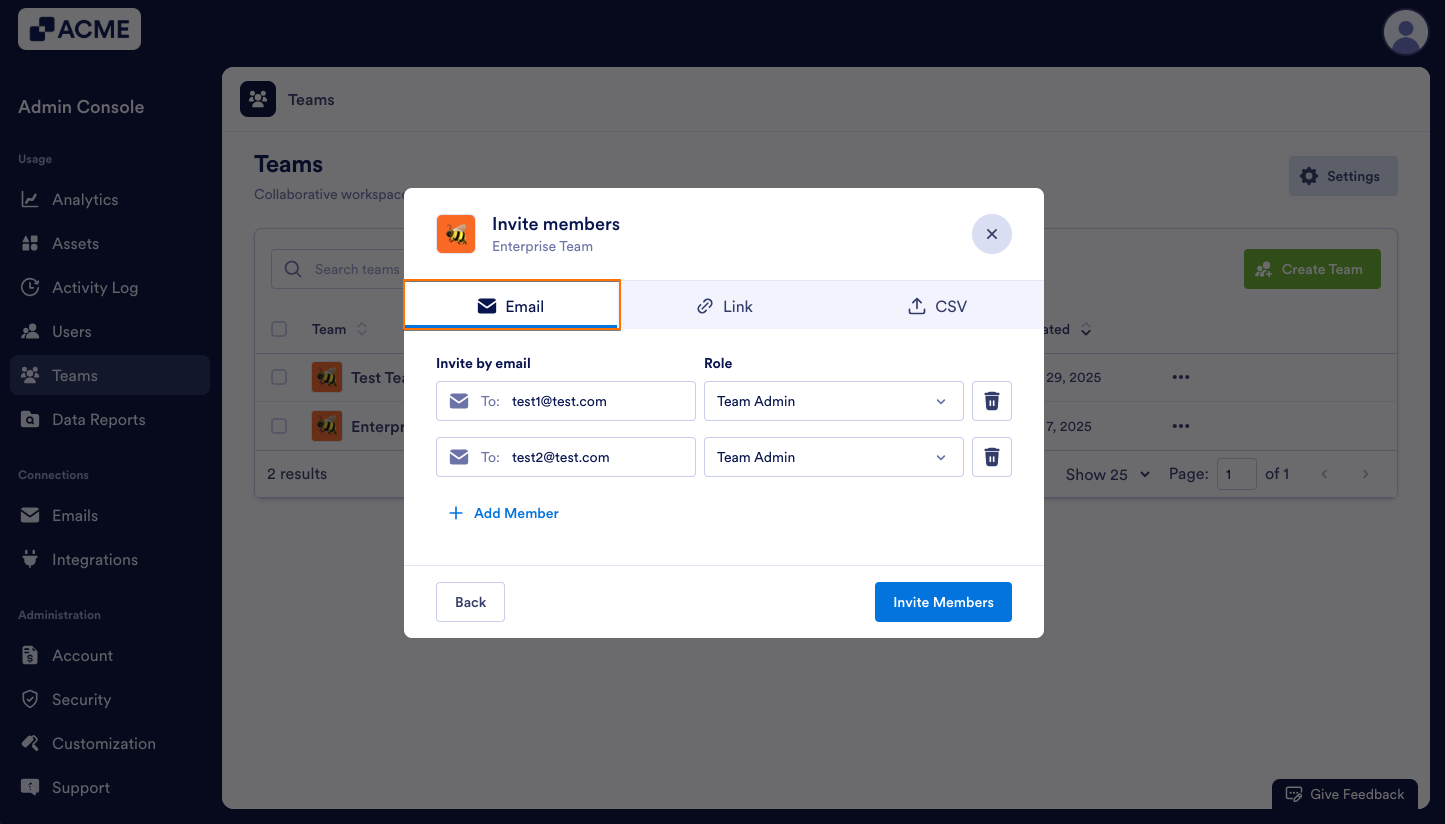
- In the pop-up window, click on Invite.
- Then, under the Email tab, either enter the email address or select the User from the drop-down.
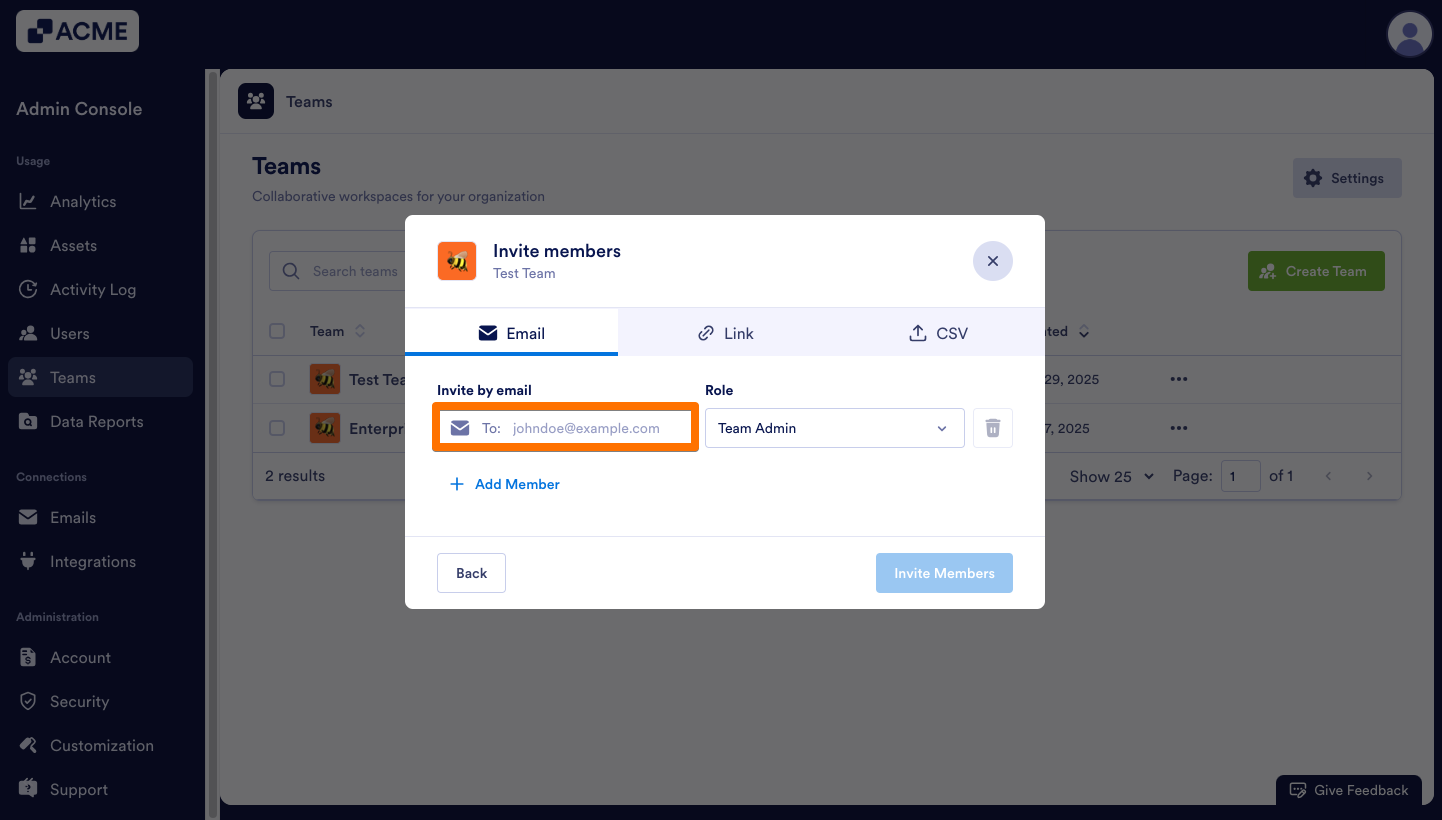
- Then, update the Role and click Invite Team Members.
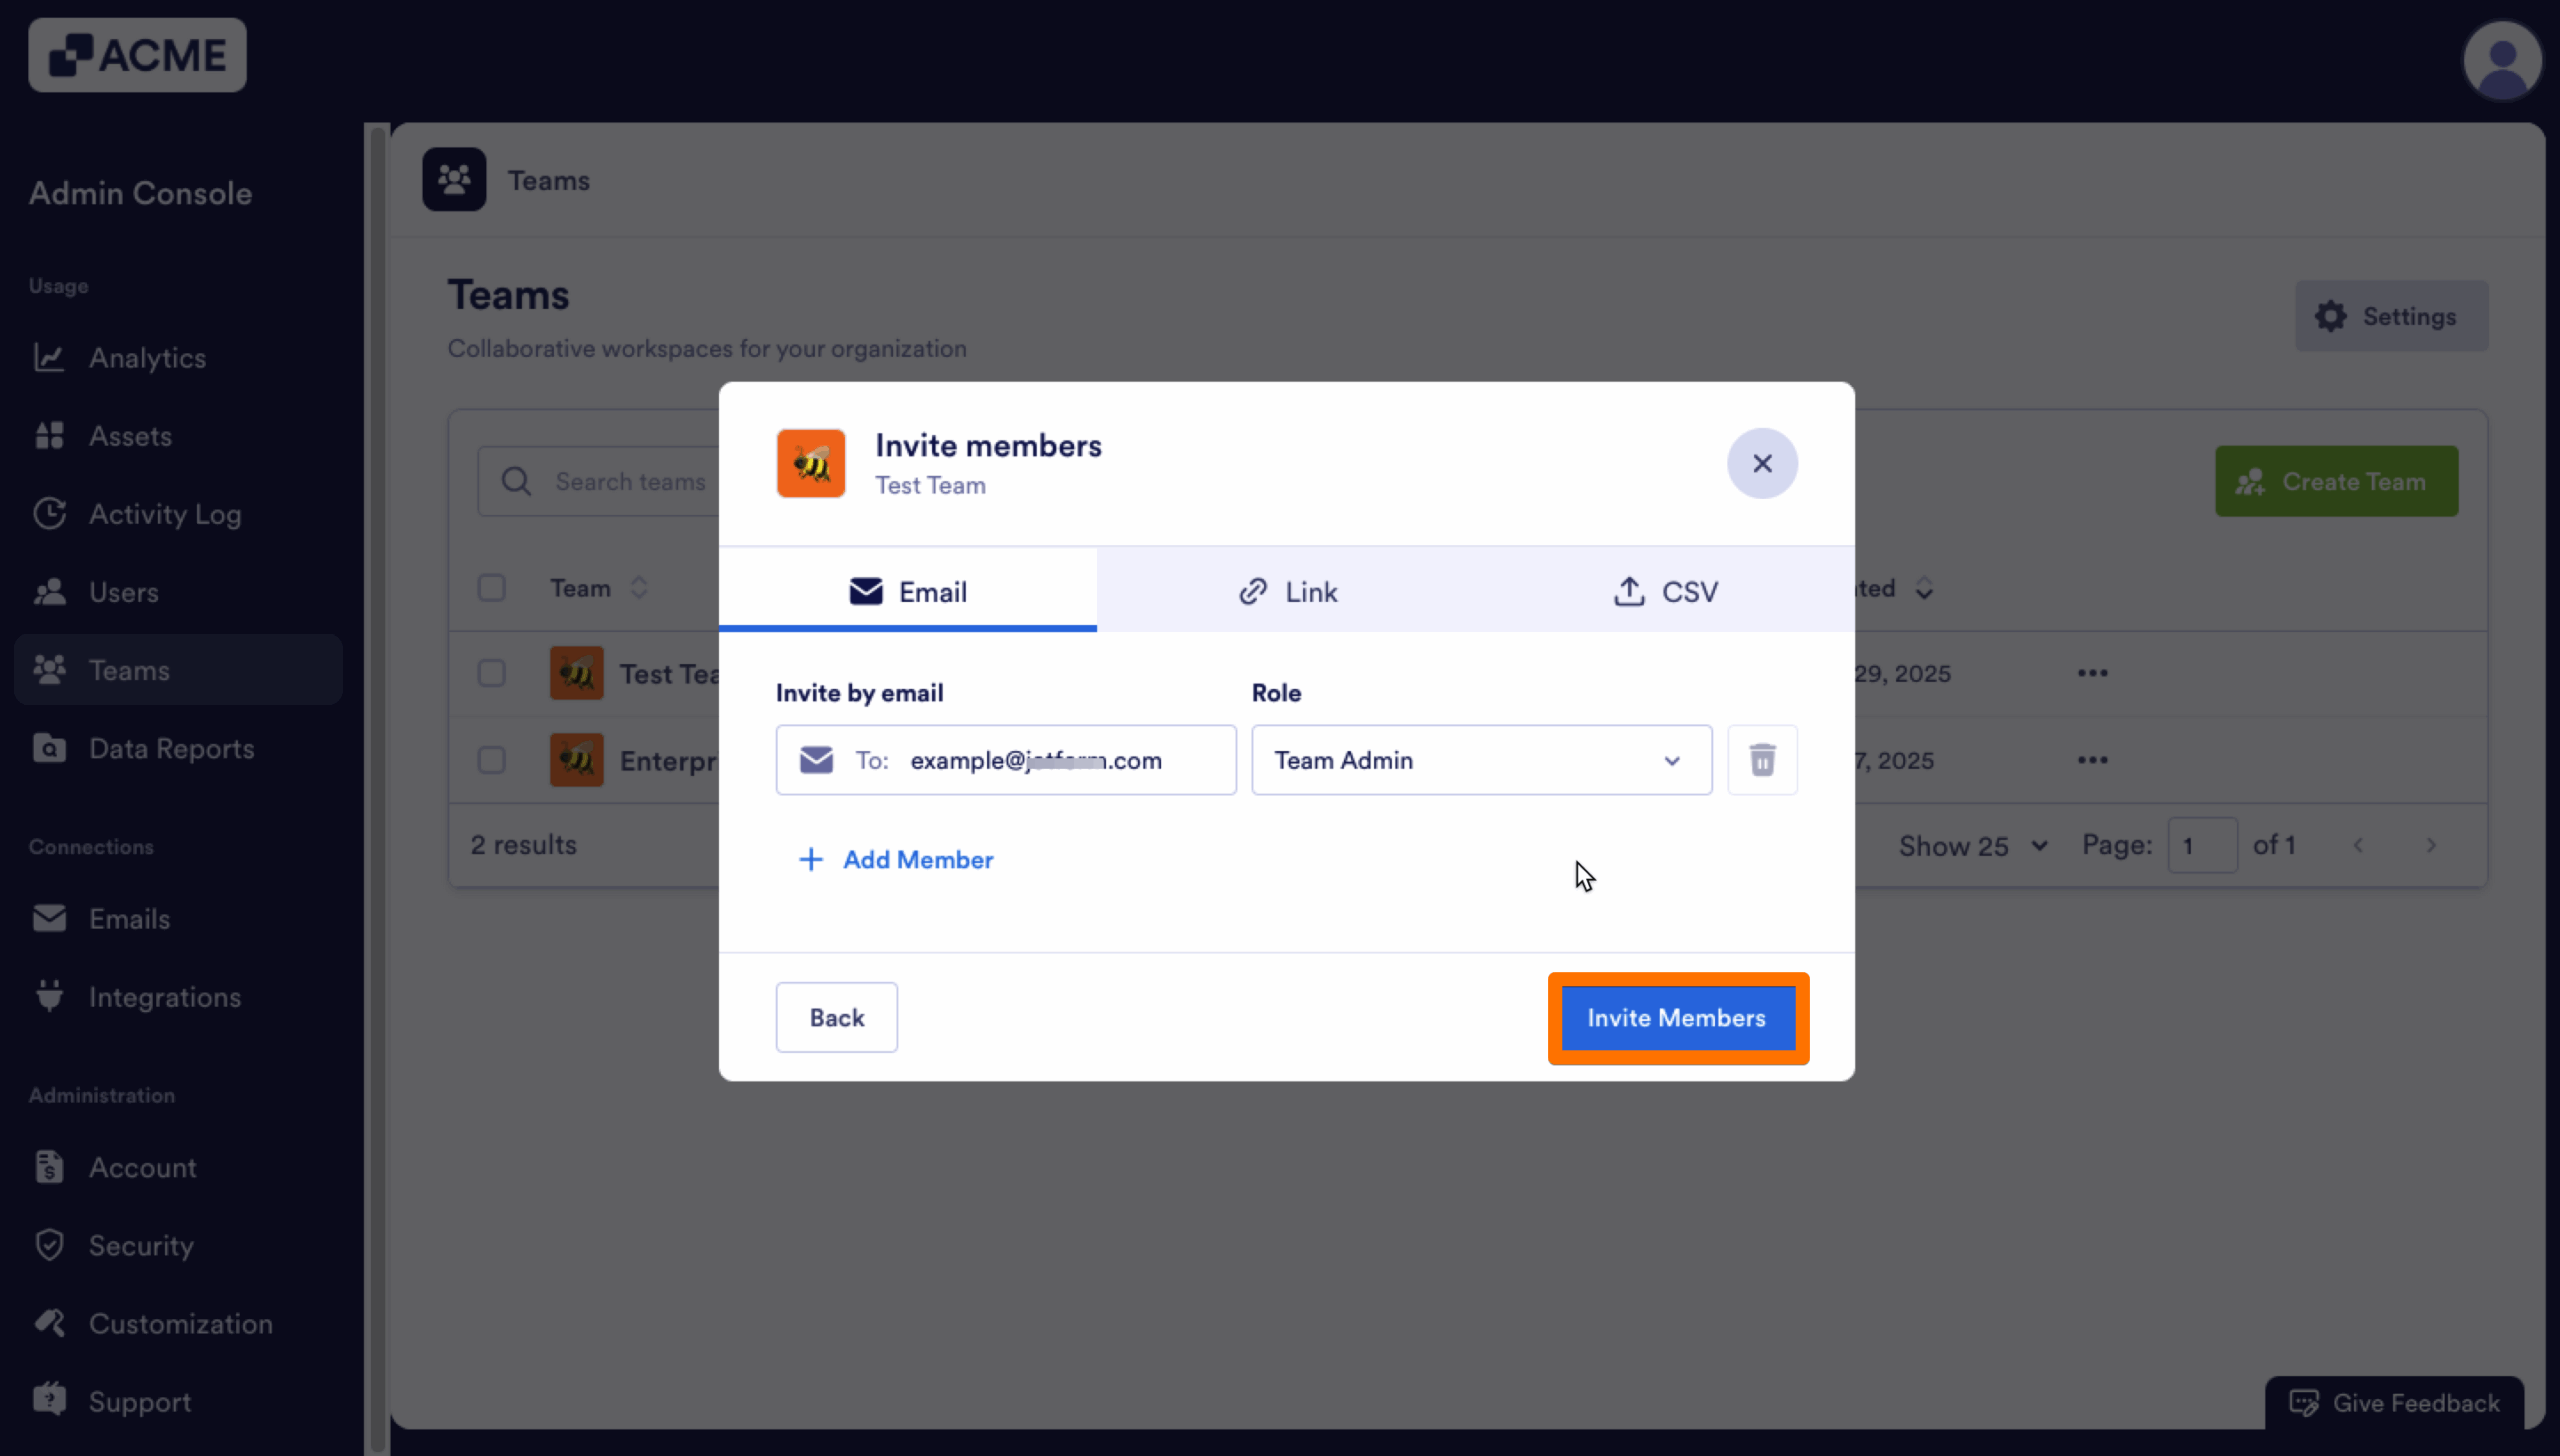
You can add multiple team members by clicking Add Member and updating the Role before clicking Invite Members.
Link
Only licensed users can join a Team via a link.
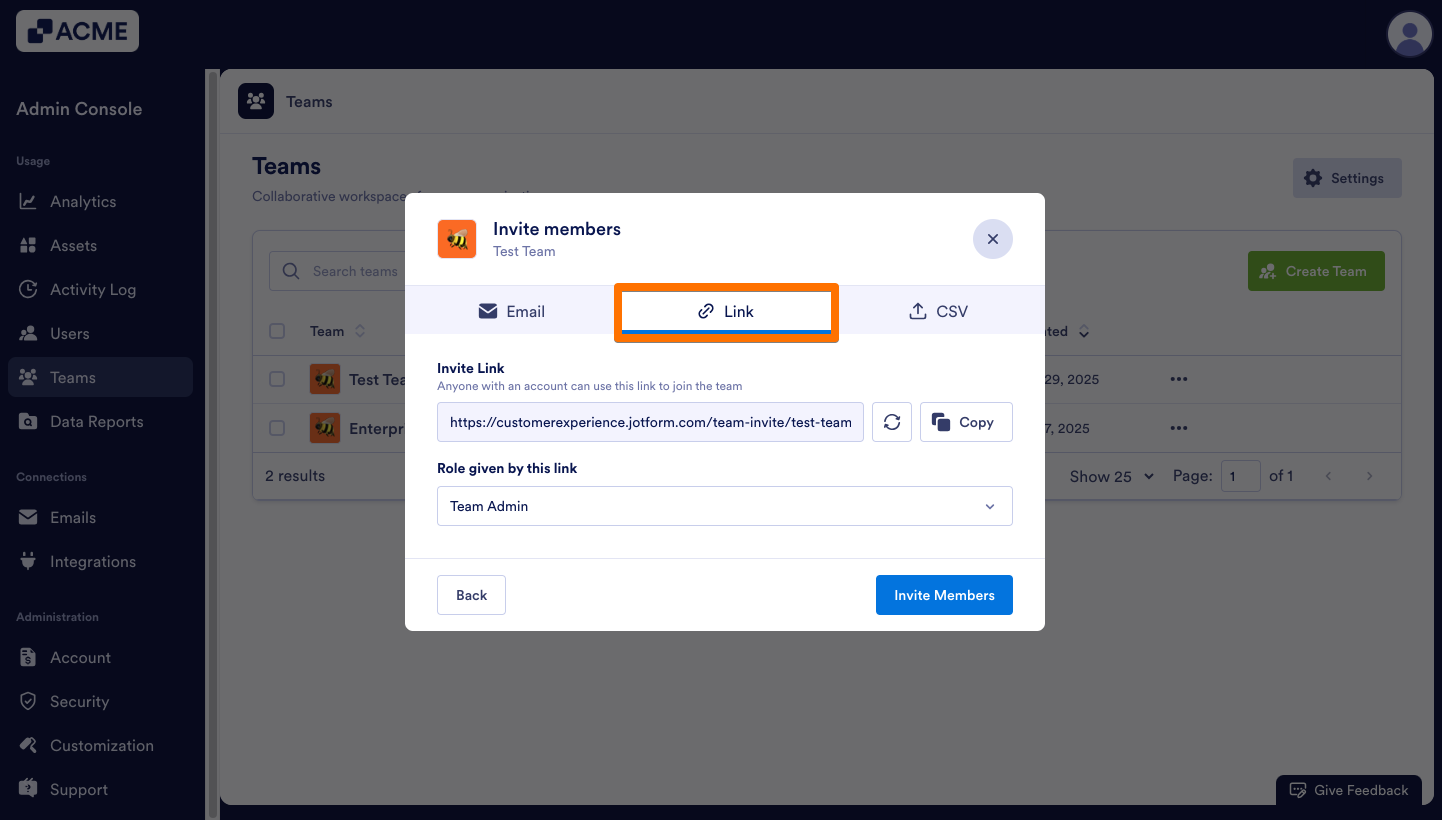
- In the pop-up window, click on Invite.

- Then, select the tab labeled Link.
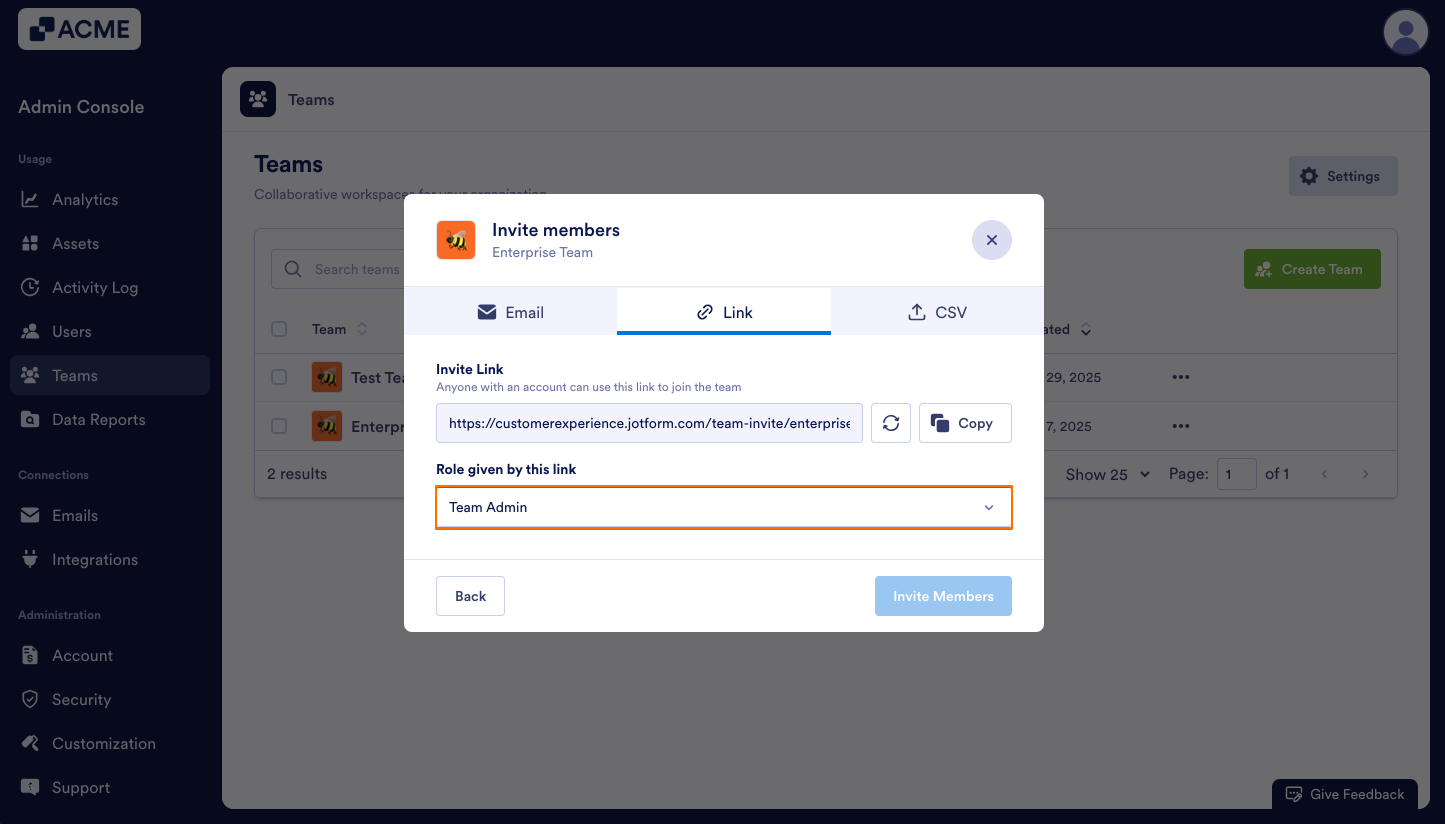
- Next, update the Role given by this link to the appropriate Team role.
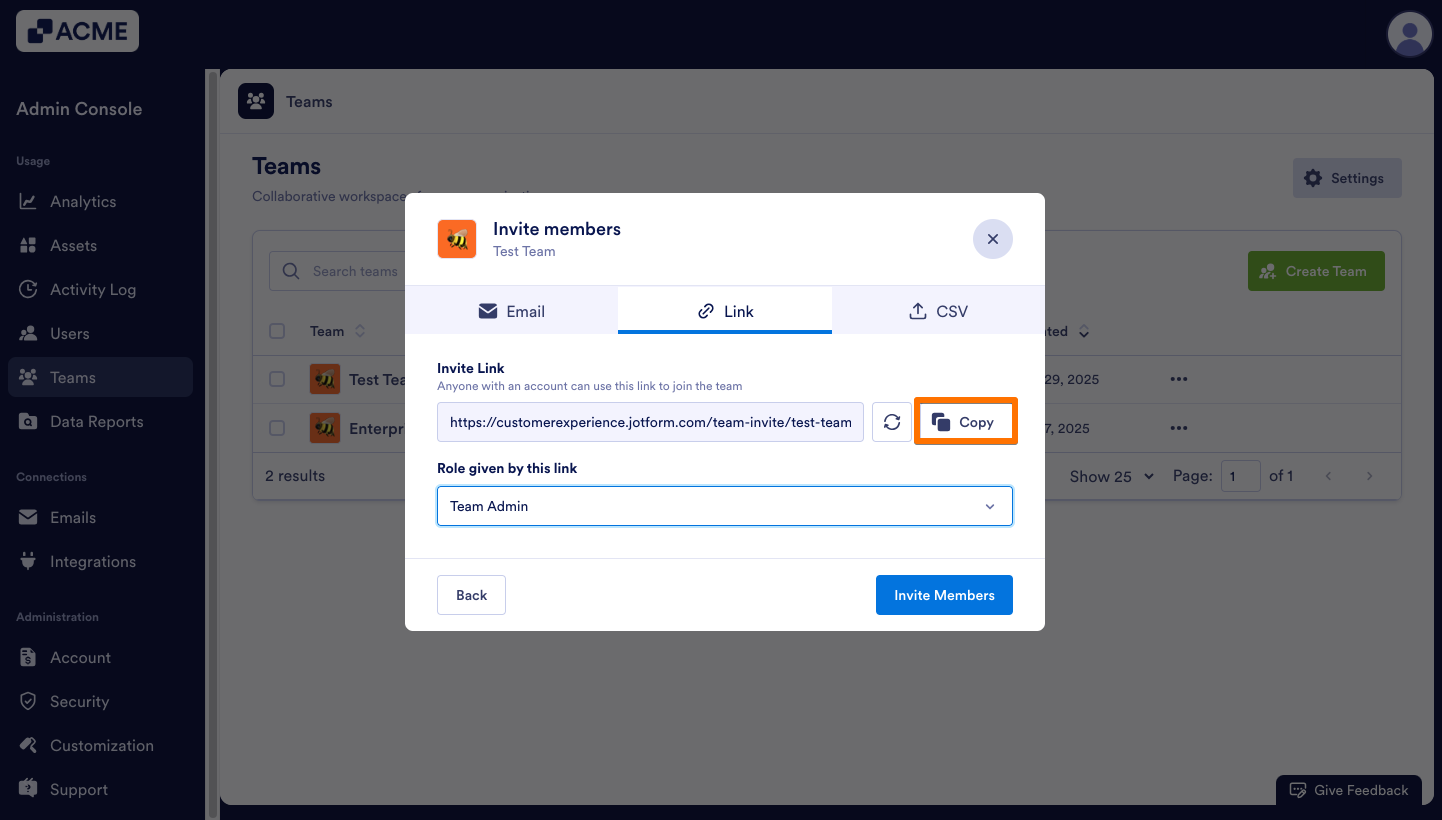
- Now, click Copy to copy the link to share with Team Members.
CSV upload
- In the pop-up window, click on Invite.

- Then, select CSV.
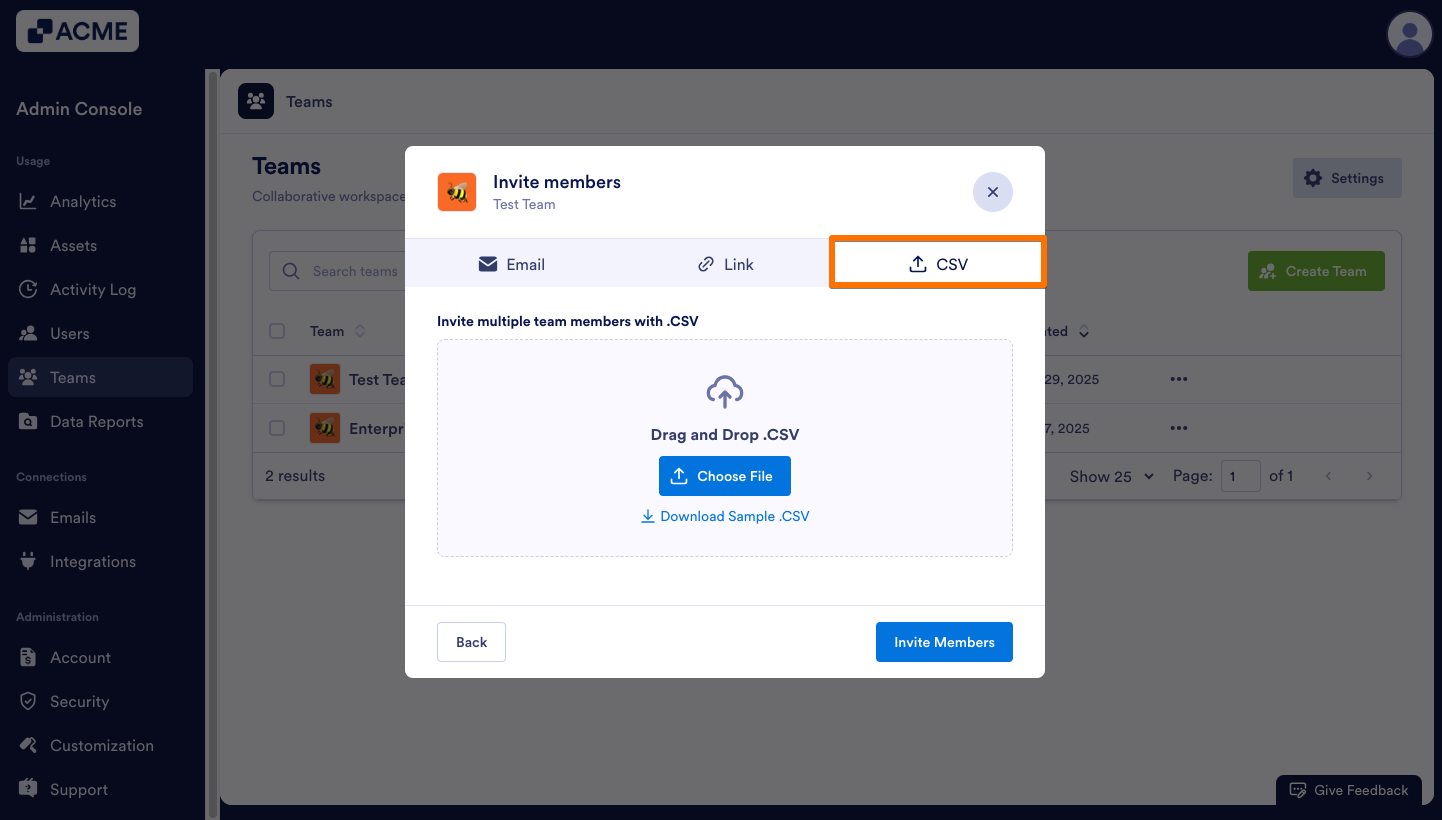
- Next, click Choose File.
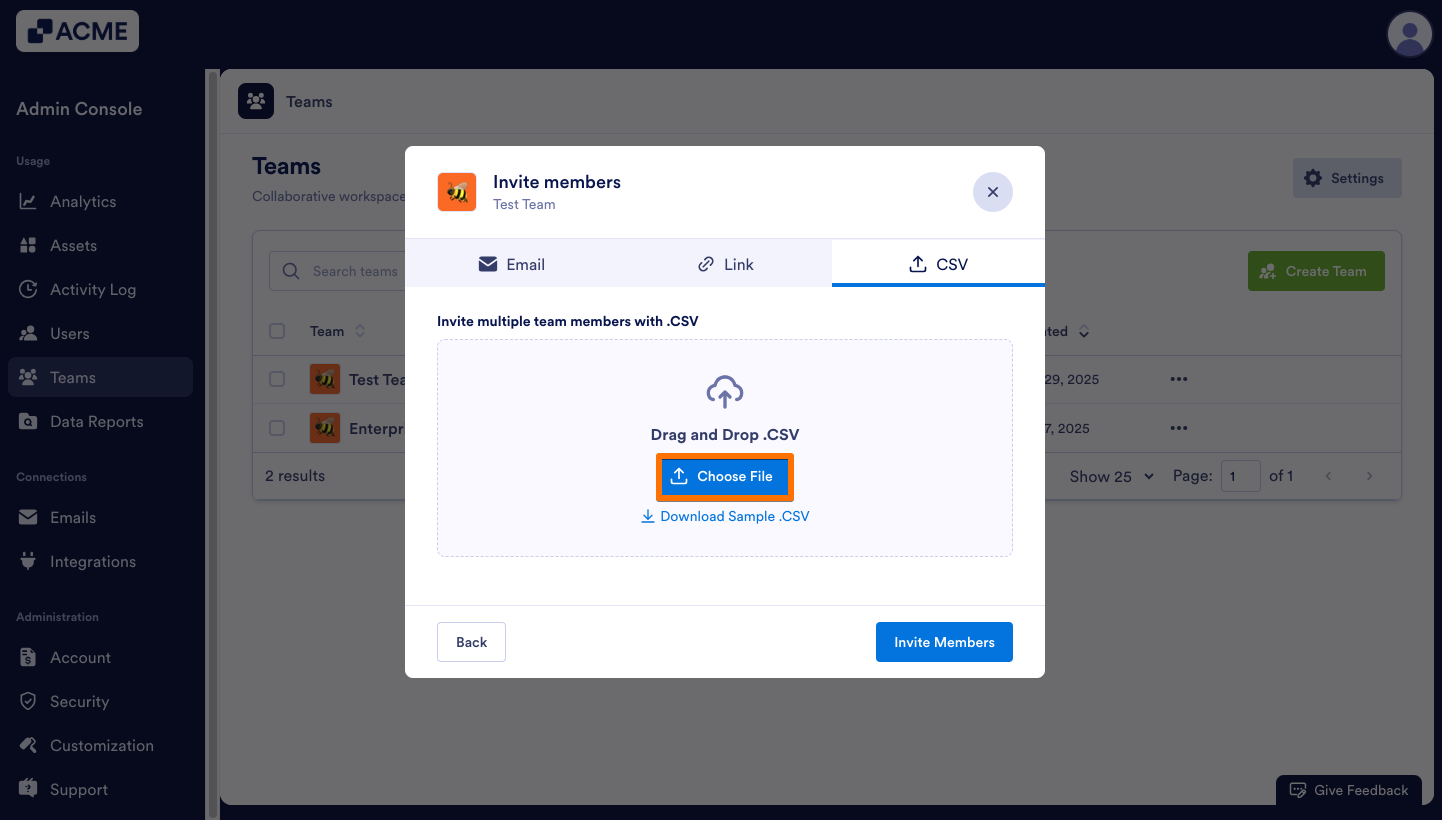
- Select the CSV file from your computer. This should be a single-column CSV, with emails listed on separate rows.
- After the file has uploaded, you’ll be brought to the Email in the pop-up window and assign each email address the correct role.
- Finally, click Invite Members to invite the emails to the Team.

After the invite has been sent, regardless of method, the new Team Member will need to accept it before being able to access the Team.
Editing Team Members
If you need to update the role for a Team Member, you can also do this in the Admin Console. Server Admins, however, cannot have a role besides Team Admin. Let’s walk through this together:
- Under Manage Members, locate the Team Member that needs to be changed.
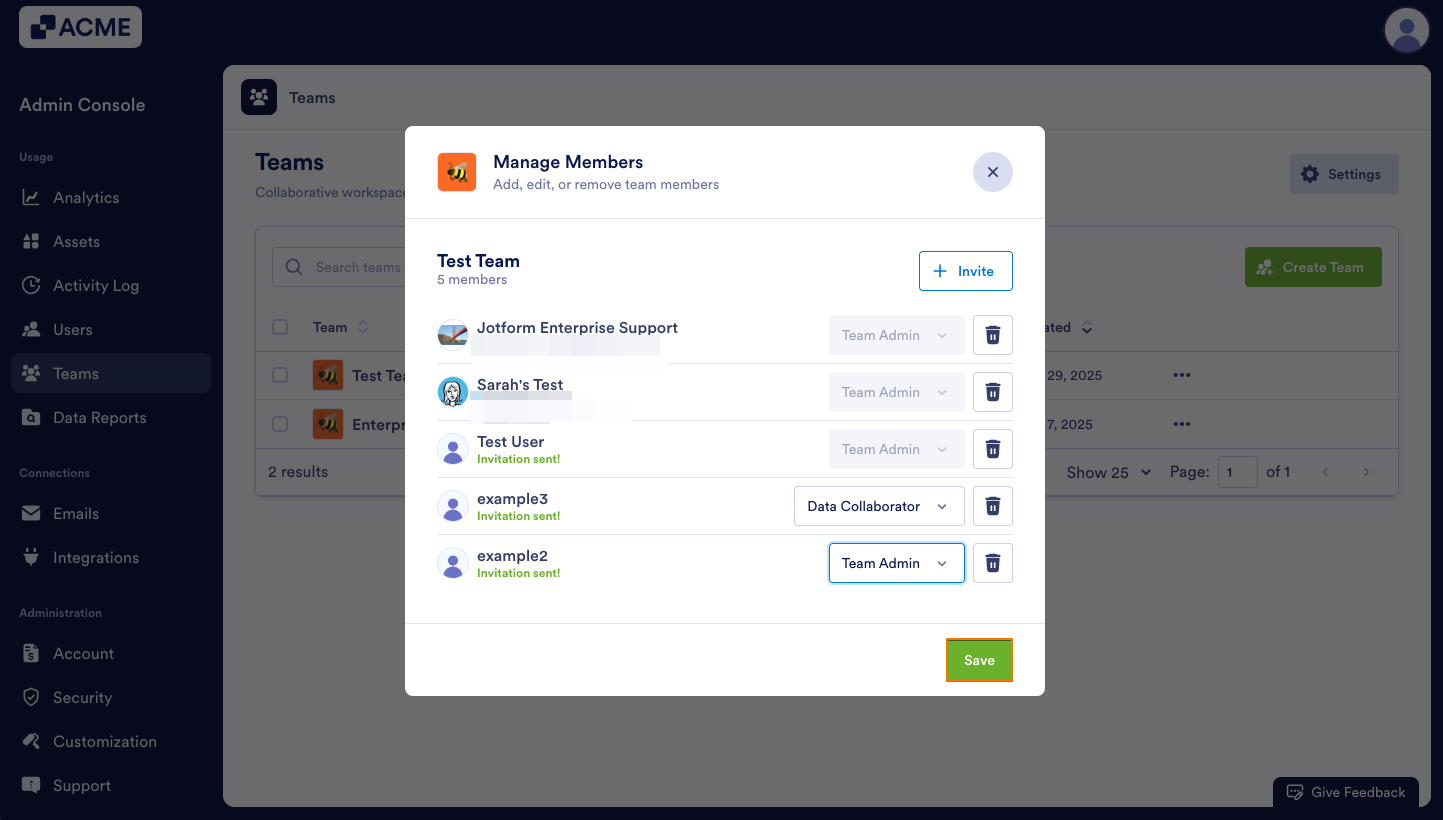
- Now, click on the drop-down menu next to their name and select the new role.
- Finally, click Save.
Removing Team Members
You can also remove Team Members from this part of the Admin Console. However, it’s important to note that there should be at least one Team Admin on the Team — if you’re removing the only one, make sure to add a new one beforehand.
- Under Manage Members, locate the Team Member that needs to be deleted.

- Next, click on the Trash Can icon next to their name.
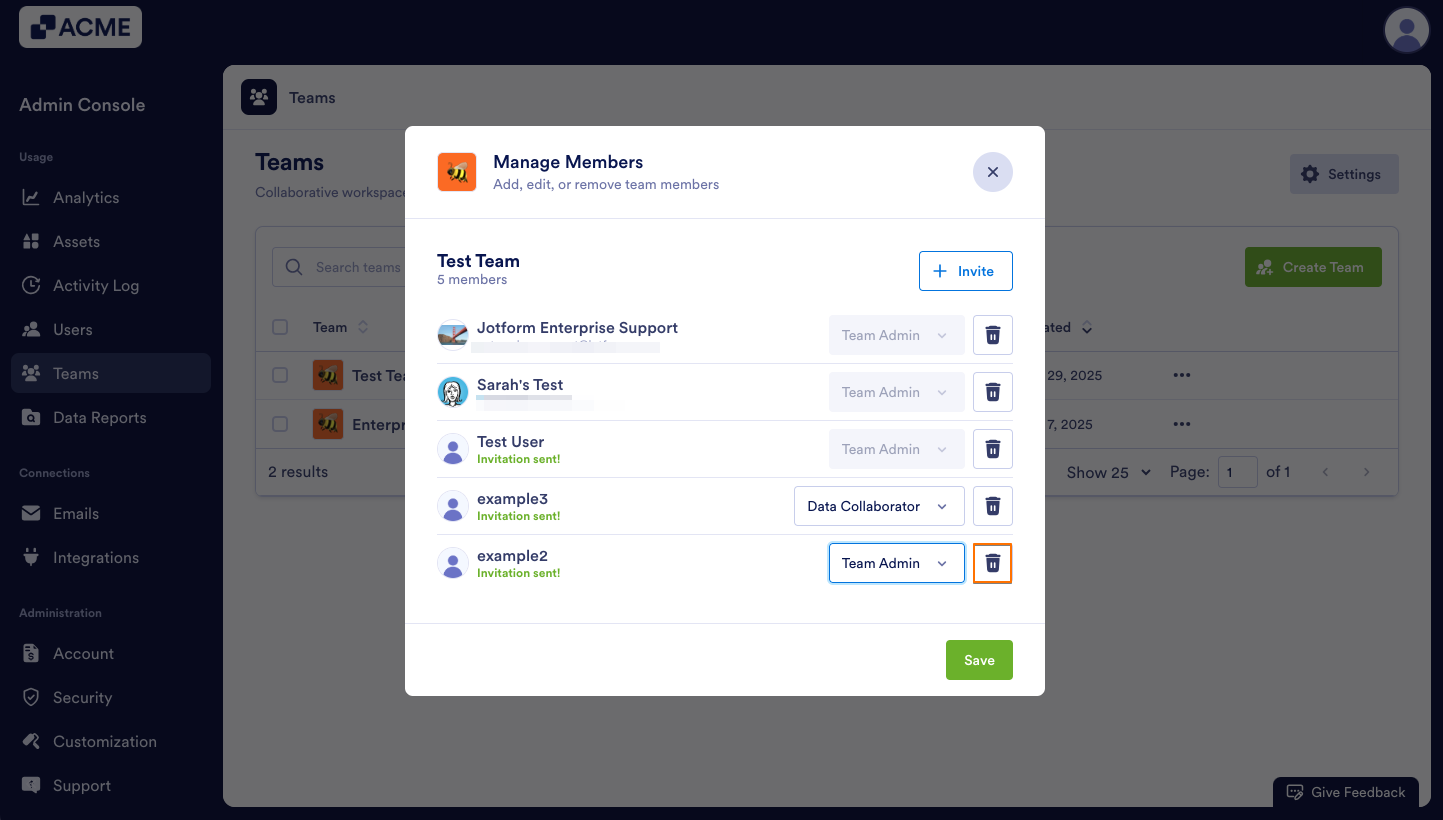
- Finally, click Save.
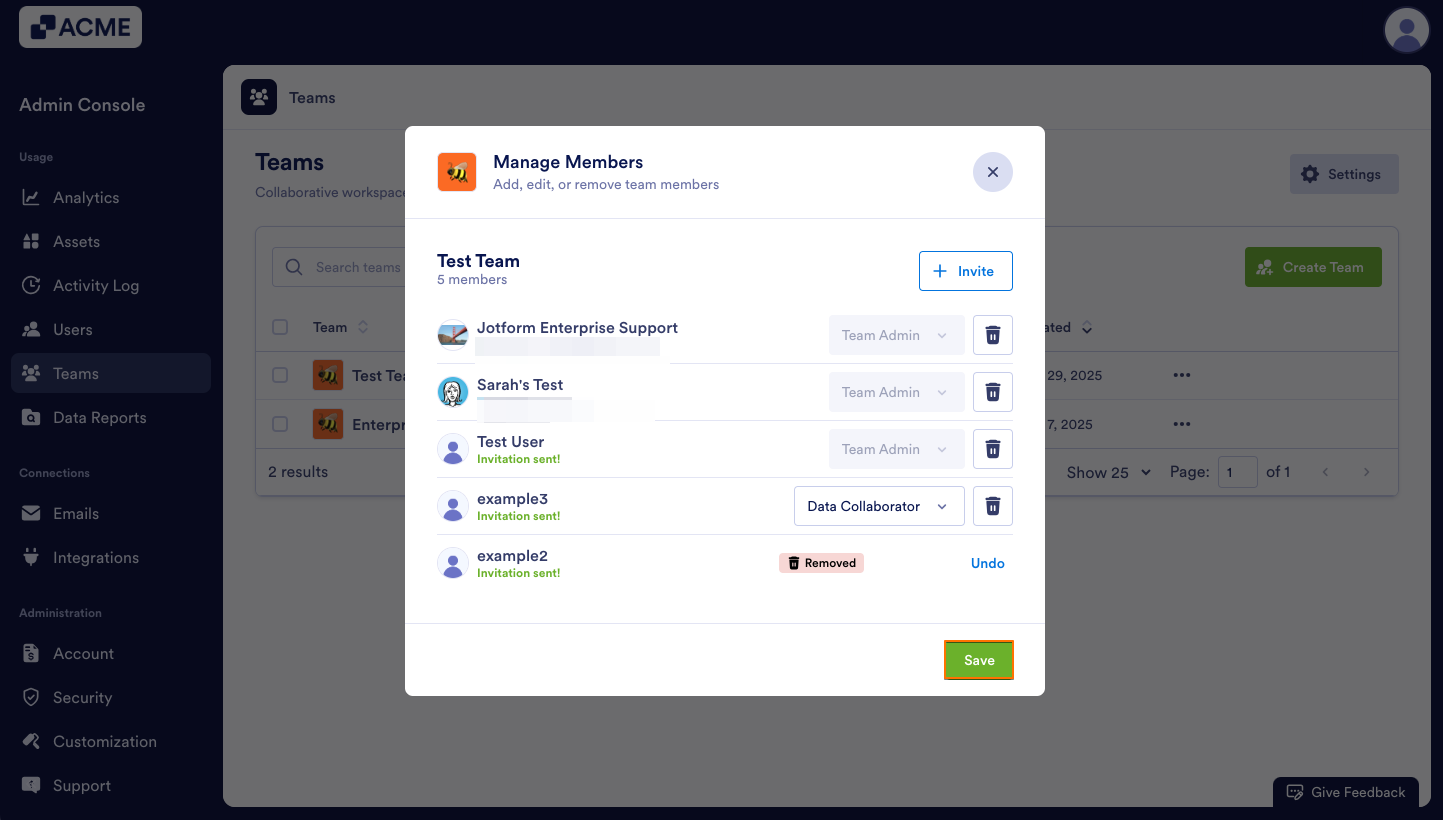
Tip: If you accidentally removed the wrong Team Member, you can click Undo before clicking Save.

Send Comment: