As an Admin, you can also enable, disable, or delete AI Agents from the Admin Console. While deleting the Agent removes all of the related information, disabling the Agent prevents it from being used while also keeping all related information stored on your server.
Process
In the Admin Console, you can disable or enable an agent individually. You can also delete individual agents or delete several agents at the same time. We’ll go through the individual processes first.
Disabling an Agent
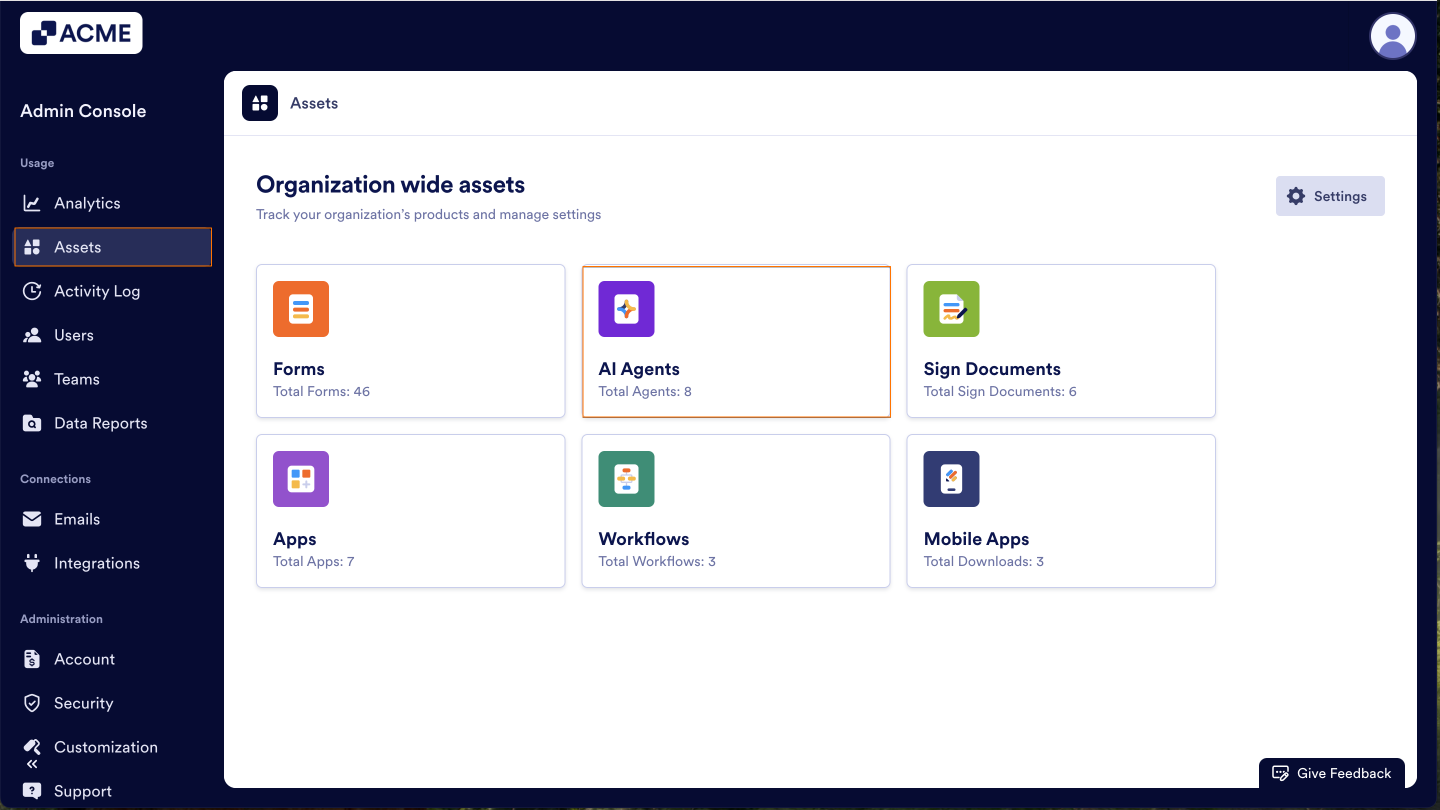
- In the Admin Console, click on Assets from the left-hand side menu.
- Next, click on Agents.
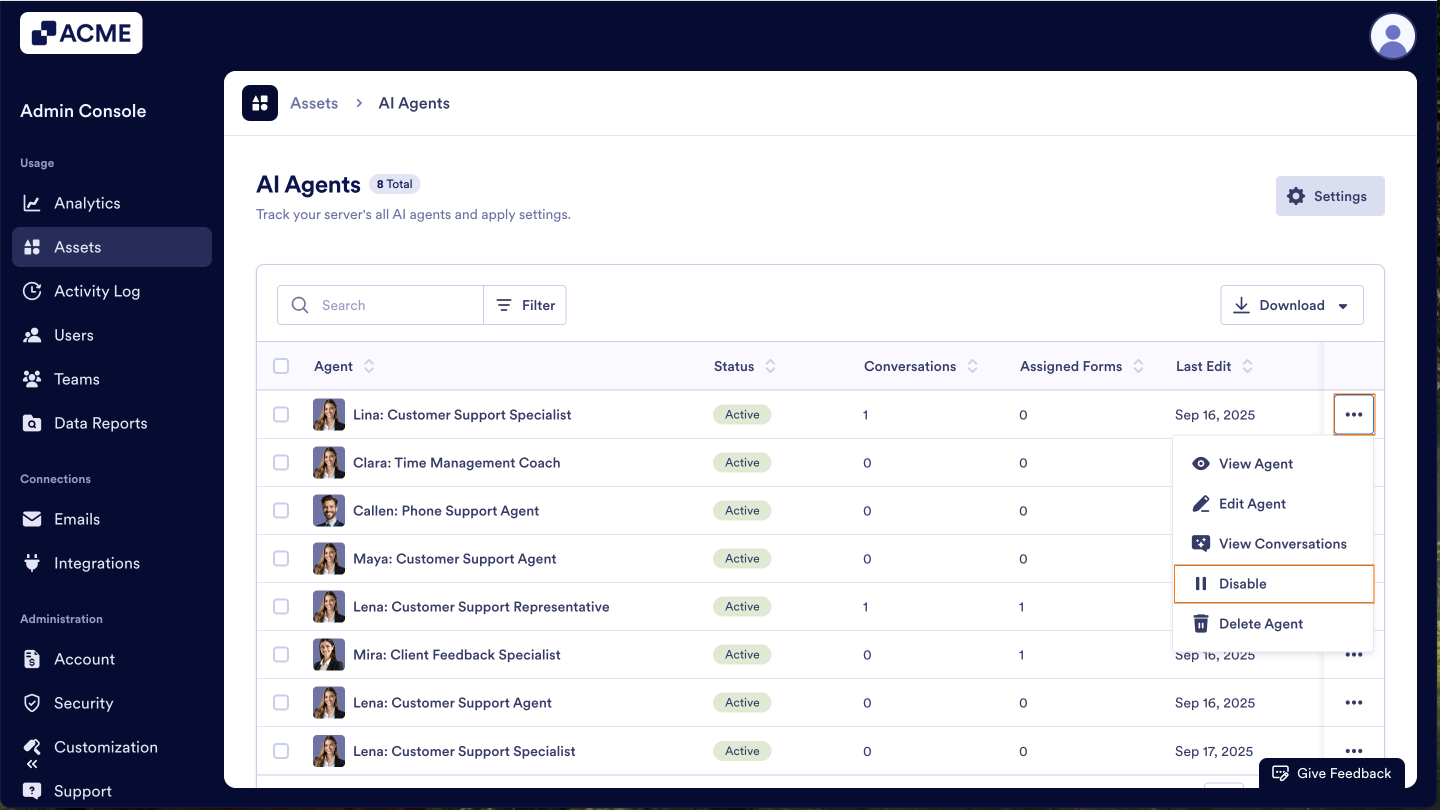
- Click on the three dot menu next to the Agent you’d like to disable and select Disable.
- Finally, click on Yes, Disable from the pop-up window.

Enabling an Agent
- In the Admin Console, click on Assets from the left-hand side menu.
- Next, click on Agents.
- Click on the three dot menu next to the Agent you’d like to enable and select Enable.
- In the pop-up, click Yes, Enable to enable the agent.
Delete an Agent
Make sure you want to delete the Agent before confirming.
- In the Admin Console, click on Assets from the left-hand side menu.
- Next, click on Agents.
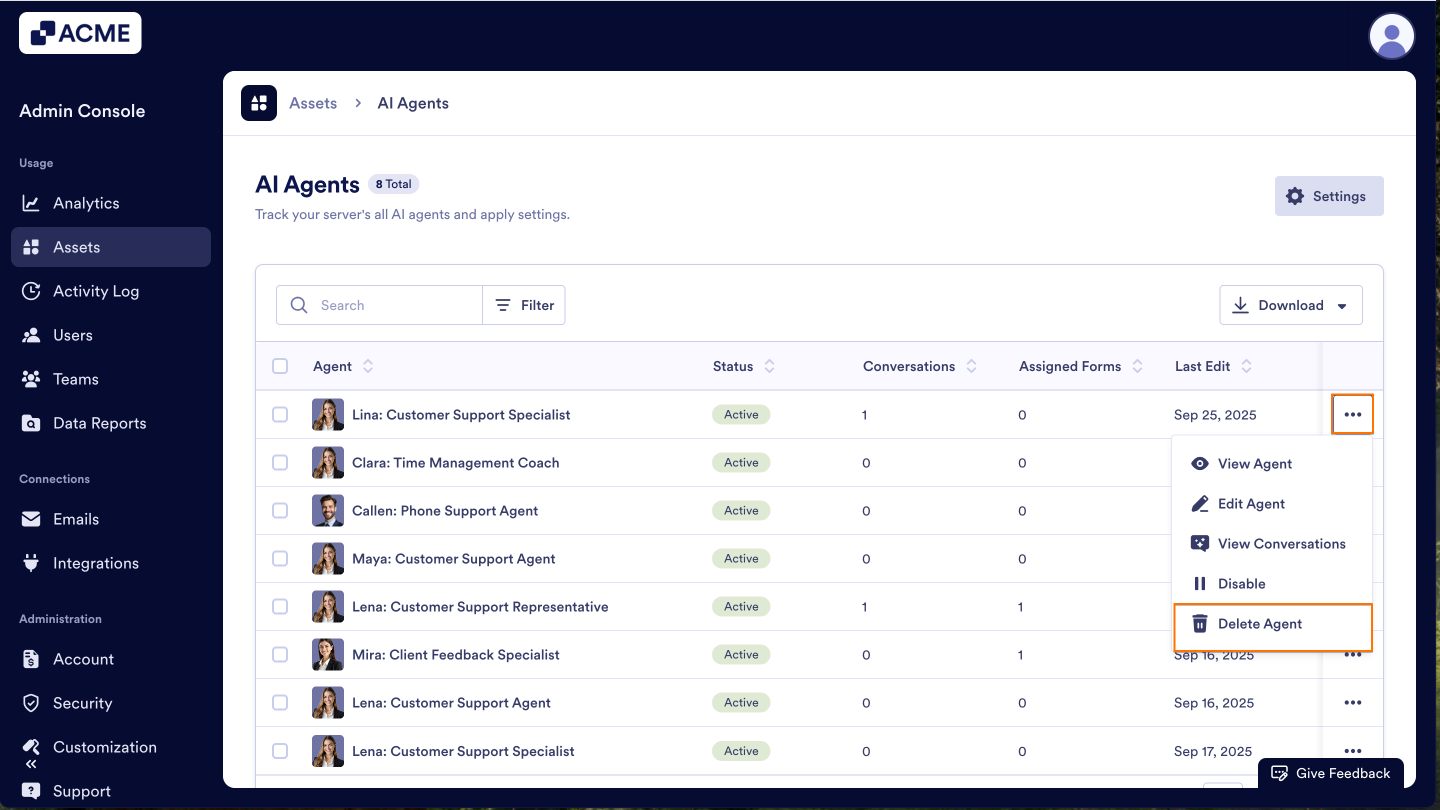
- Click on the three dot menu next to the Agent you’d like to delete and select Delete Agent.
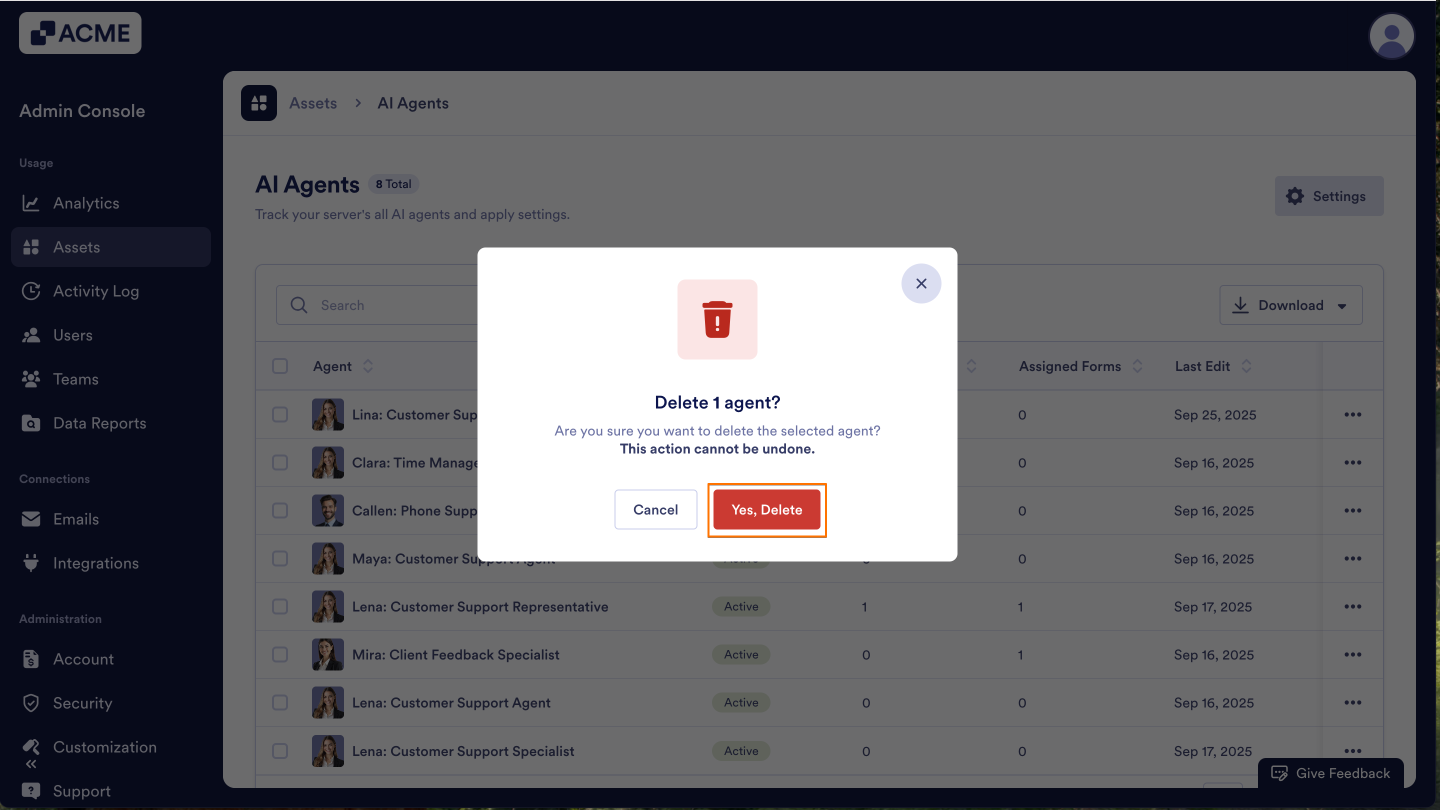
- Finally, click Yes, Delete from the pop-up window.
Bulk Deleting
There may be times where you need to delete an Agent or delete several at one time. As a reminder, the only action that can be taken in bulk is deleting the app. Let’s walk through this process together:
- In the Admin Console, click on Assets on the left-hand menu.
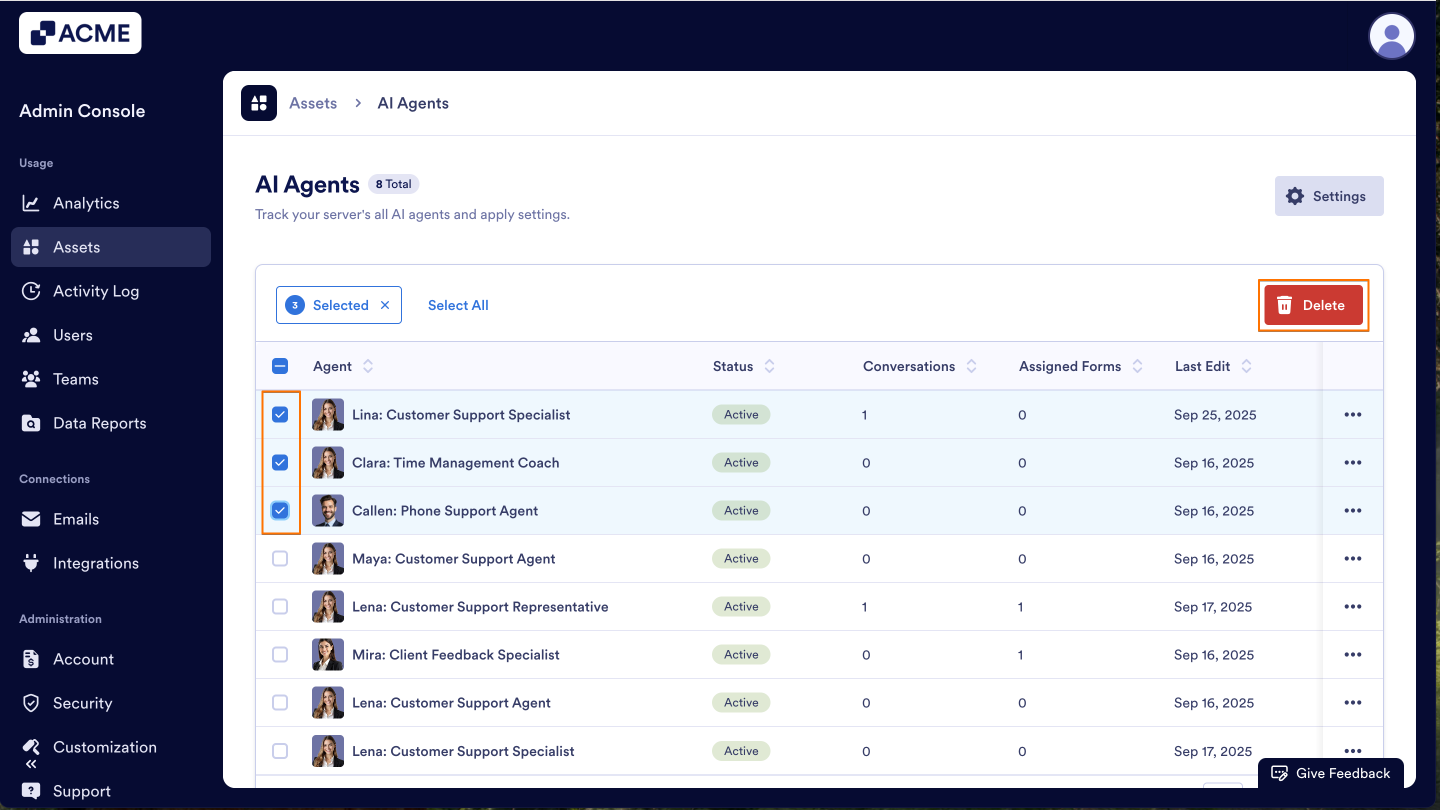
- Next, click on AI Agents to load all agents on your server.
- Click on the checkbox next to the agent(s) you’d like to delete.
- Then, click Delete.
- Finally, select Yes, Delete in the pop-up window.


Send Comment: