Overview
Want your organization’s server to match your branding? Great news! In the Admin Console, you can customize your login page, error page, Workspace page, and even the Favicon!
Customization Settings
Let’s walk through the steps together:
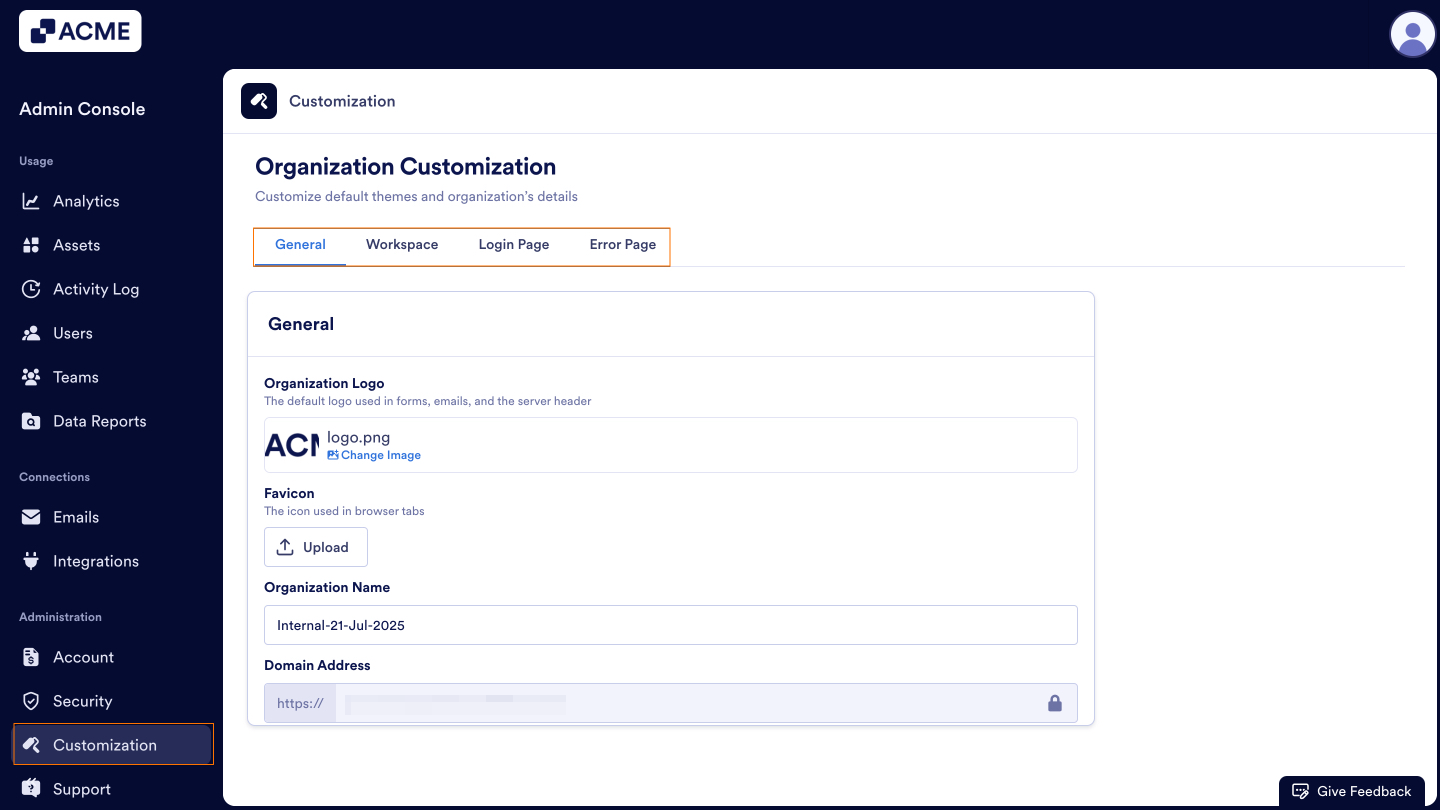
- In the Admin Console, under the Administration section, click on Customization.
- Then, select the tab for the settings you’d like to customize.
Sections
General
Let’s go over what you can customize in this section, along with how to do it! Make sure to click Save Changes or you’ll lose your updates.
Organization Logo
- Under the General tab, click on Change Image under Organization Logo.
- Then, select your new server logo from your computer and click Open.
- Finally, click Save Changes in the bottom right-hand corner of the page.
Favicon
- Under the General tab, under Favicon, click on Upload.
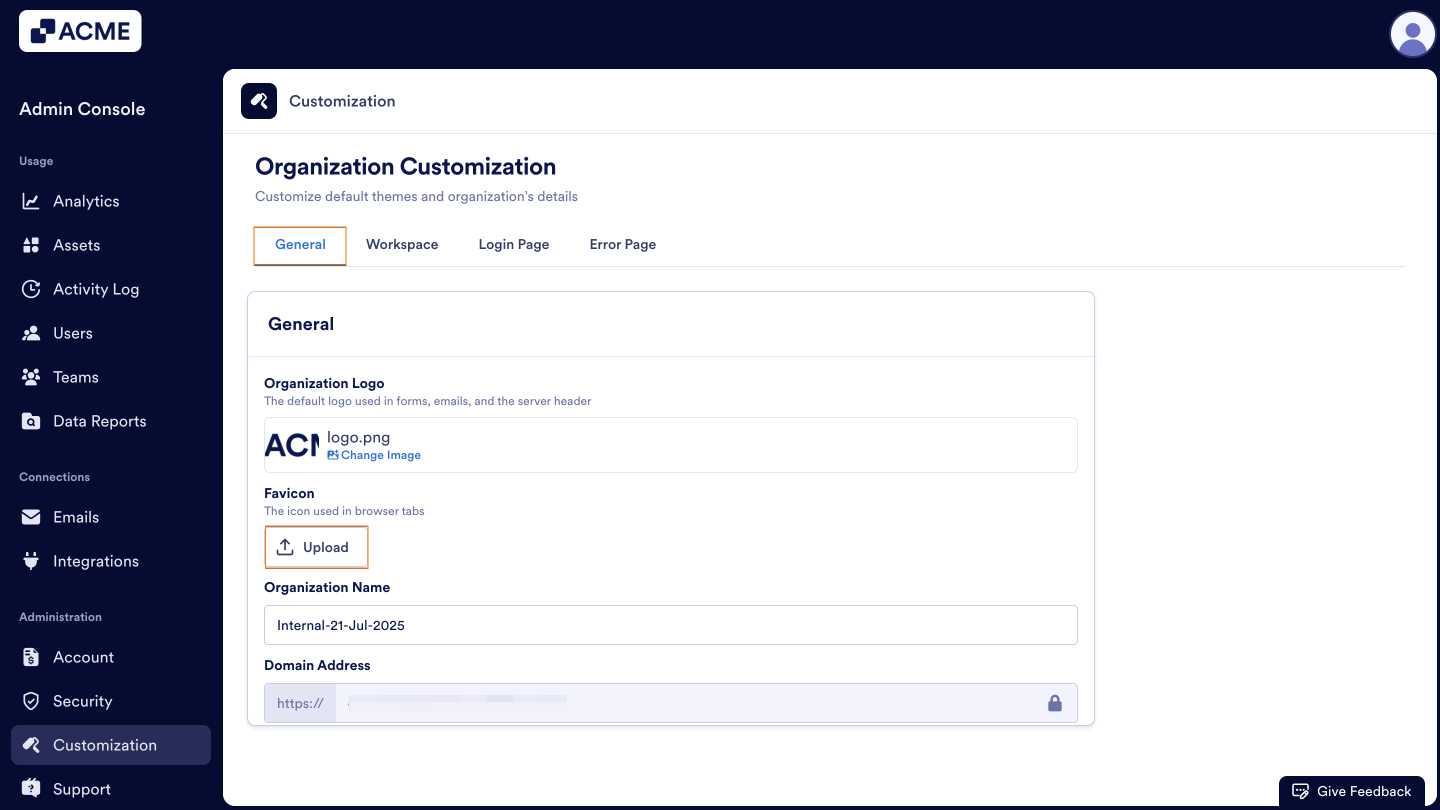
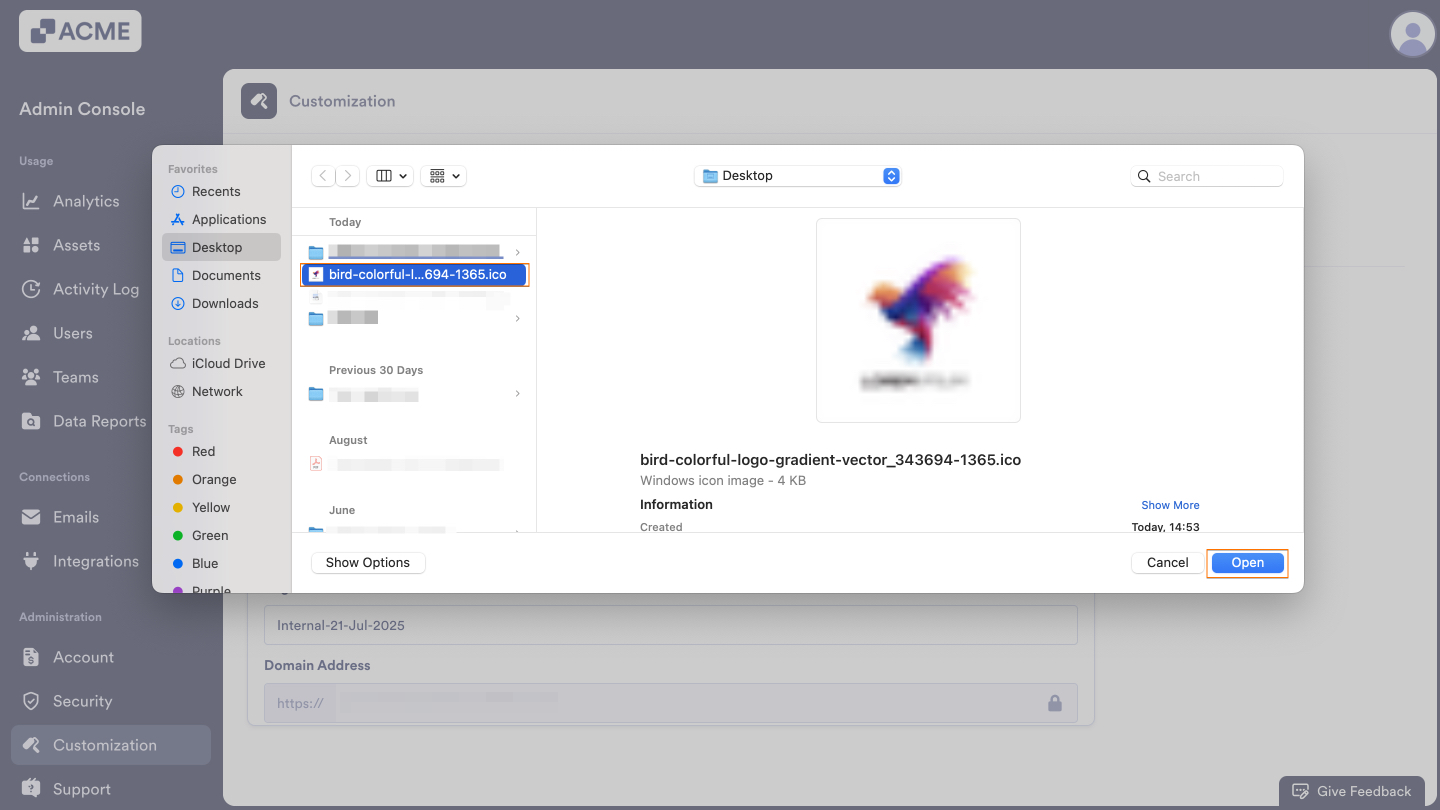
- Then, select your new favicon (.ico file only) and click Open.
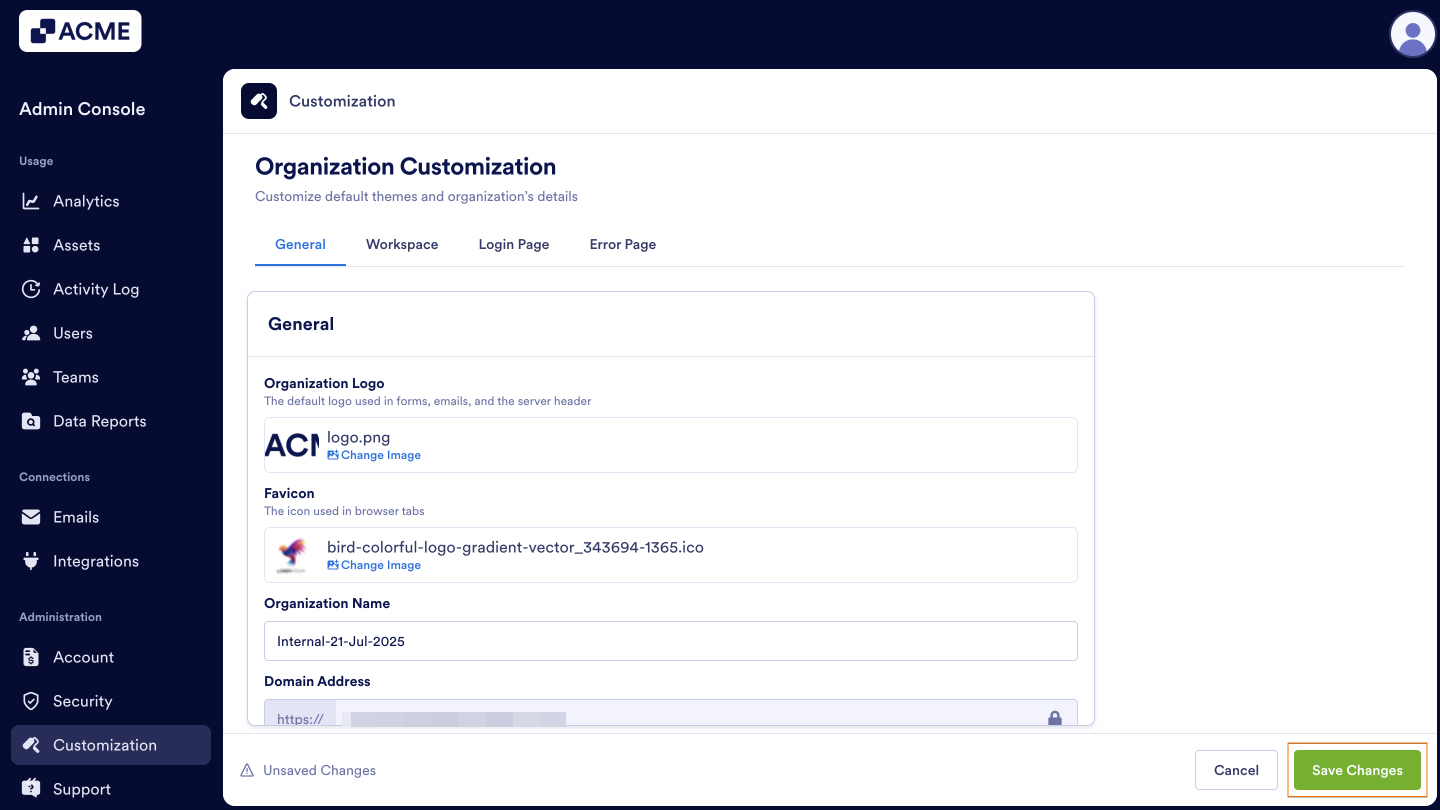
- Finally, click Save Changes in the bottom right-hand corner of the page.
Organization Name
- Under the General tab, locate the Organization Name.
- Enter the new Organization Name.
- Finally, click Save Changes in the bottom right-hand corner of the page.
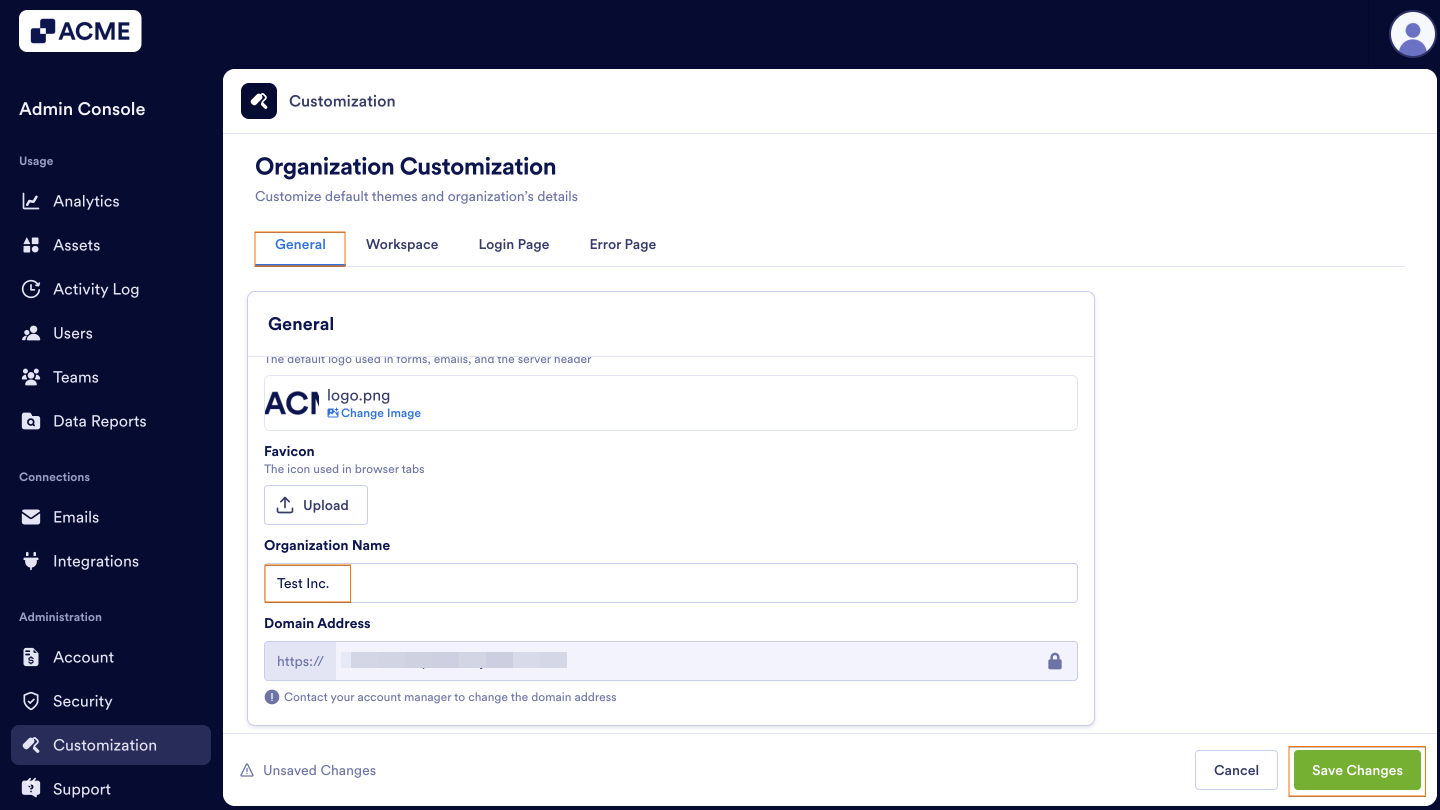
Domain Address
In order to update the server URL, you’ll need to reach out to your account manager.

Workspace
You can create a custom landing page for your users, as well as restricting or enabling them to create their own Workspace aesthetic.
Process
- In Customization, click on Workspace.
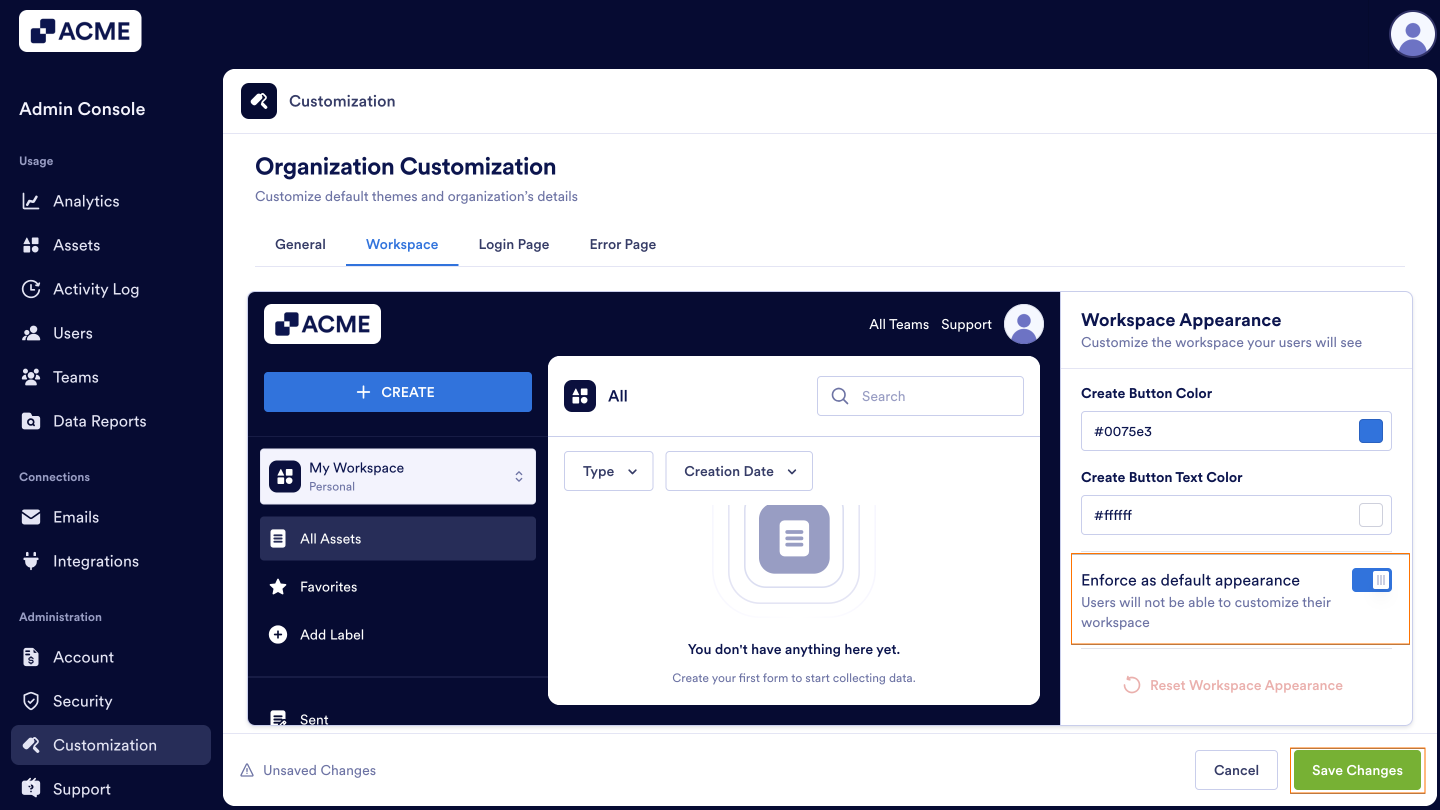
- Then, update the Logo Background, Background, Button Colors, Button Text Colors, and Default Appearance settings.
- Finally, click Save Changes.
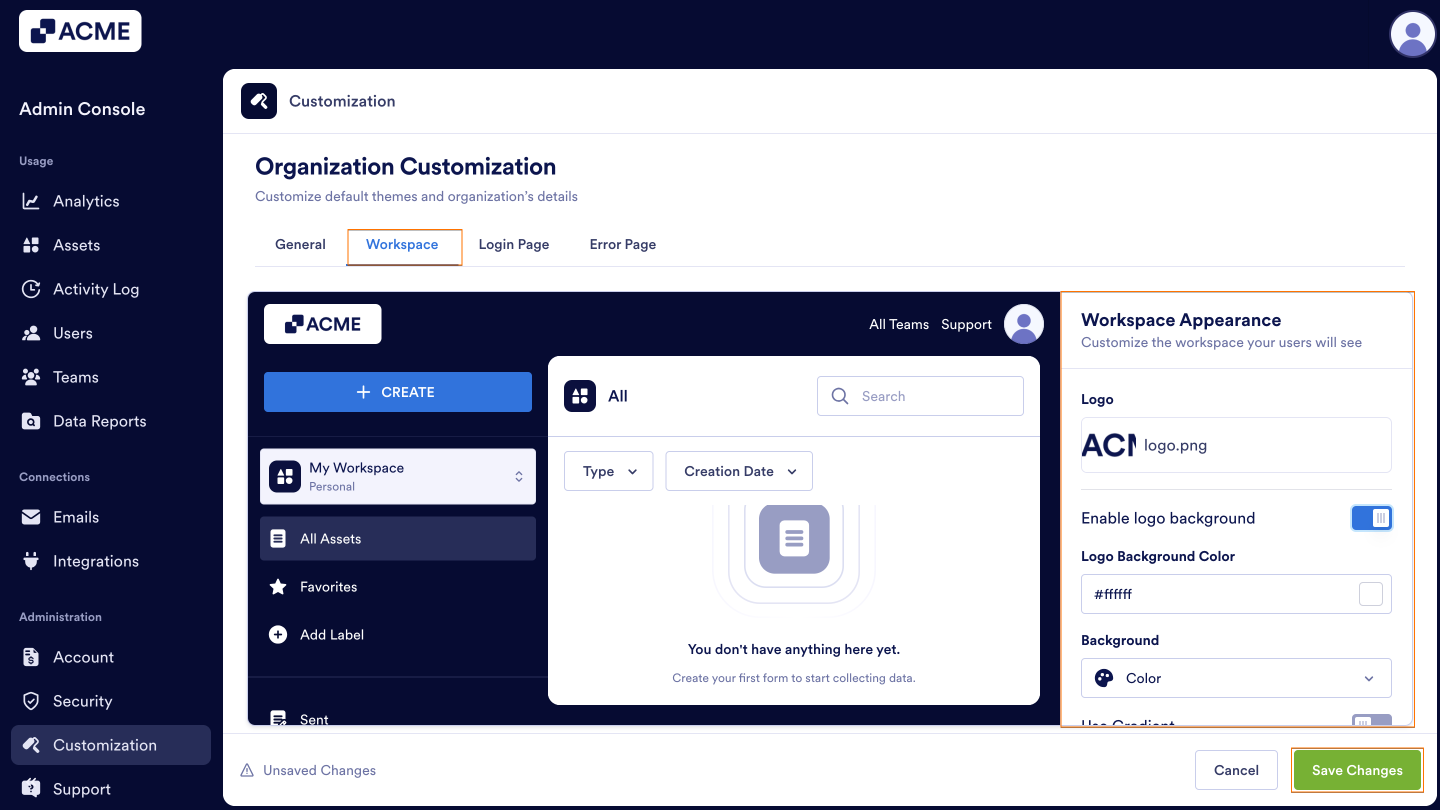
Workspace Settings
In the customization settings for the Workspace, you can toggle on or off a few settings.
- Enable Logo Background: This shows a background based on the color in Logo Background Color around your logo.
- Use Gradient: With this toggled on, you can select gradient backgrounds.
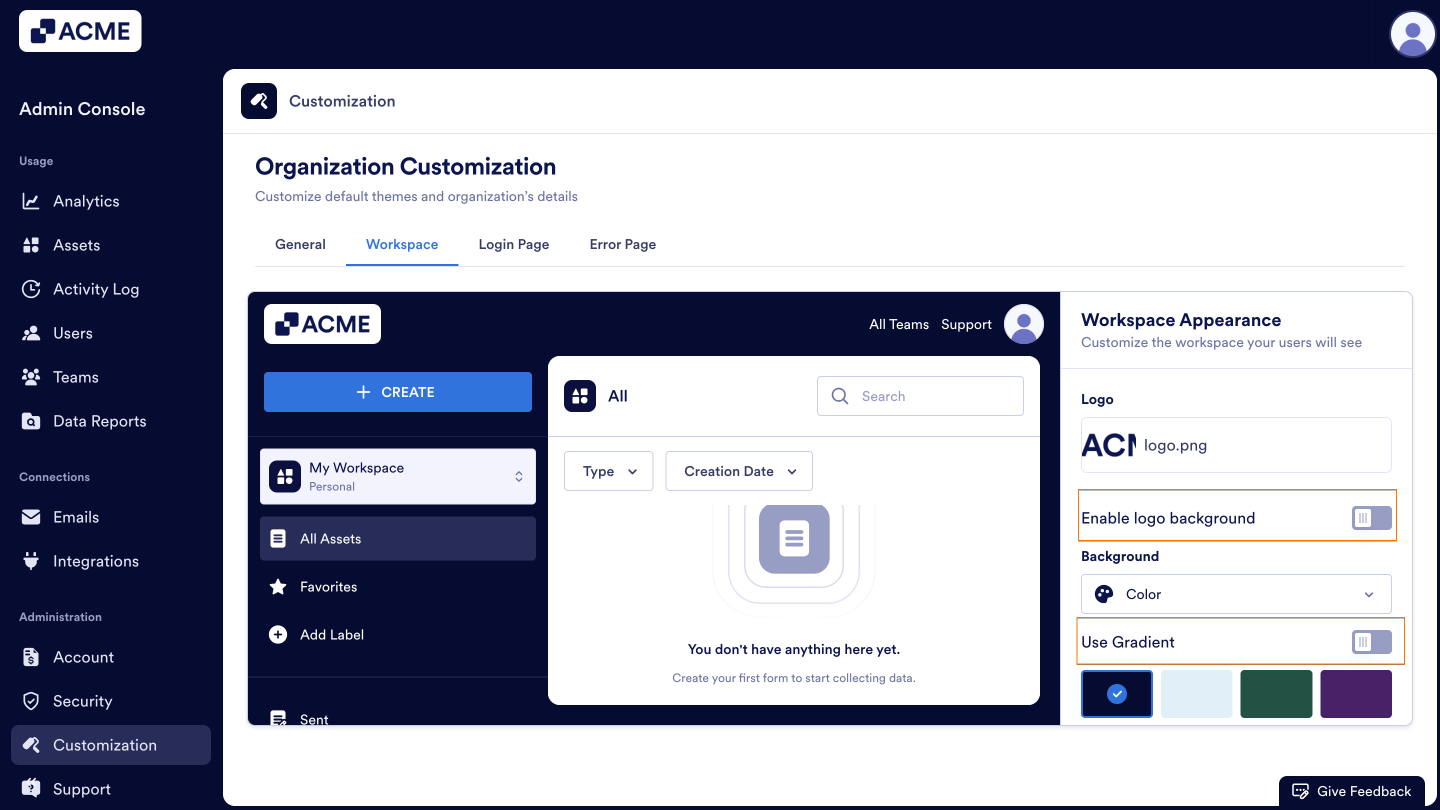
- Enforce as Default Appearance: This prevents your users from being able to customize their My Workspace page.
Once you change your settings, click on Save Changes at the bottom right of the screen.
Login Page
You can also customize your login page to align with your organization’s standards.
- In Customization, click on Login Page.
- Then, update the Welcome Text, Background, and Text Color, Button Color, and Button Text Color.
- Finally, click Save Changes.
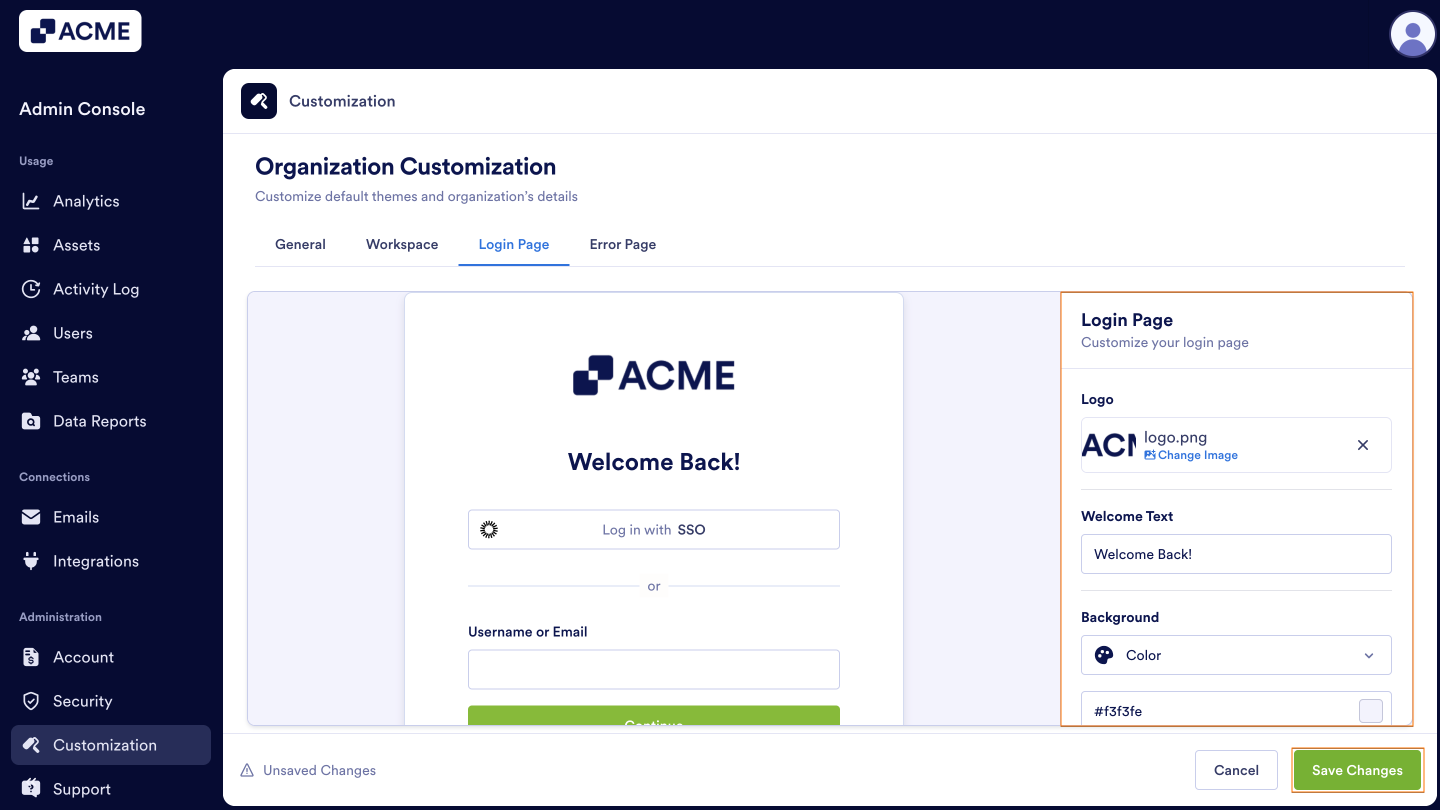
Tip: For colors, you can either use HEX codes or select from the color picker for each option. Click on the text box under each header to open this feature.
Error Page
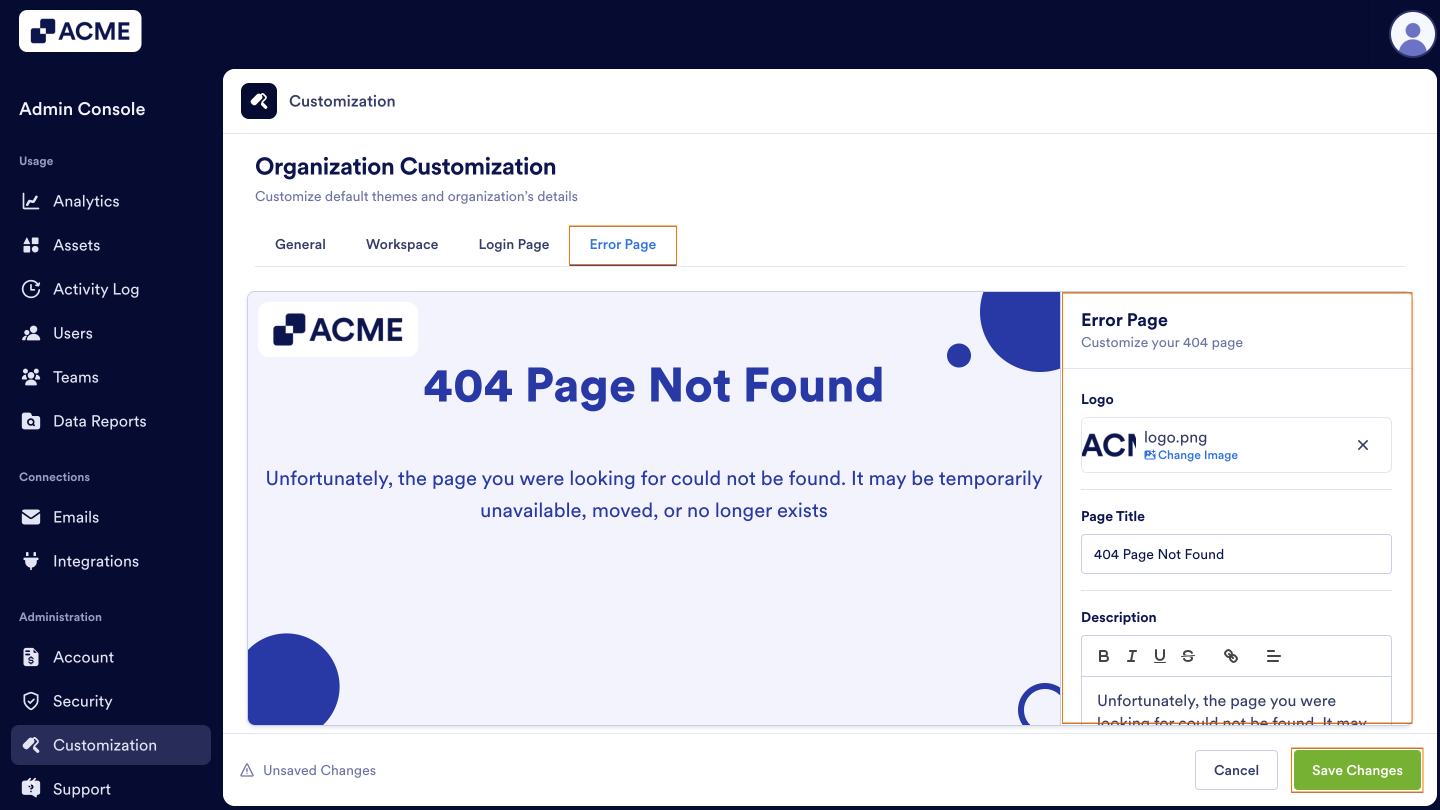
You can also set up your error page to align with your organization’s branding.
- In Customization, click on Error Page.
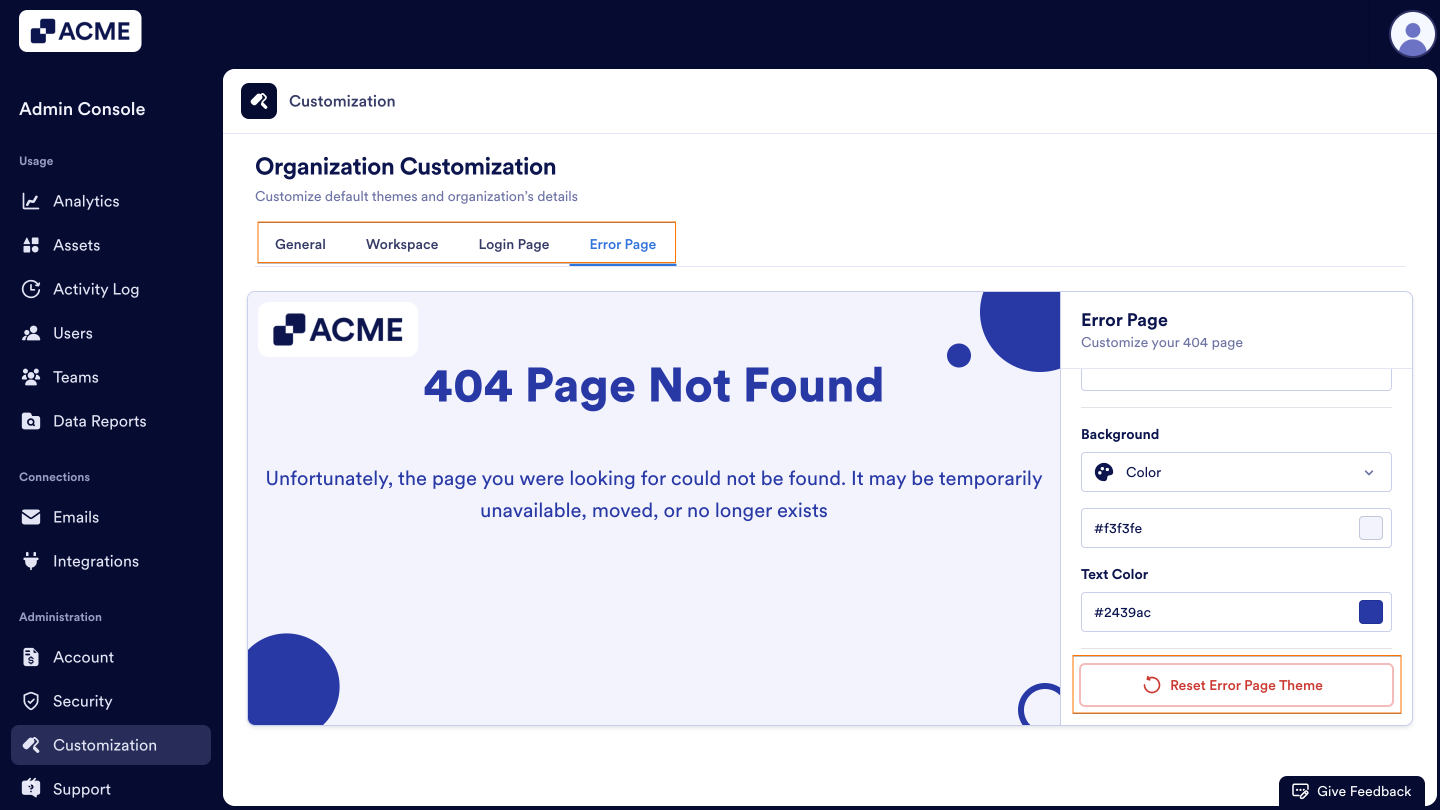
- Then, update the Page Title, Description, Background, and Text Color.
- Finally, click Save Changes.
Reverting Changes
If you want to reset to the default for the Workspace, Login, or Error pages, don’t worry! We’ve got a button on each page for this. This is a permanent action and cannot be undone.
- Go to the correct page tab for the page.
- Click on Reset ___ Page Theme.
- In the pop-up window, click on Reset Page.
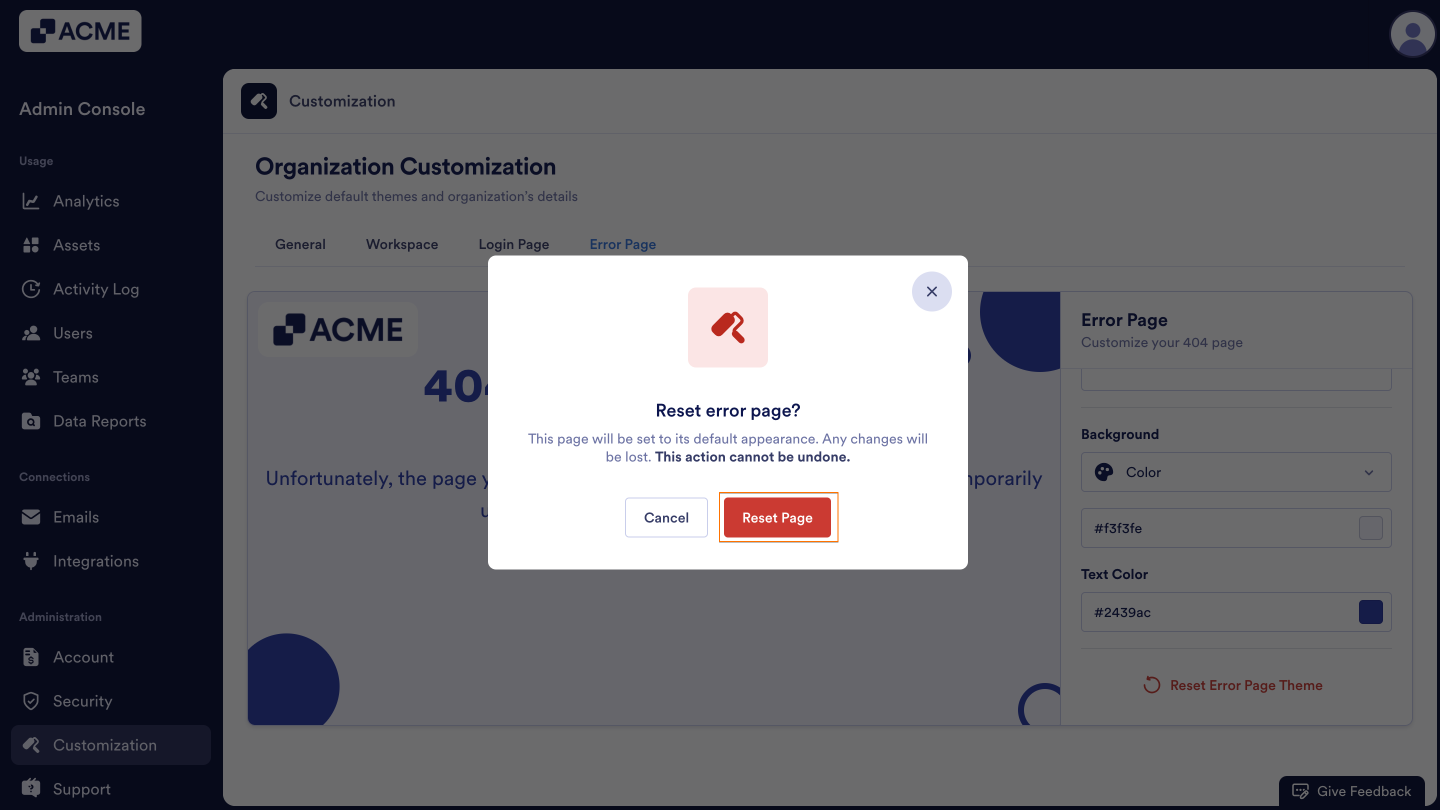
The page will then revert back to the default, so make sure to update and save your settings after reverting them.

Send Comment: