Overview
As an admin, you can find all submissions related to an email address in the Admin Console by creating a Report. Then, you can view, repeat, or delete the report as needed.
These reports are limited to one email address per report, so you’ll need to create additional reports if you’re wanting to pull multiple email addresses.
Data Reports
Creating a Report
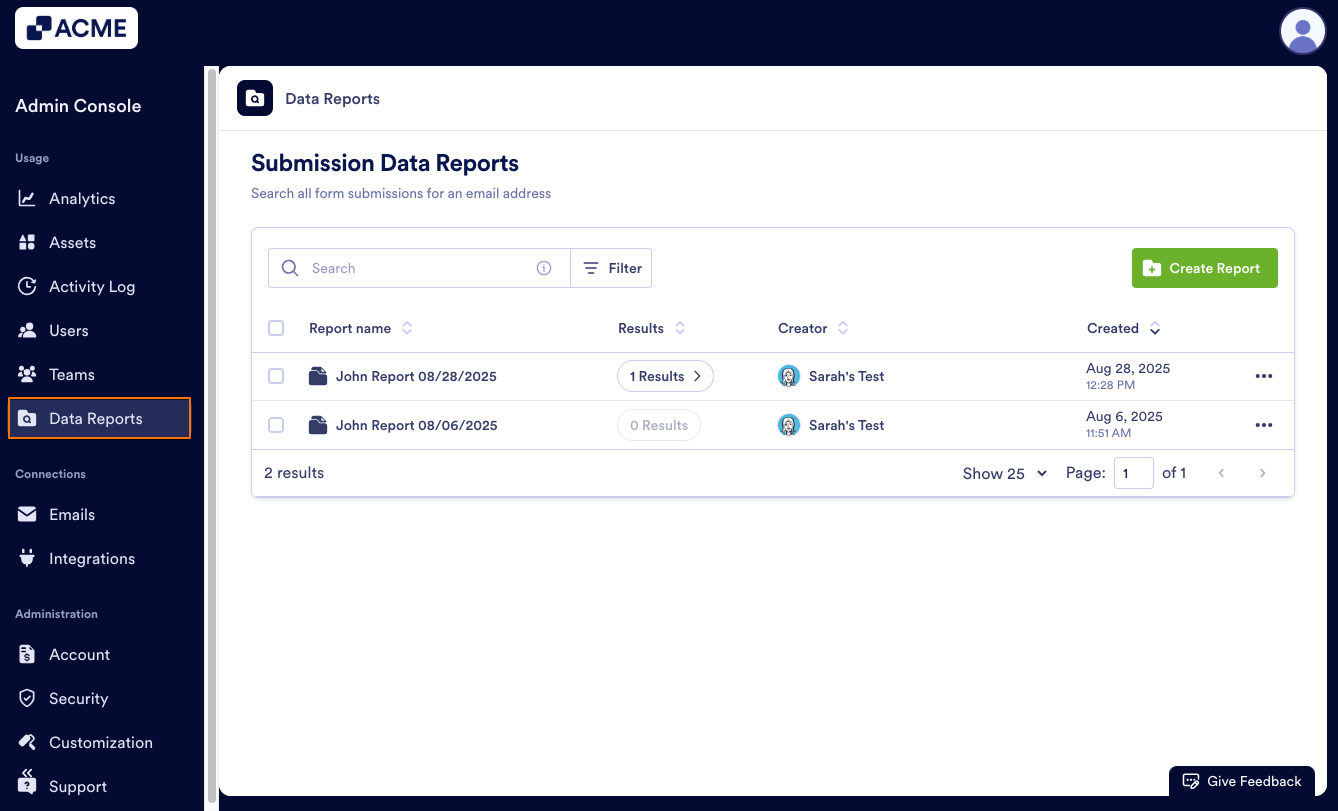
- In the Admin Console, click on Data Reports.
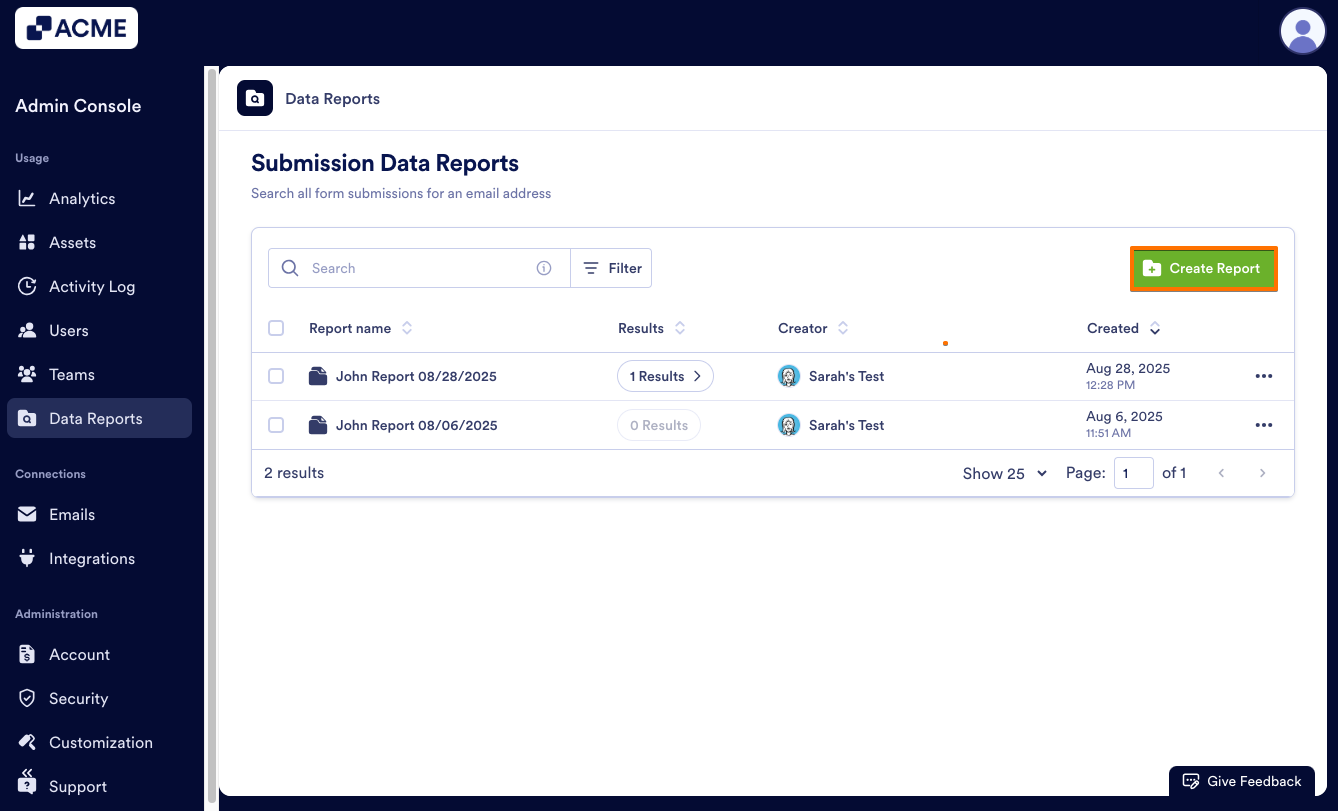
- Then, select Create Report.
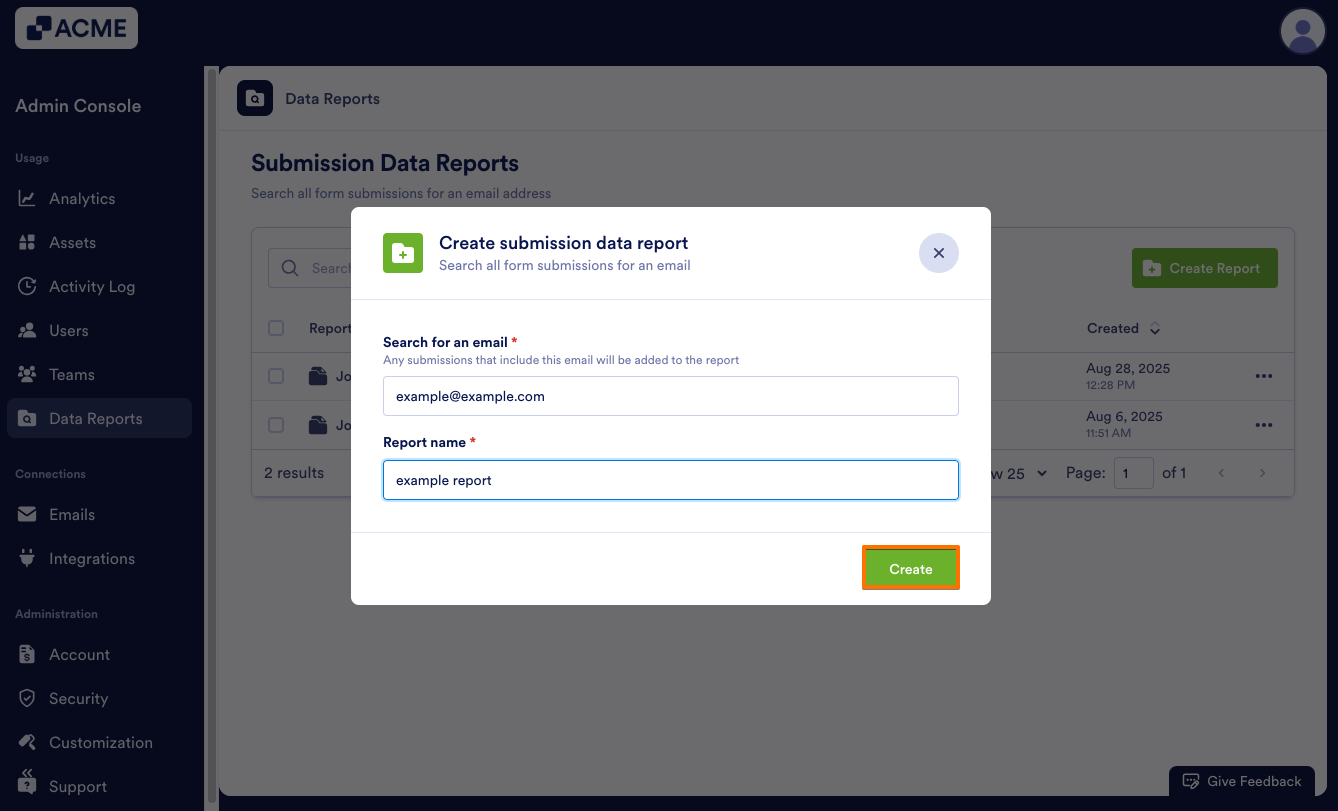
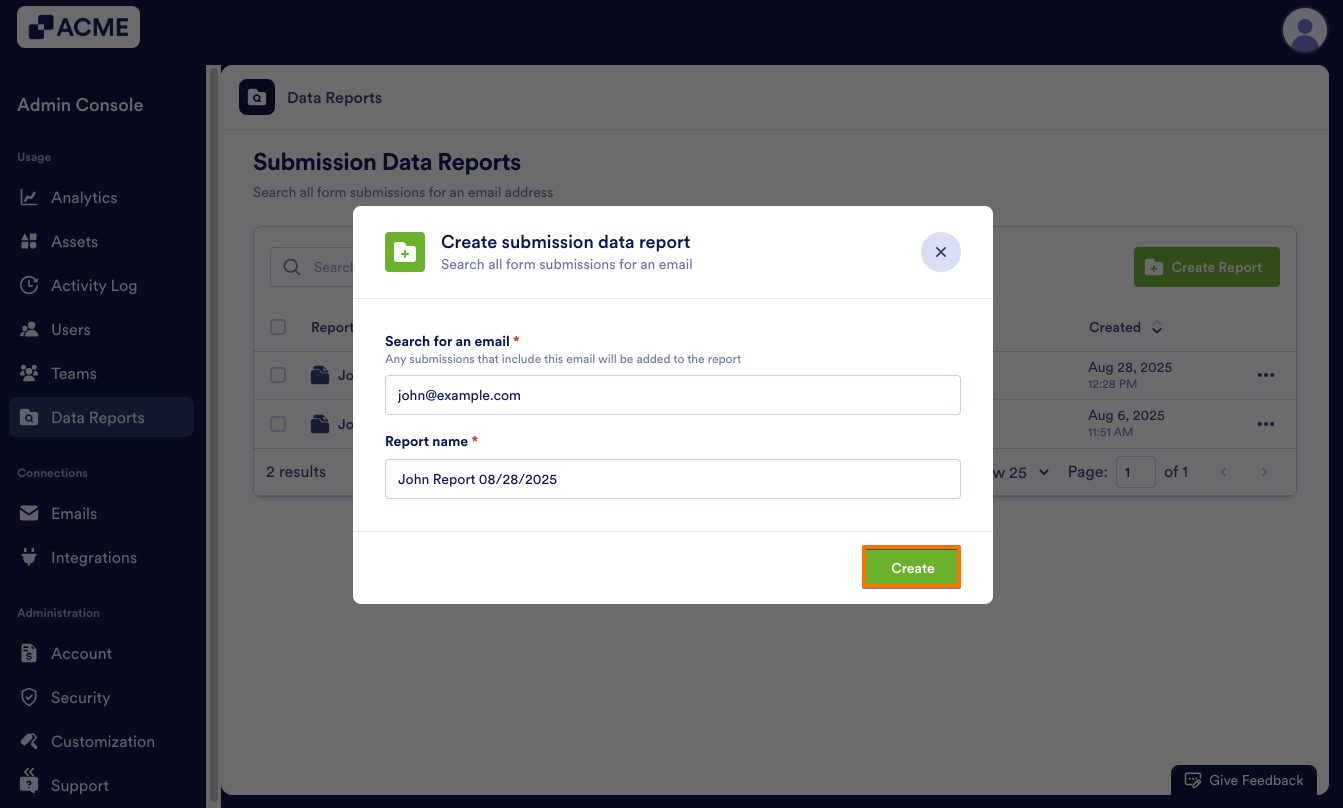
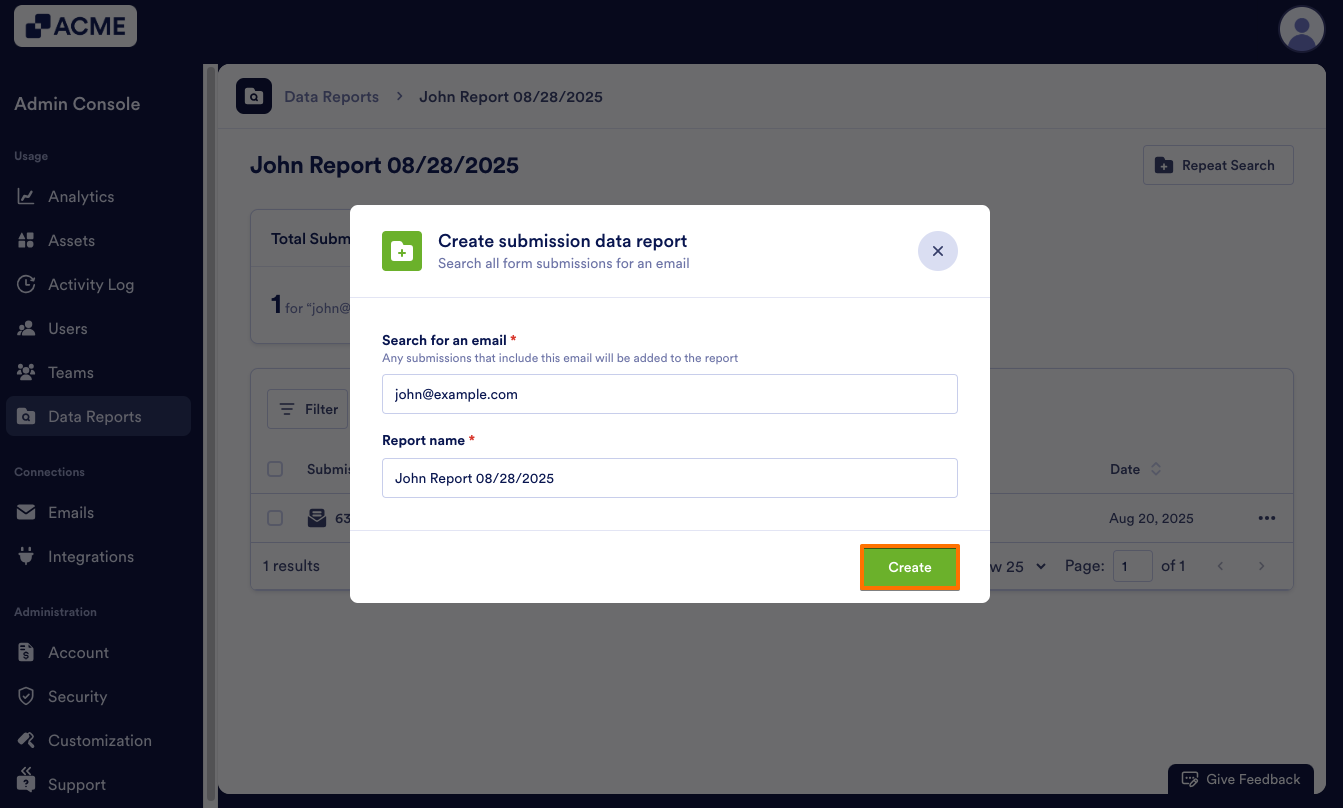
- In the pop-up window, enter the email address and the name for the report.
- Click Create.
- After a few moments, the report should be generated in the list of reports.
You’ll also receive an email when your report is generated.
Viewing Report Details
After the report is finished generating, you can view the results of the report. You can do this either by clicking on Results or opening the report from the three-dot menu. Let’s walk through this process together, starting with clicking on Results:
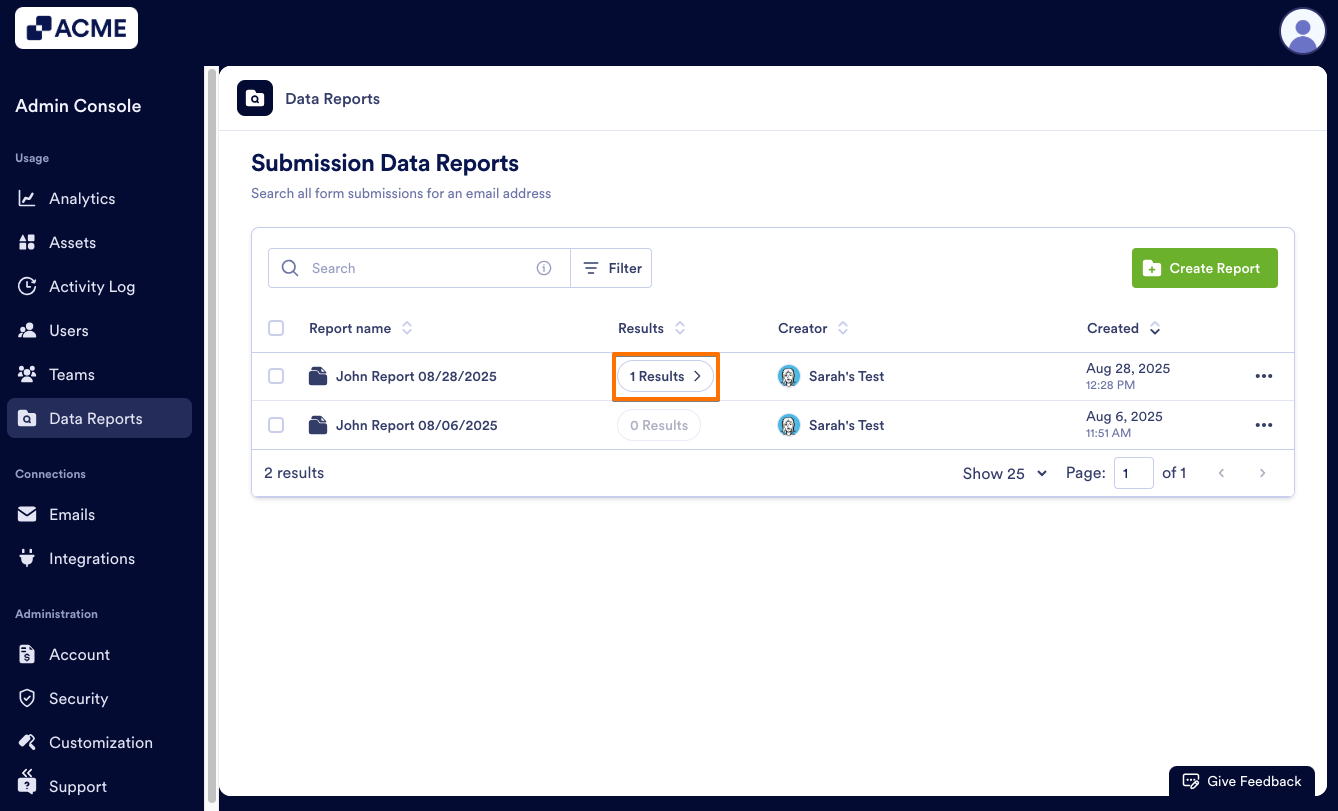
- In Data Reports, locate the report you’d like to view.
- Now, click on Results to open the Report Page.
- To view submission data in the report, click on the Submission ID.
- To manage the submission, click on the three dot menu next to the submission.
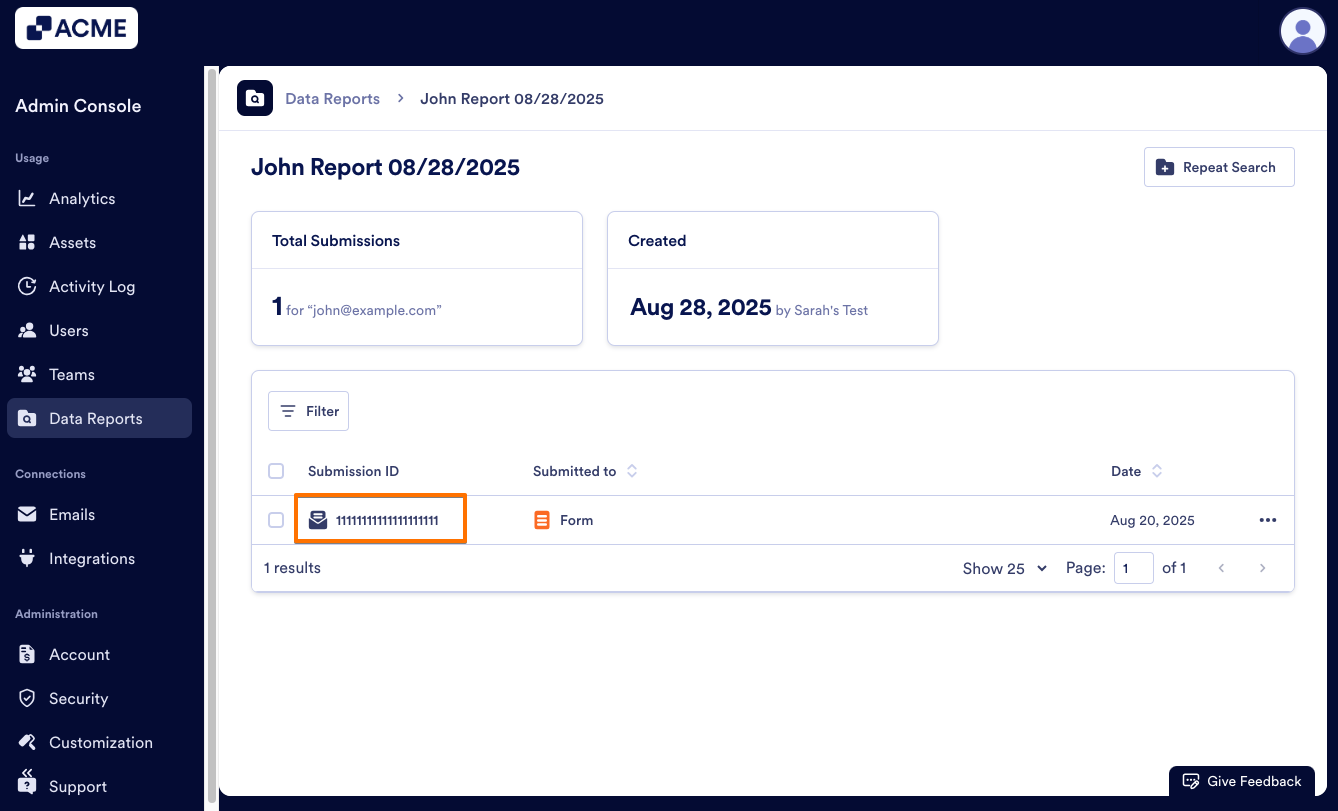
- Then, select one of the options to view the submission or delete it.
Let’s walk through the process of viewing the report from the three-dot menu now.
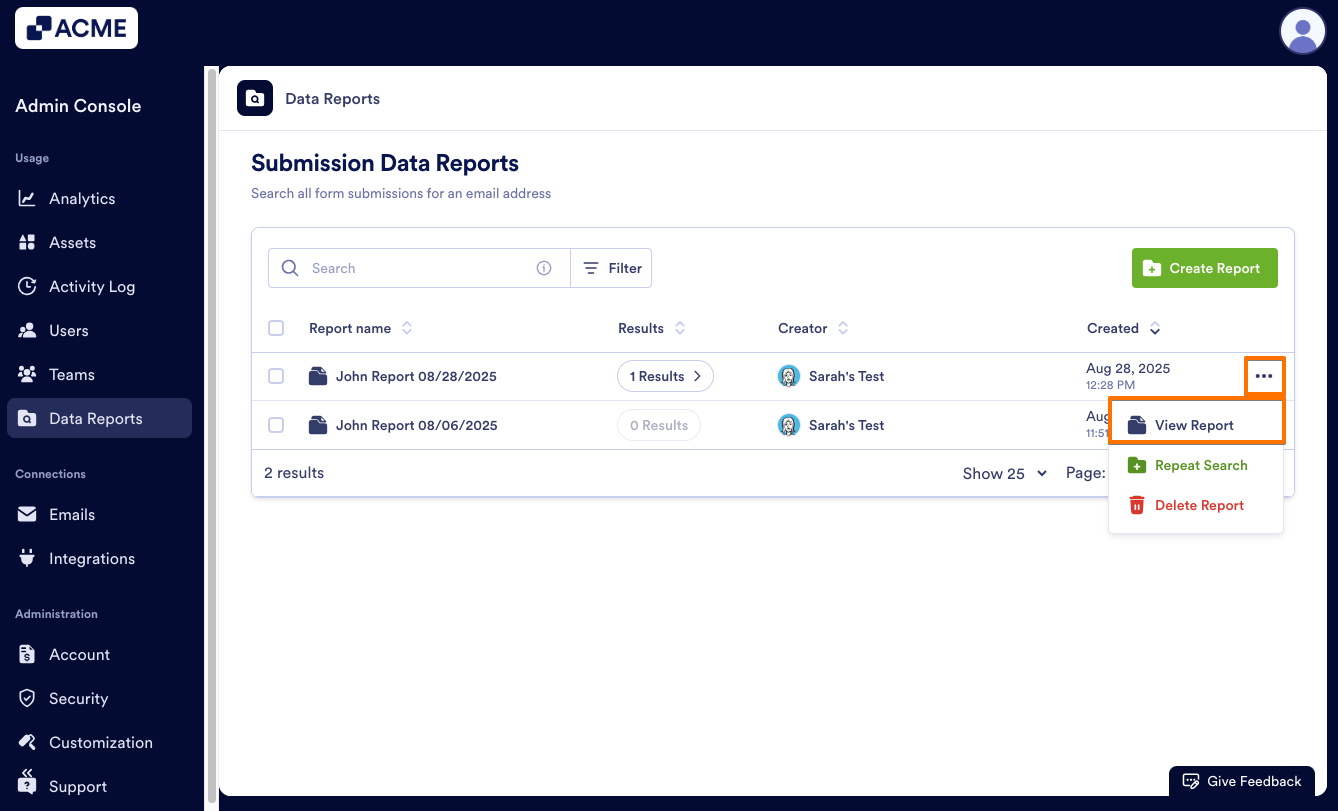
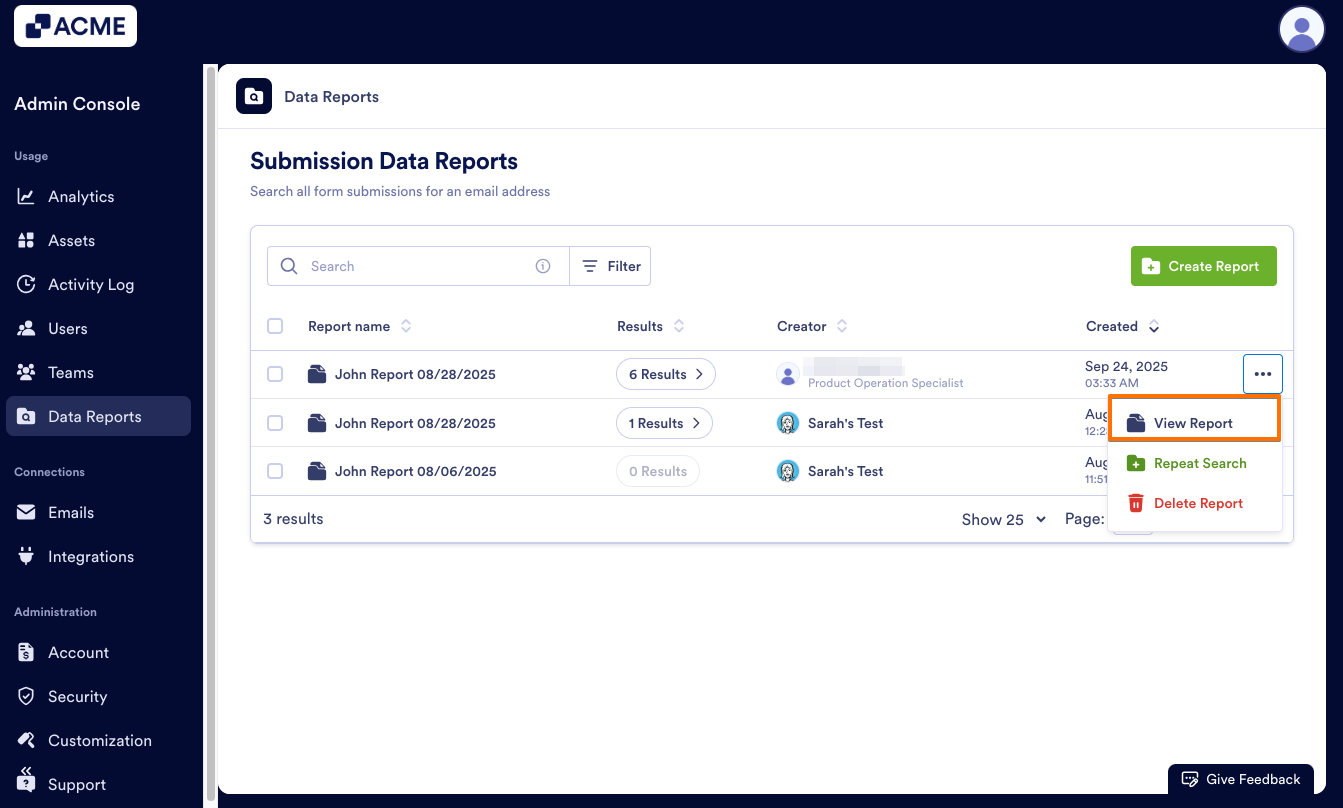
- In Data Reports, locate the report you’d like to view.
- Then, click on the three-dot menu and click View Report.
Managing Submissions Directly in the Report Landing Page
Submissions can be managed, either in the landing page for the specific report, or in a pop-up window – we’ll walk through both methods, starting with the landing page.
Viewing a Submission from the Report
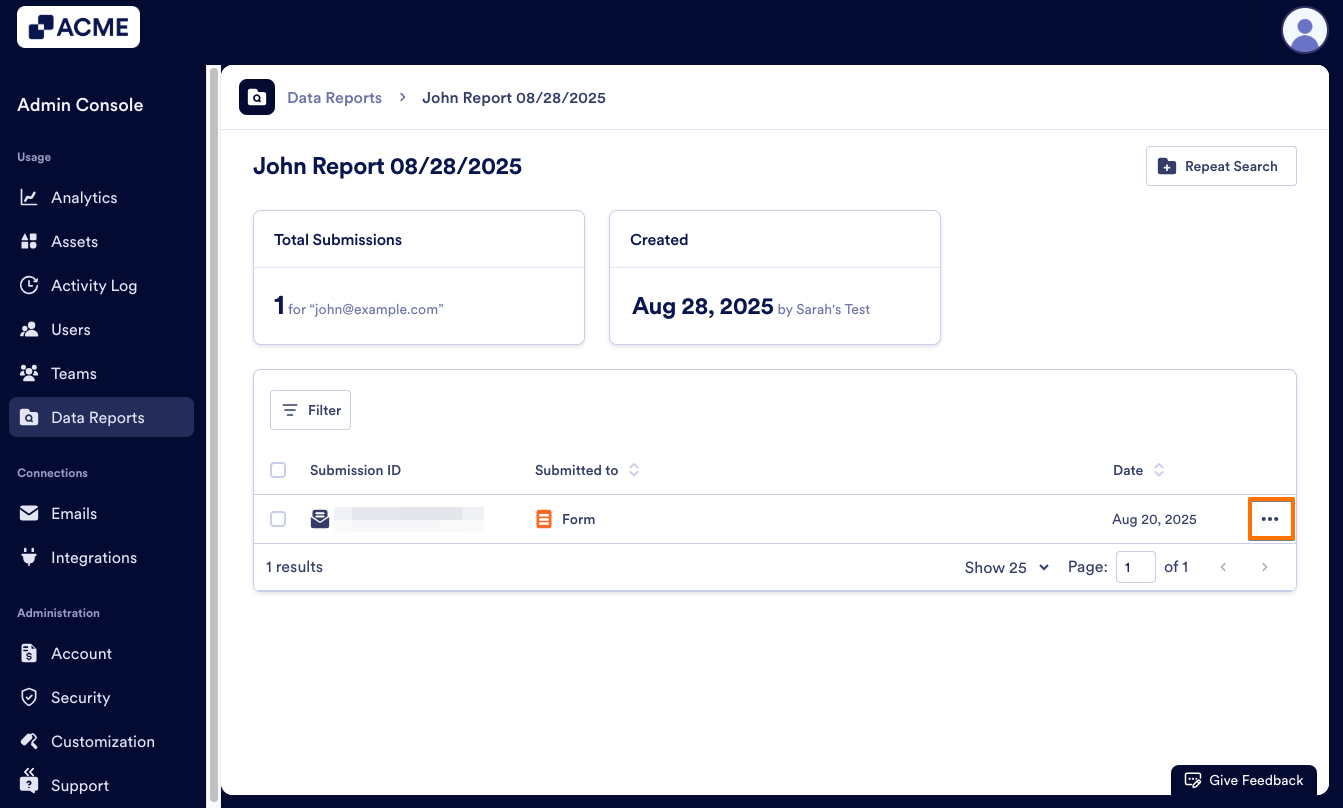
- In the Report, click on the three-dot menu next to the submission you’d like to view.

- Then, click View in Inbox.

You’ll be brought to the Inbox for the submission and any others from the report for the same form.
Deleting a Submission from the Report
If you need to remove the submission, you can delete it from the Report. However, this is a permanent action and can’t be undone. Make sure you need to delete the submission before proceeding. Let’s walk through those steps together:
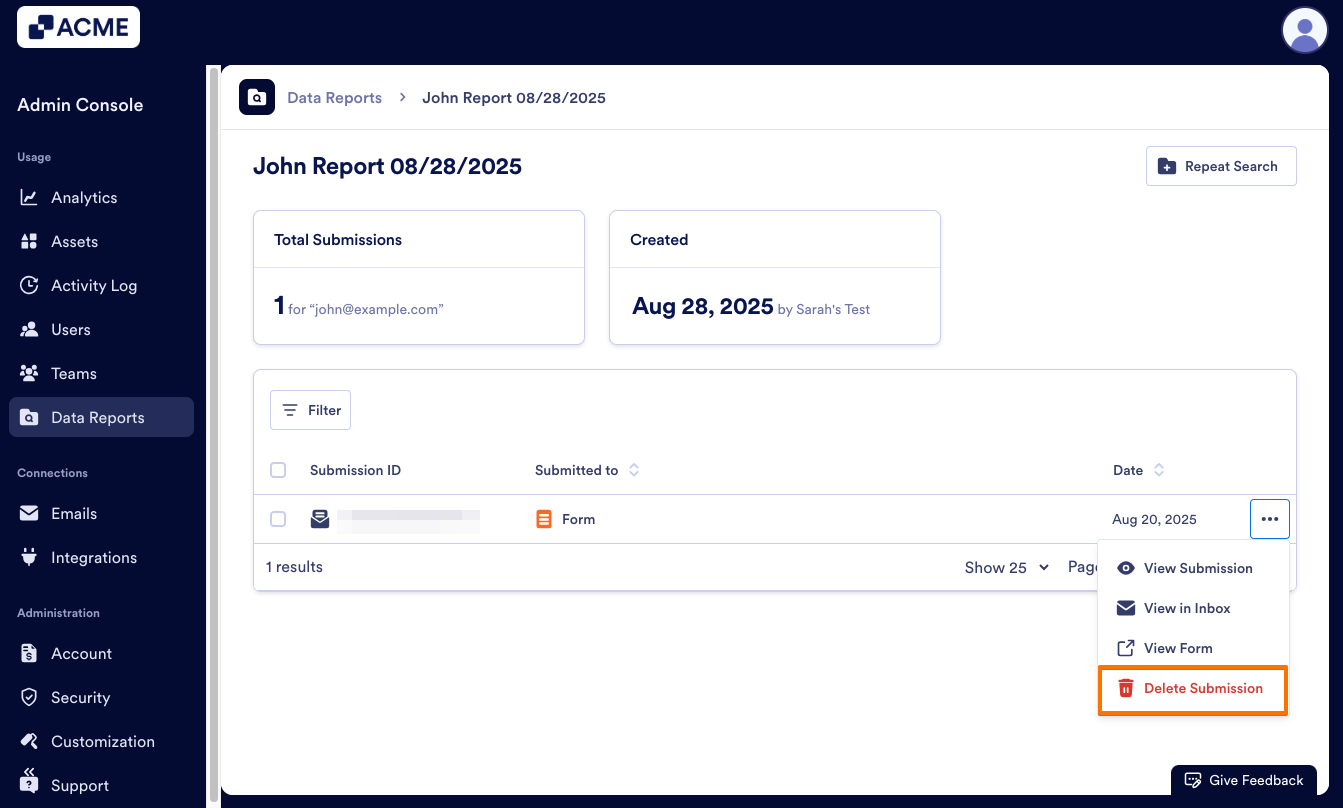
- In the Report, click on the three dot menu next to the submission that needs to be deleted.
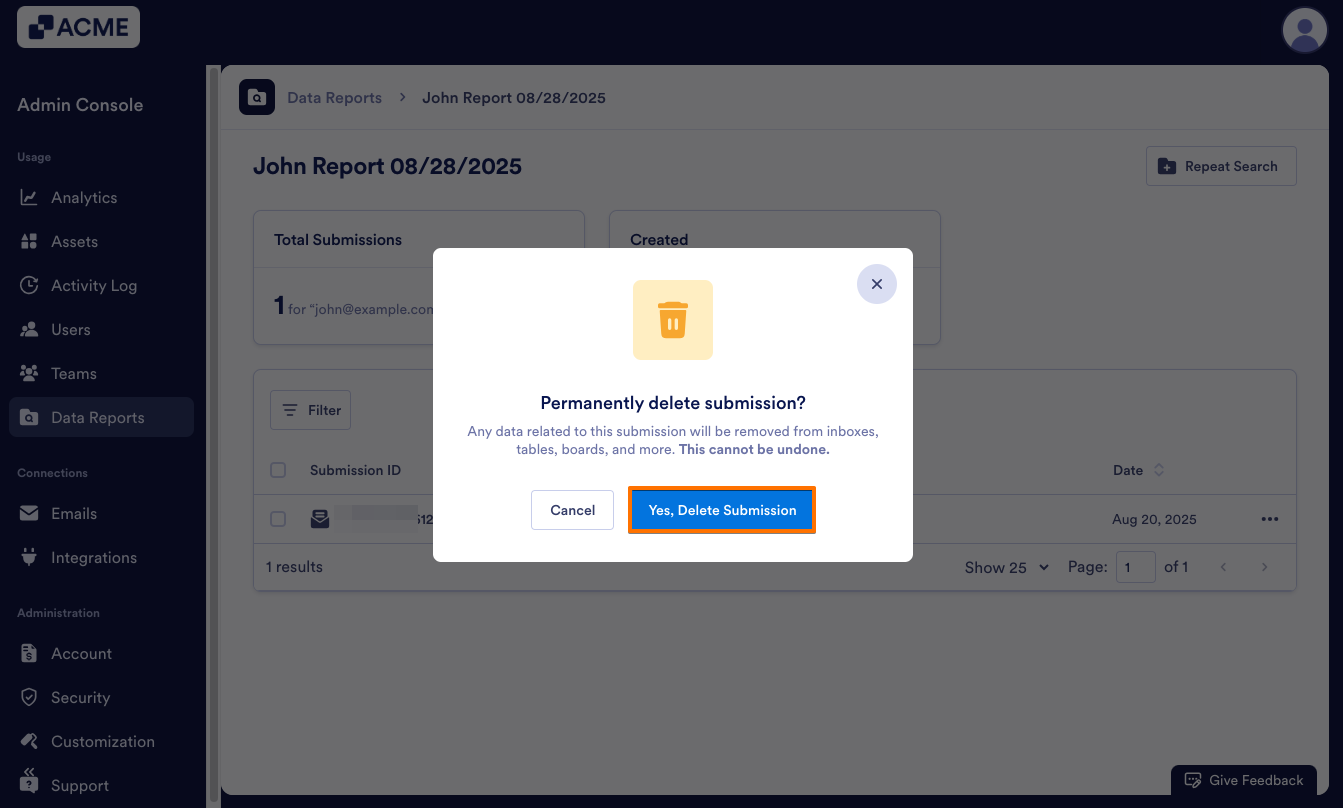
- Then, select Delete from the drop-down menu.
- Finally, click Yes, Delete from the pop-up window.
Managing a Submission from the Pop-up Window
Viewing a Submission in the Report
- In the Report, click on the three-dot menu next to the submission you’d like to view.

- Next, click on View Submission.

- Click on the three-dot menu to view actions, or take action within the window.
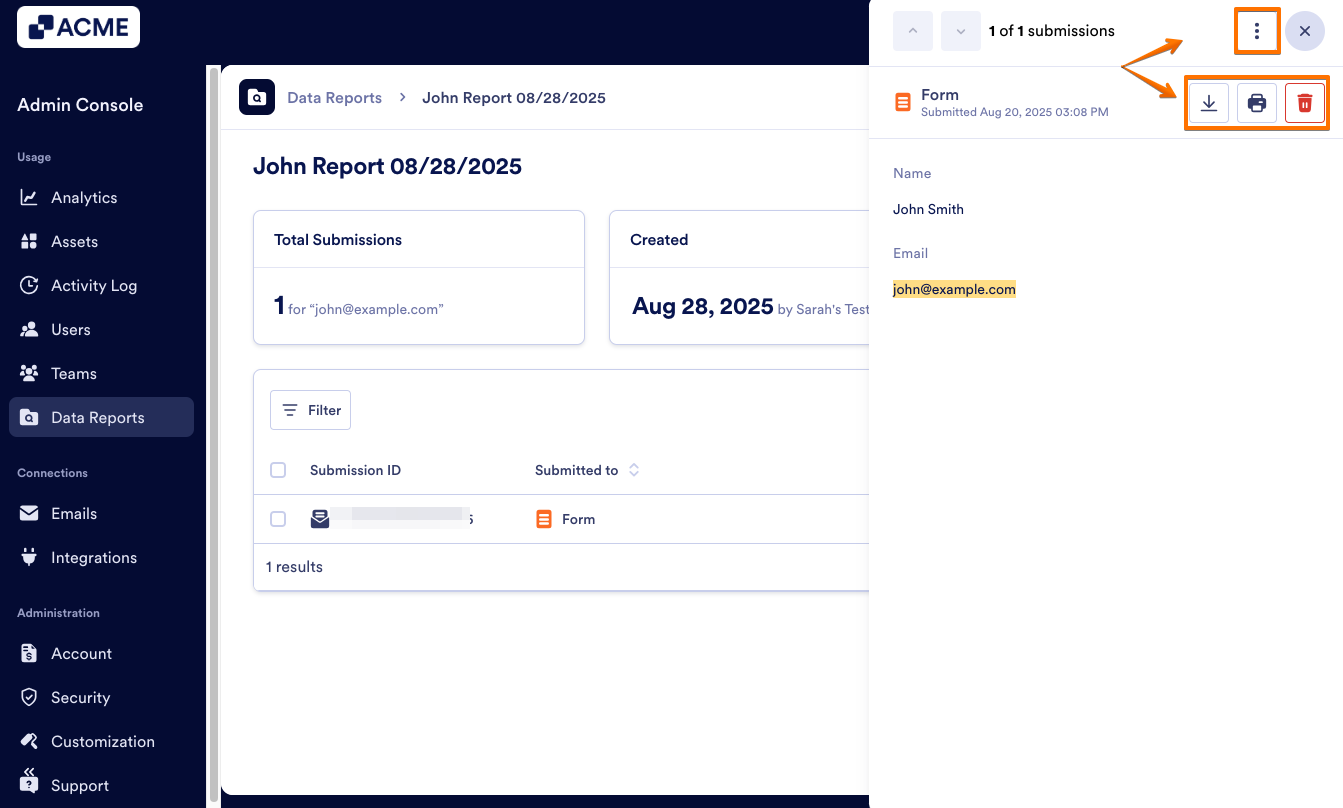
In the pop-up window on the side, you can:
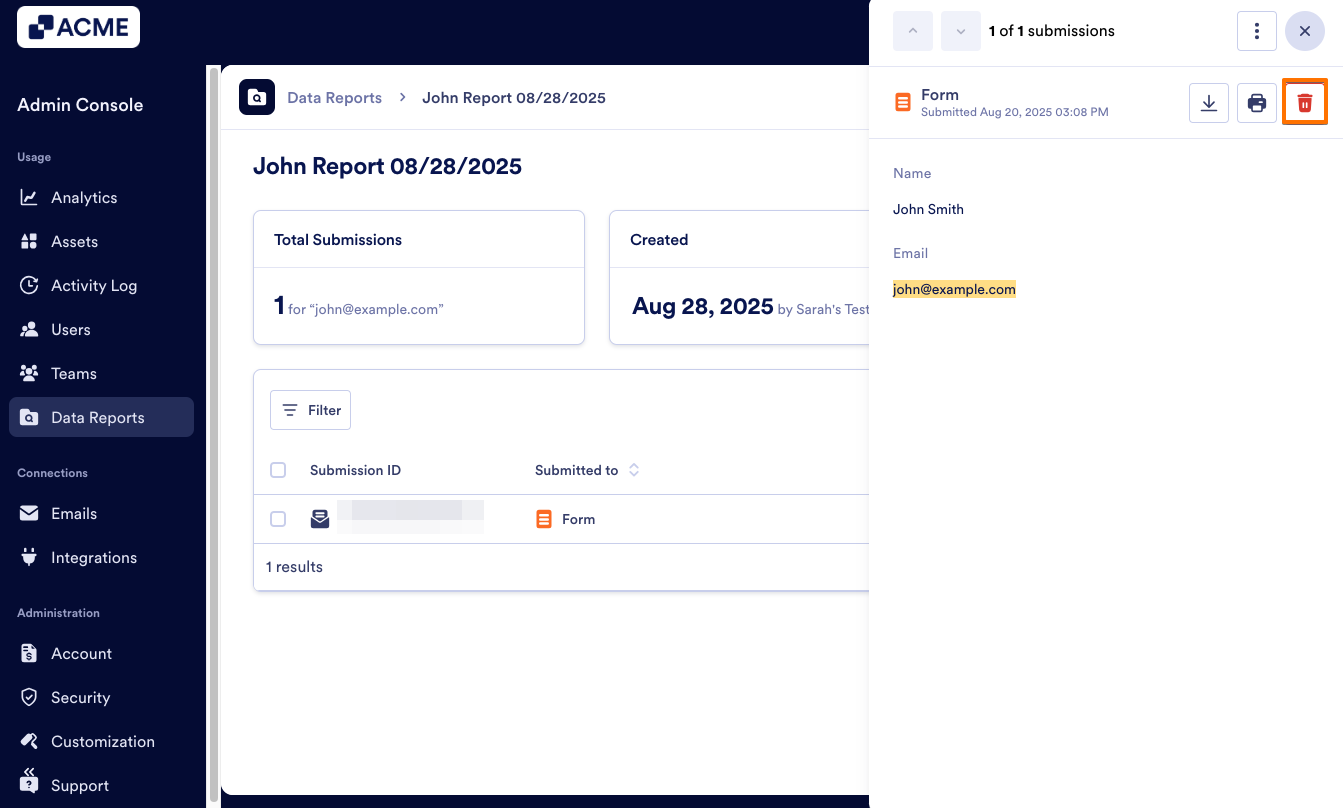
- Delete a Submission: To do this, click on the trash can icon at the top of the pop-up window. Alternatively, click on the three-dot menu and select Delete Submission. This is a permanent action and cannot be undone.
- Print a Submission: Click on the print icon at the top of the pop-up window. Then, make sure your printer is set up and select Print. Your submission will print in PDF format.

- Download a Submission: To download a submission, click on the download icon at the top of the pop-up window and select Download as PDF. Your submission will download as a PDF.

- View a Submission in the Inbox: Click on the three-dot menu at the top of the page and select View in Inbox. Your submission will appear in the submission inbox, along with any other submissions for the form that match the search criteria.

- View the Form: To view the form, click on the three dot menu and select View Form. You’ll be brought to the live version of the form.

Repeating a Report
Reports only contain submissions that were available when the report was created. If you’d like to pull in later submissions, you can repeat the Report, either in the individual reports information or on the Data Reports landing page. Let’s walk through both methods, starting with the Data Reports Landing Page:
- In Data Reports, locate the report you’d like to repeat.
- Next, click on the three dot menu next to the report and select Repeat Search.

- In the pop-up window, confirm that the information is correct. You can update the Report Name if needed to differentiate it from the previous report.
- Click on Create and the new report will be generated.
The new report will appear at the top of the list.
Now, let’s walk through the process of repeating a report from inside the report.
- In Data Reports, locate the report you’d like to repeat.
- Next, click on the three-dot menu and select View Report.

- On the next page, click on Repeat Search in the upper right-hand corner of the page.
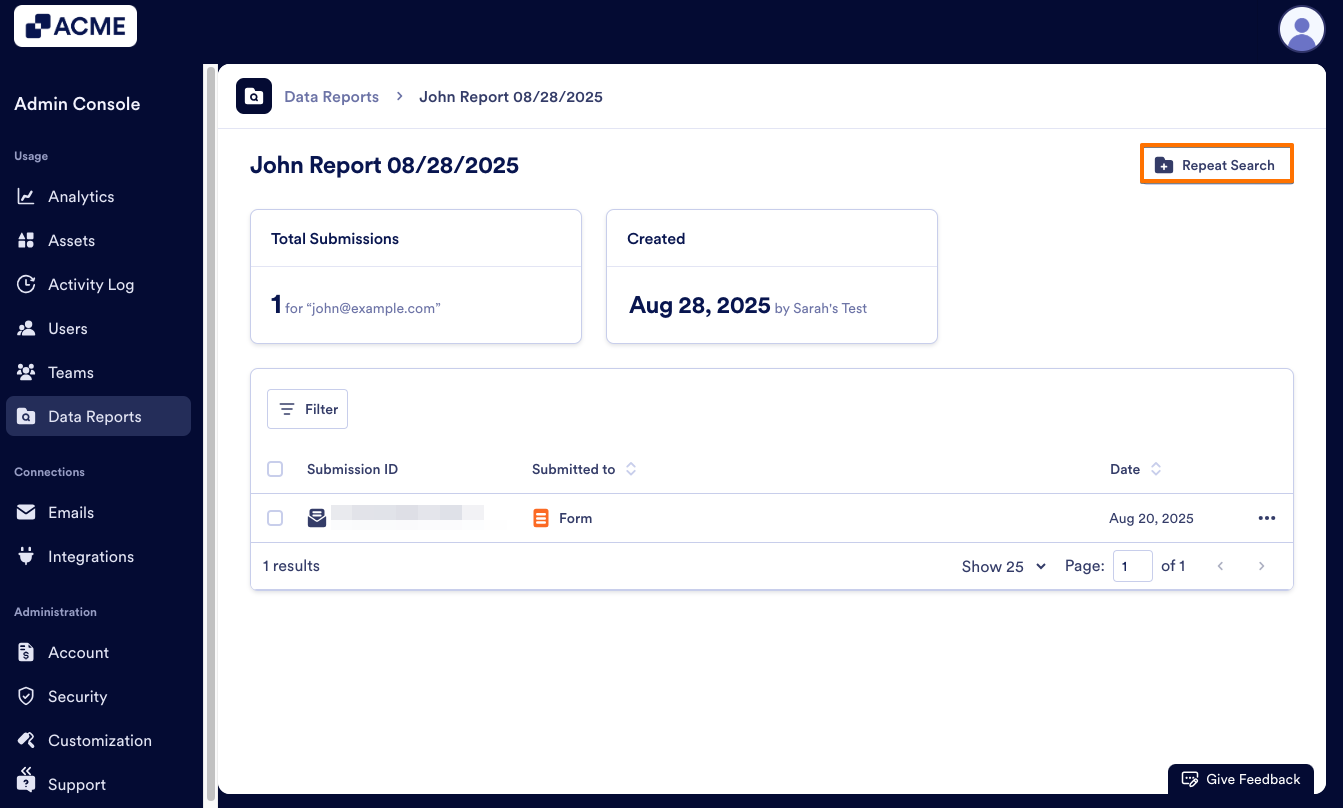
- Update the information in the pop-up window and click Create.
- To view the new report, click on Data Reports at the top of the page to return to the Data Reports page.
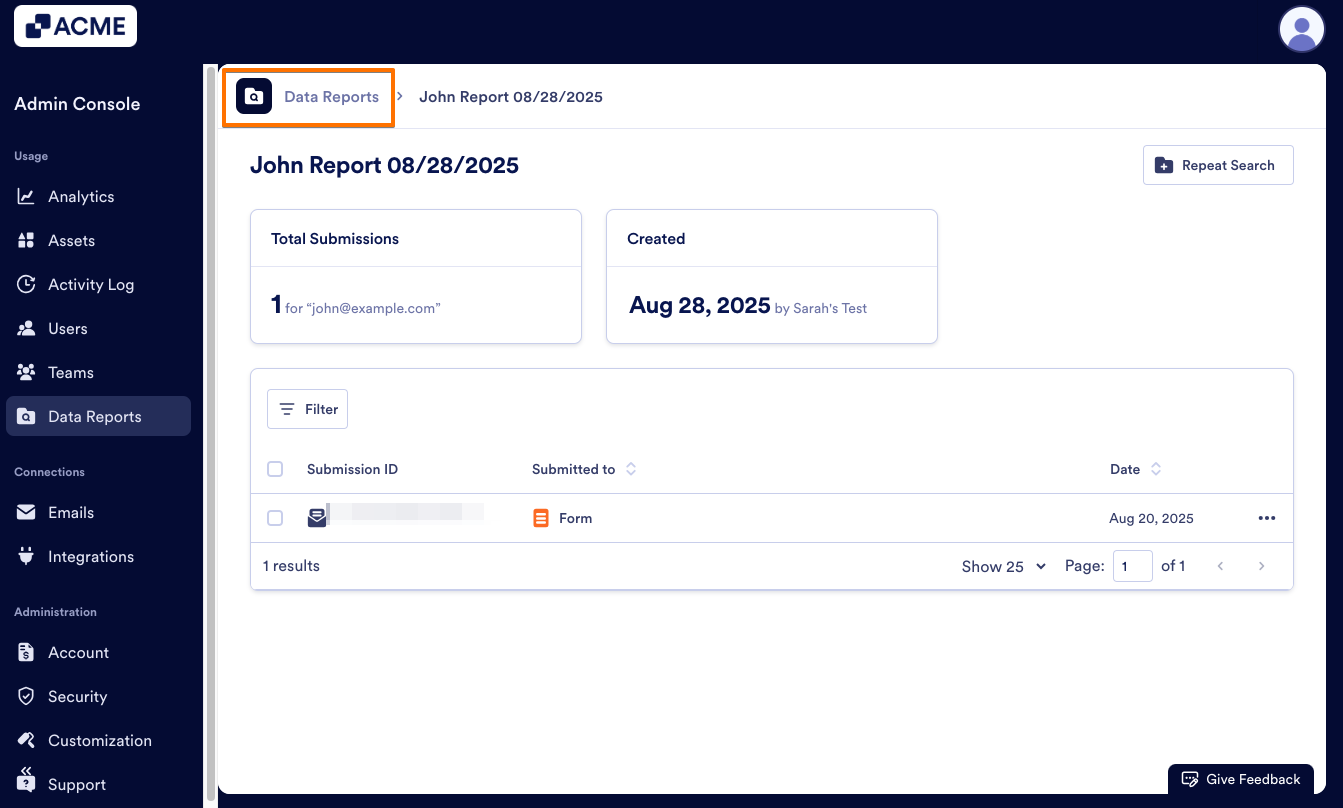
- Then, follow the steps in Viewing Report to view the new report.
Deleting a Report
If you no longer need a report, you can delete it from the Data Reports landing page, either individually or in bulk. This only deletes the report, but not any submission data. Let’s walk through both, starting with deleting one report:
- In Data Reports, locate the report you’d like to view.
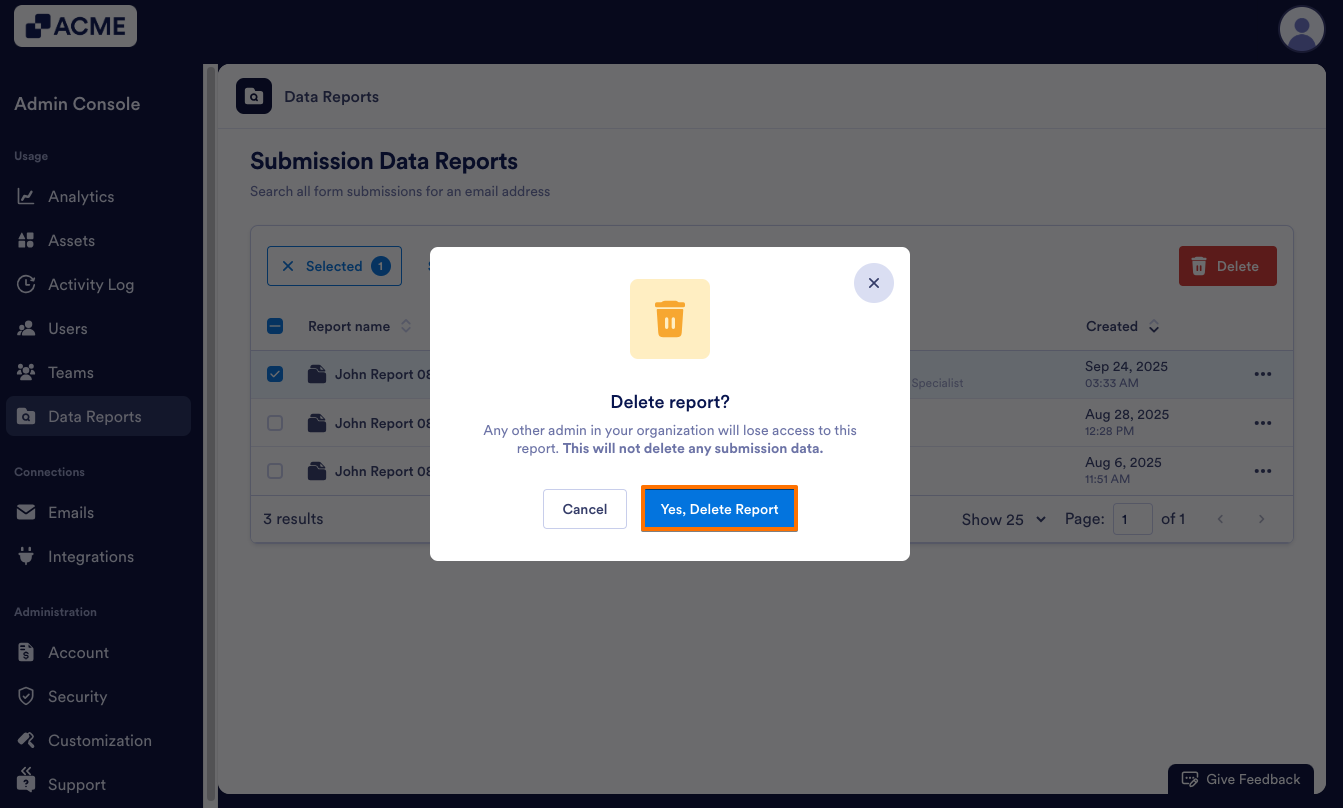
- Then, click on the three-dot menu and click Delete Report.

- Finally, in the pop-up window, click Yes, Delete.
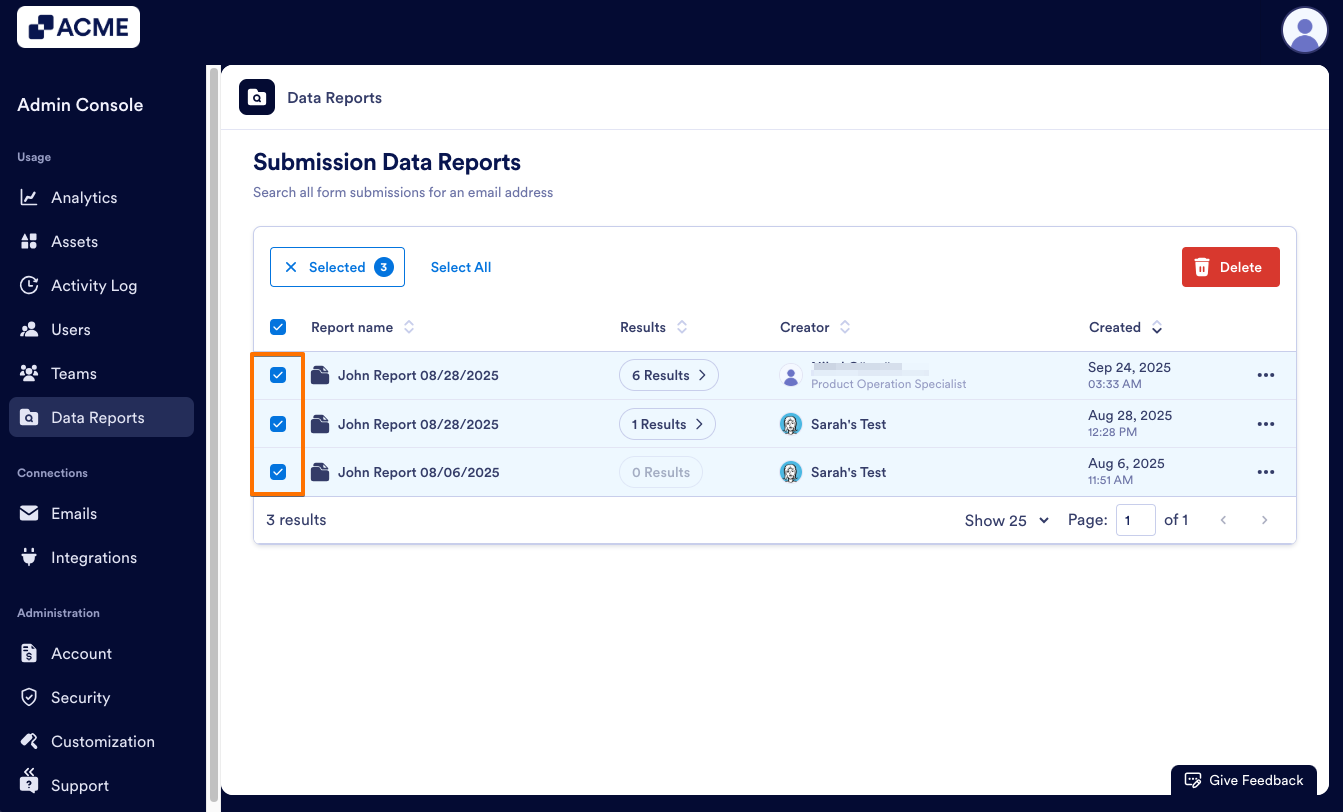
Now, let’s walk through the process of deleting multiple reports:
- In Data Reports, click on the checkbox next to the reports you want to delete.
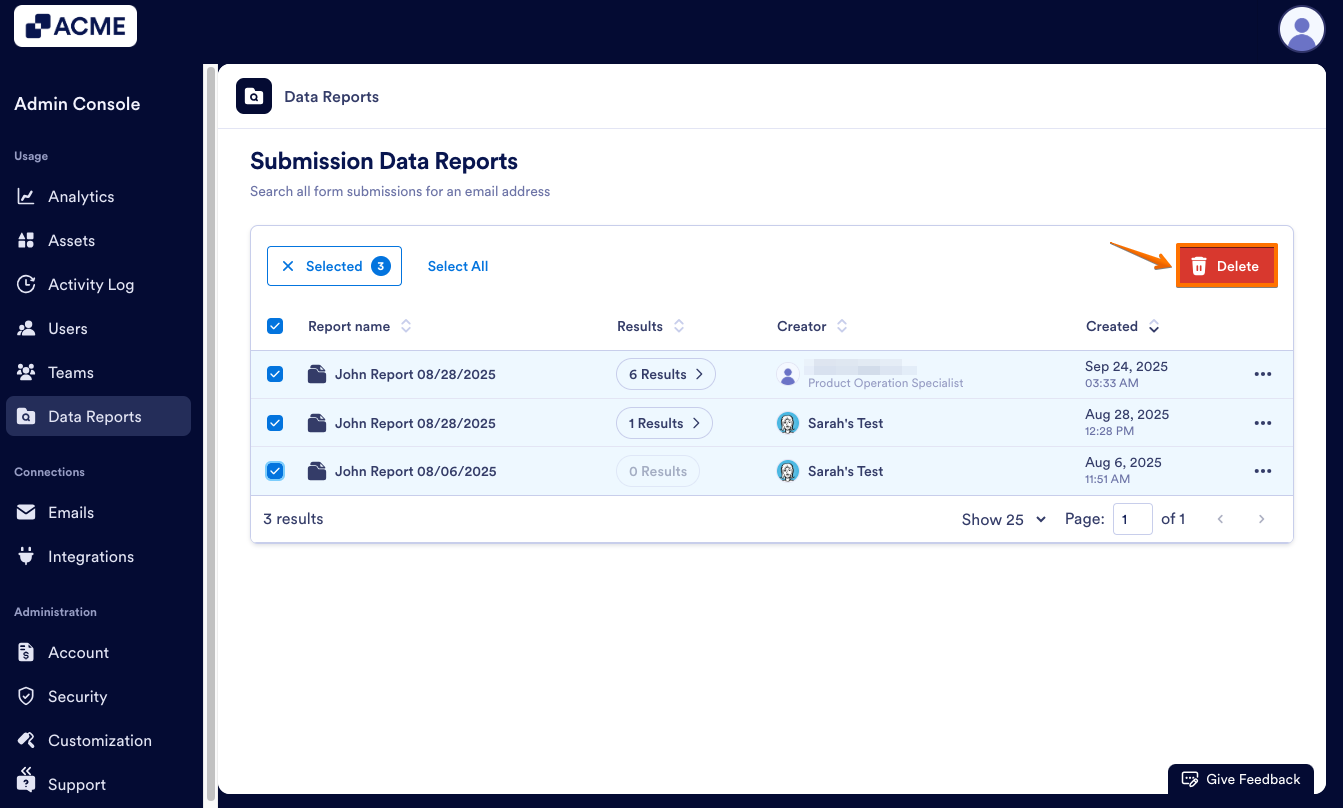
- Then, click Delete at the top of the page.
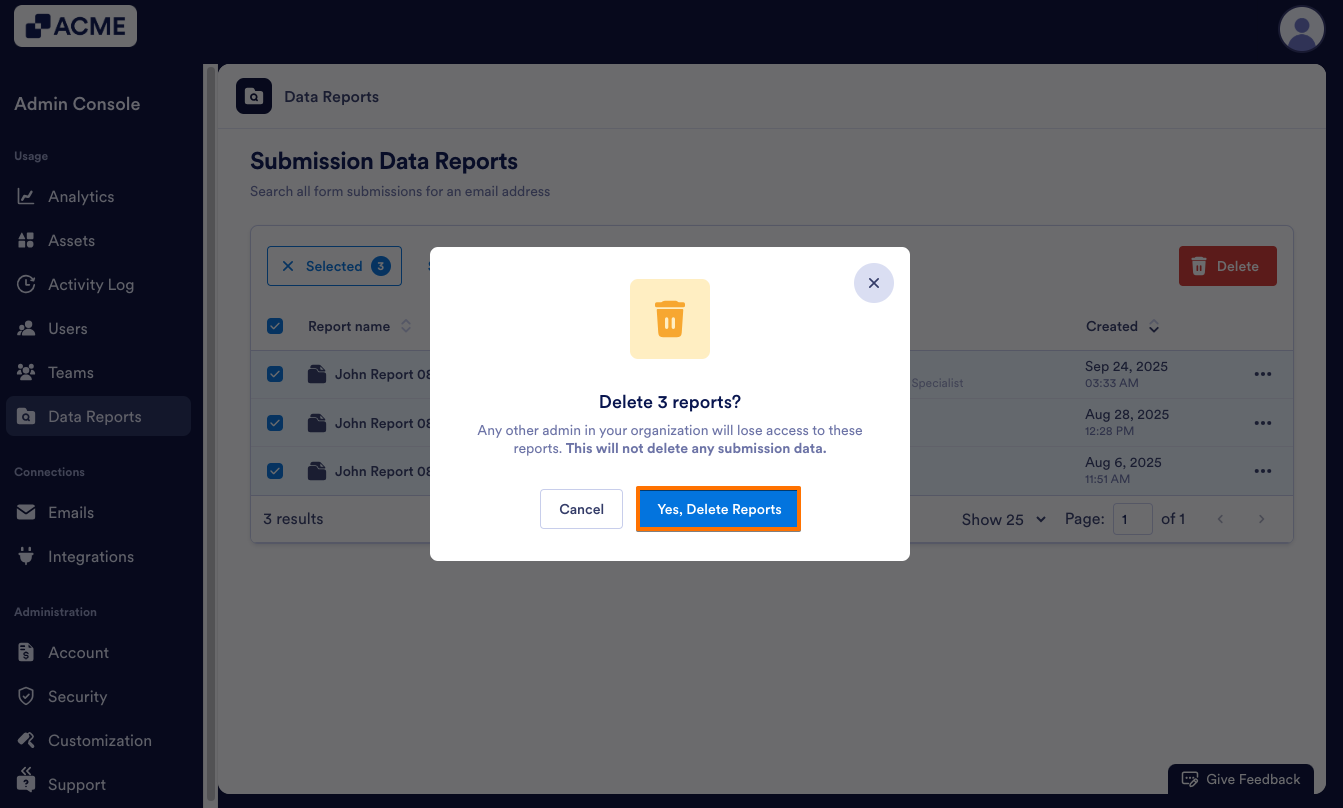
- Finally, click Yes, Delete in the pop-up window.

Send Comment: