

Steps to upload files in Microsoft Forms
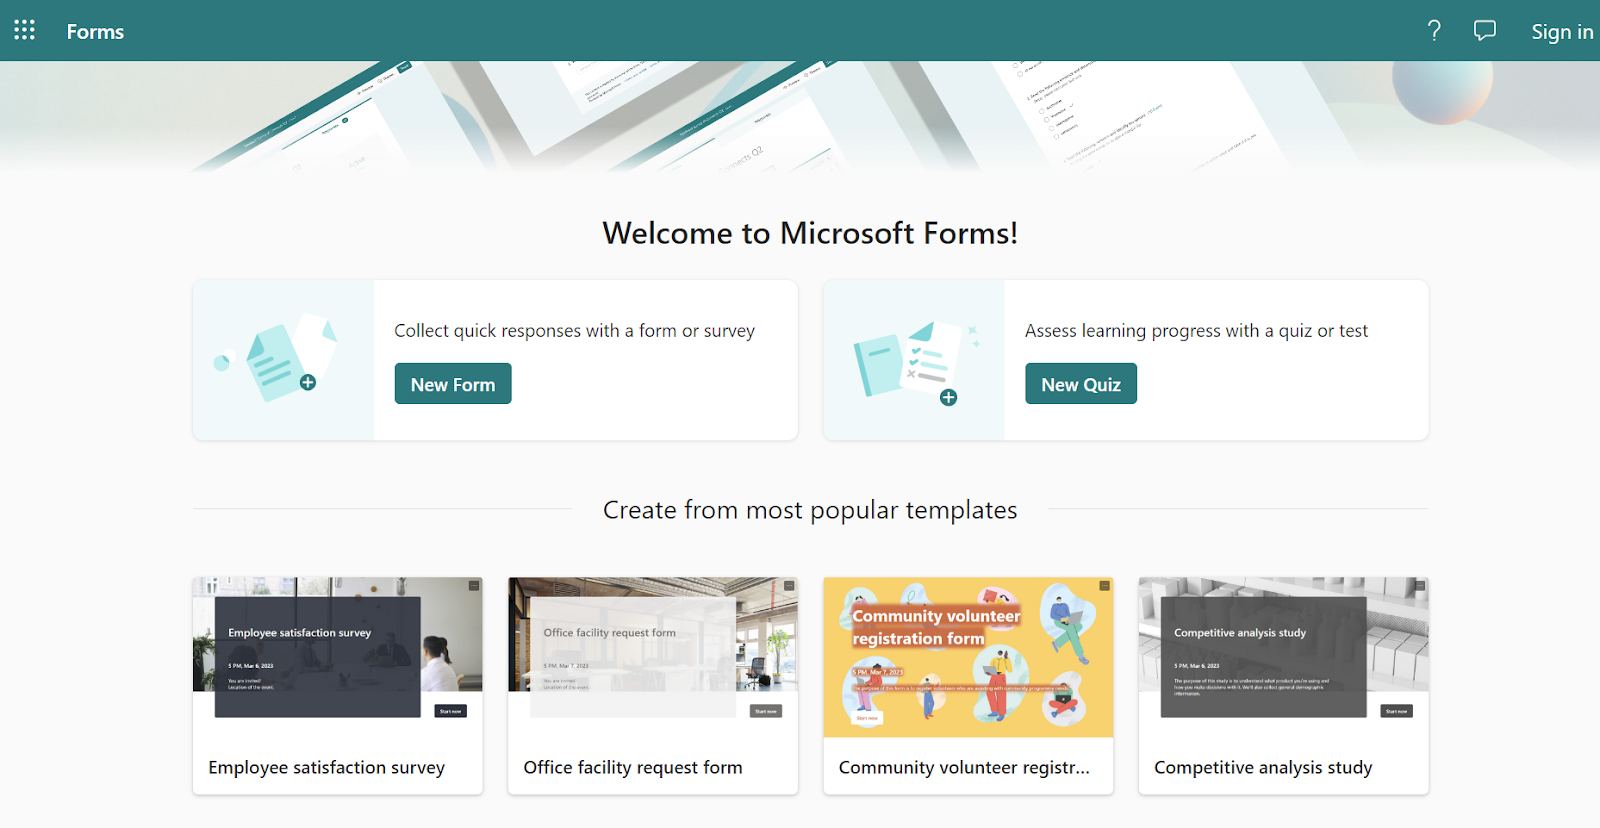
- Go to forms.office.com.
- Open the form you want to edit or create a new one.
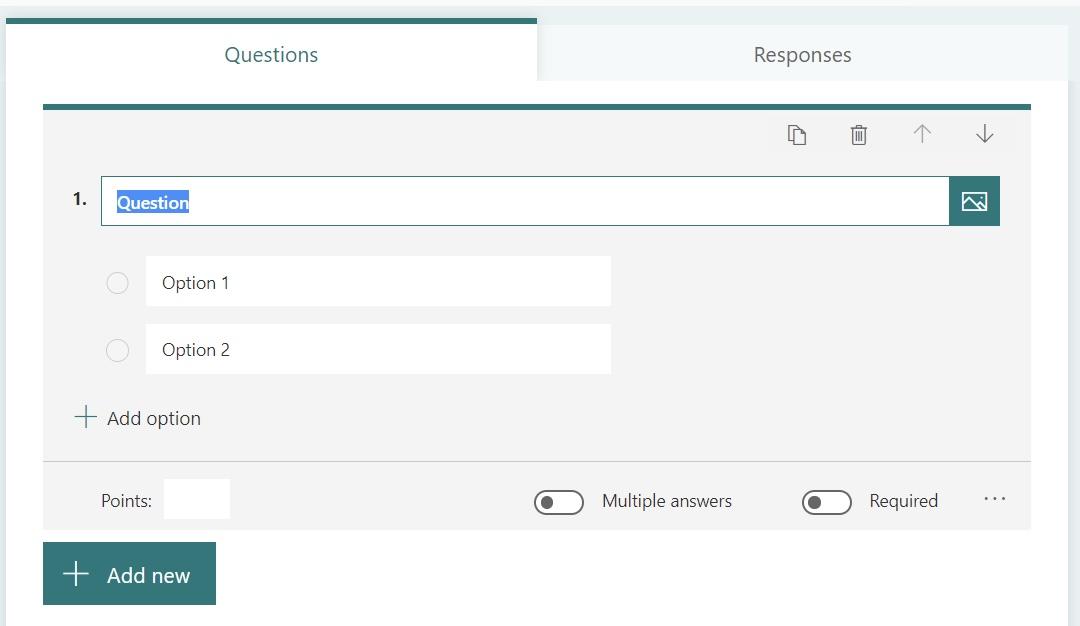
- Add a new question by selecting the + Add New button.
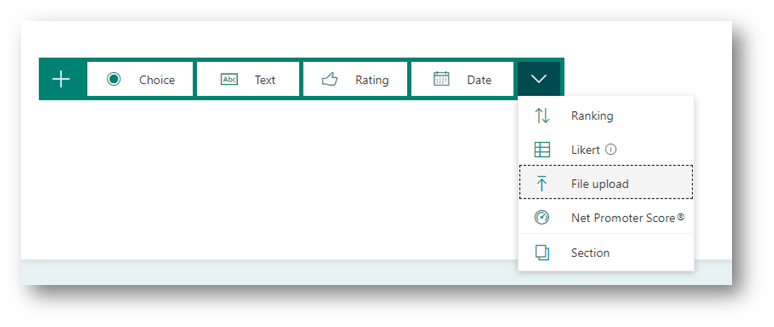
- Select the More options dropdown.
- Change your question type to File upload.
- Enter a text prompt for respondents.
- Specify the number, size, and type of files.
- Add any additional questions, customize its design, and preview it.
When you need to collect information from people, online forms allow you to ask different types of questions, send them to the right recipients, and manage responses with ease. You can even collect files uploaded by survey respondents.
Whether you’re using forms for personal or work-related reasons, there will likely come a time when you need to receive files alongside the other information you collect in your form. Understanding how to use Microsoft Forms is key to enabling features like file uploads and managing submissions efficiently.
What is Microsoft Forms?
Microsoft Forms is free software that allows you to create surveys, quizzes, and other forms online. Once you create your form, you can customize it, share it with others, and view individual responses or generate a report that shows you all responses.
You can use Microsoft Forms with or without a Microsoft account. However, in order to enable the upload file option on your forms, you must be logged in an organizational Microsoft account, so any files you collect will be added to your Microsoft OneDrive account.
Why enable file uploading in your form?
Including a file upload option on your form makes it more convenient for your respondents to share important documents. They won’t have to use another tool to send documents to you after completing your form. It also makes it easier for you to reference their file alongside their form response, reducing friction and eliminating the risk of mixing up files and submissions.
For example, you might want to enable file upload on your form if you need to do any of the following:
- Collect signed field trip forms from your students’ parents
- Access technical log files from a coworker to provide IT support
- Attach supporting documentation to an incident report
Note that to prevent spam or other malicious activity, Microsoft Forms only allows users in your organization to upload files. When creating your form, you can choose whether you want everyone in your organization or only certain people to have access to your form.
How to use Microsoft Forms’ upload file function
- Go to forms.office.com.
- Open the form you want to edit or create a new one by clicking the New Form button.
- Add a new question by selecting the + Add New button.
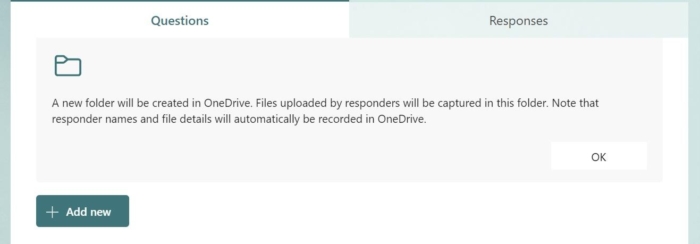
- Select the More options dropdown and change your question type to File upload. You’ll be asked if you’re OK with a new folder being created in your OneDrive account, where respondents’ files will be uploaded. Select Yes to continue.
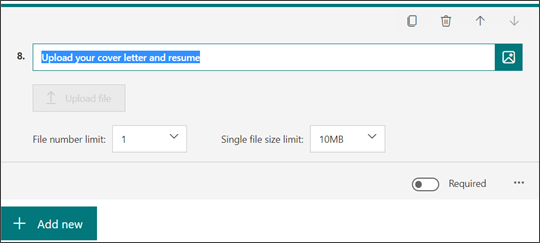
- Enter a text prompt for respondents, such as “Upload your file here.”
- Specify the number, size, and type of files that can be uploaded. You can also choose to make uploading a file mandatory by making sure the Required toggle is enabled. (Note: The maximum number of files that can be uploaded per submission is 10, the maximum size is 1 GB, and the file types you can select are Word, PDF, Excel, PPT, image, audio and video.)
- Add any additional questions to your form, customize its design, and preview it. If everything looks correct, send your form to others by selecting Collect responses and choosing from Microsoft Forms’ multiple sharing functions.
An easier way to add files to forms
Sometimes you may need to collect uploaded files from people outside your organization. For example, you may want to allow job applicants to upload their resume and cover letter as a PDF. The Microsoft Forms upload file feature is limited to people in your organization, so you wouldn’t be able to use it for that purpose.
Jotform, on the other hand, allows you to accept file submissions from anyone with access to your form. Just like Microsoft Forms’ upload file feature, Jotform lets you specify what file types to permit your respondents to upload — so you won’t have to worry about opening files that are incompatible with your device or available software.
Here’s how to accept file uploads in Jotform:
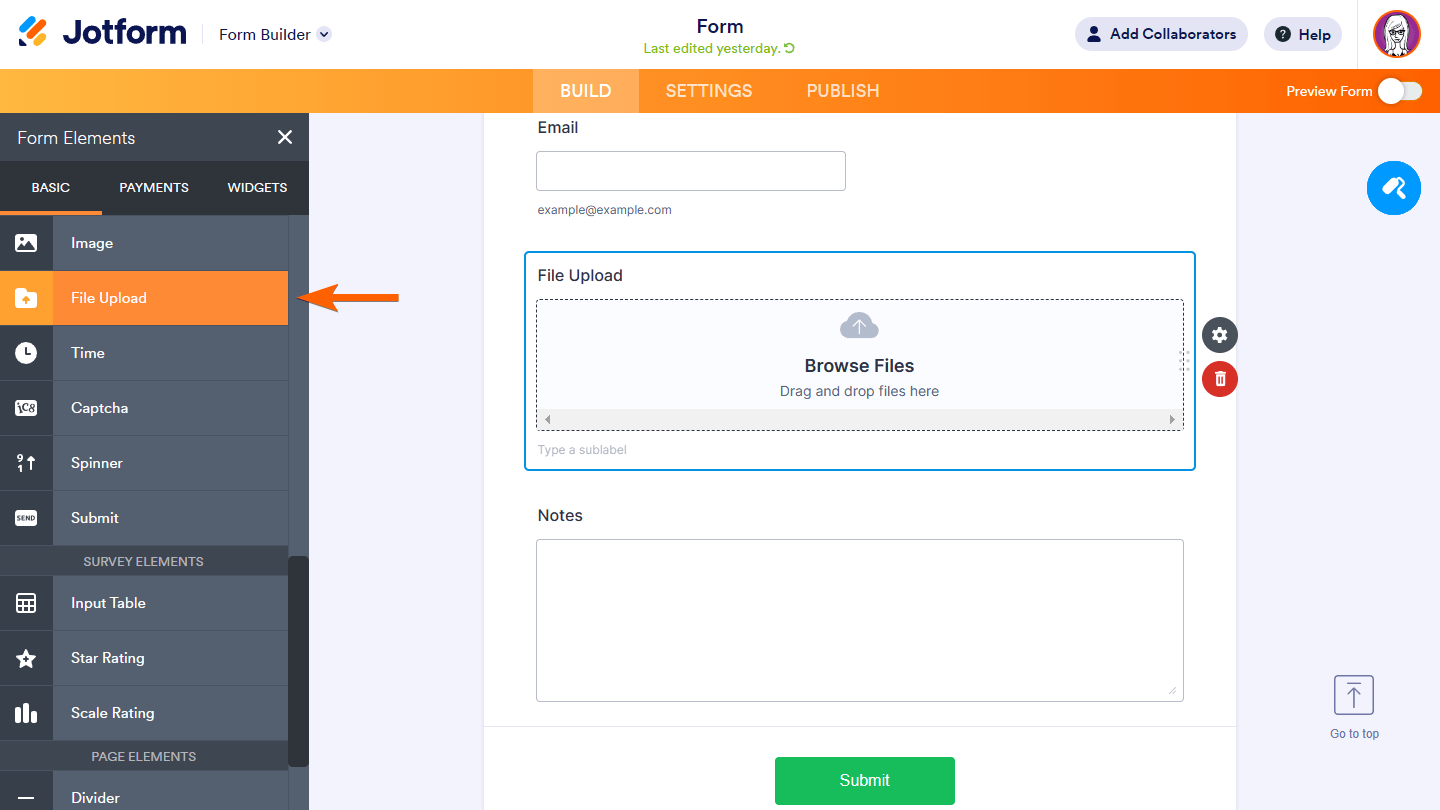
- Go to jotform.com. Open a form or create a new one, then click + Add Form Element in the upper-left corner.

- In the Basic tab of the Form Elements sidebar, click File Upload to add the field to your form.
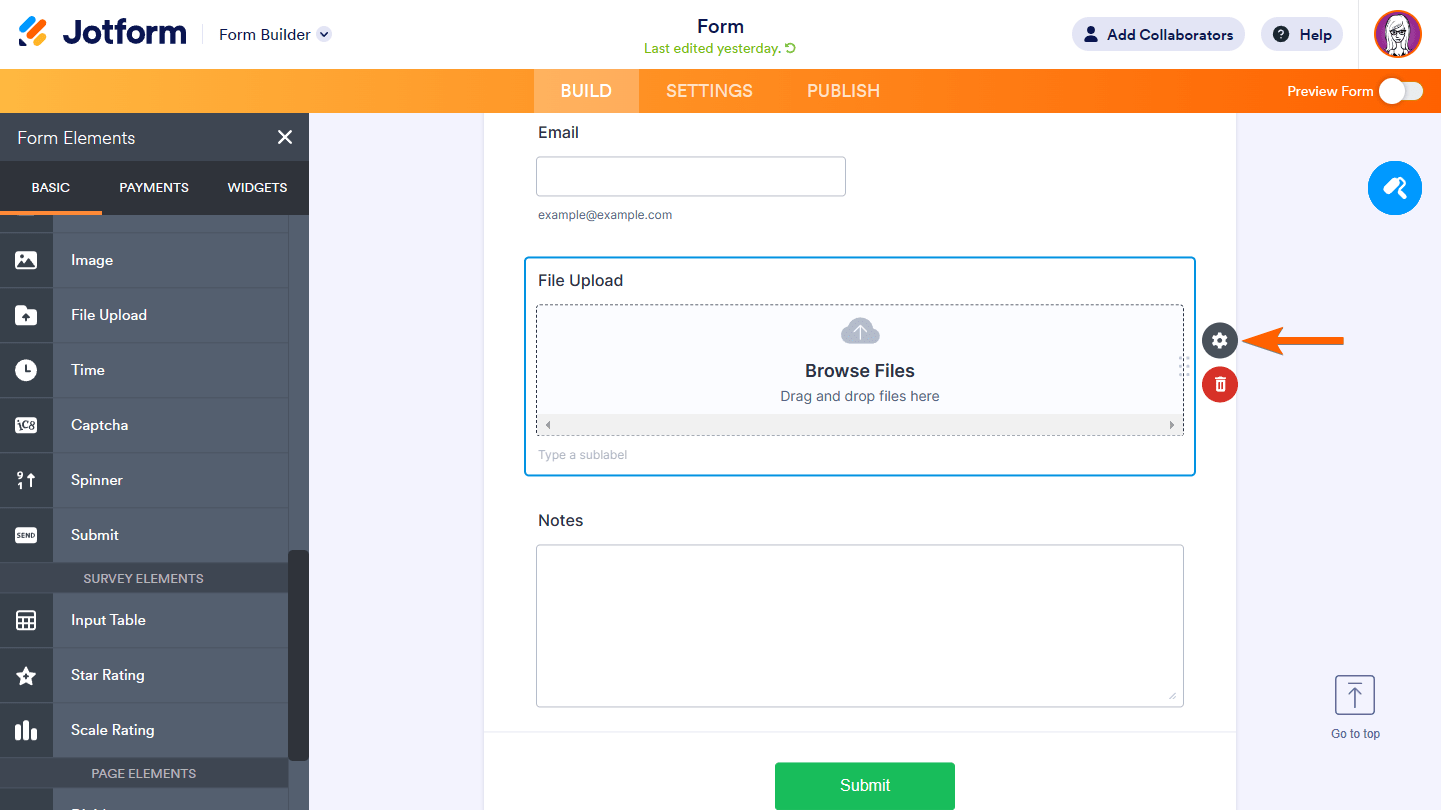
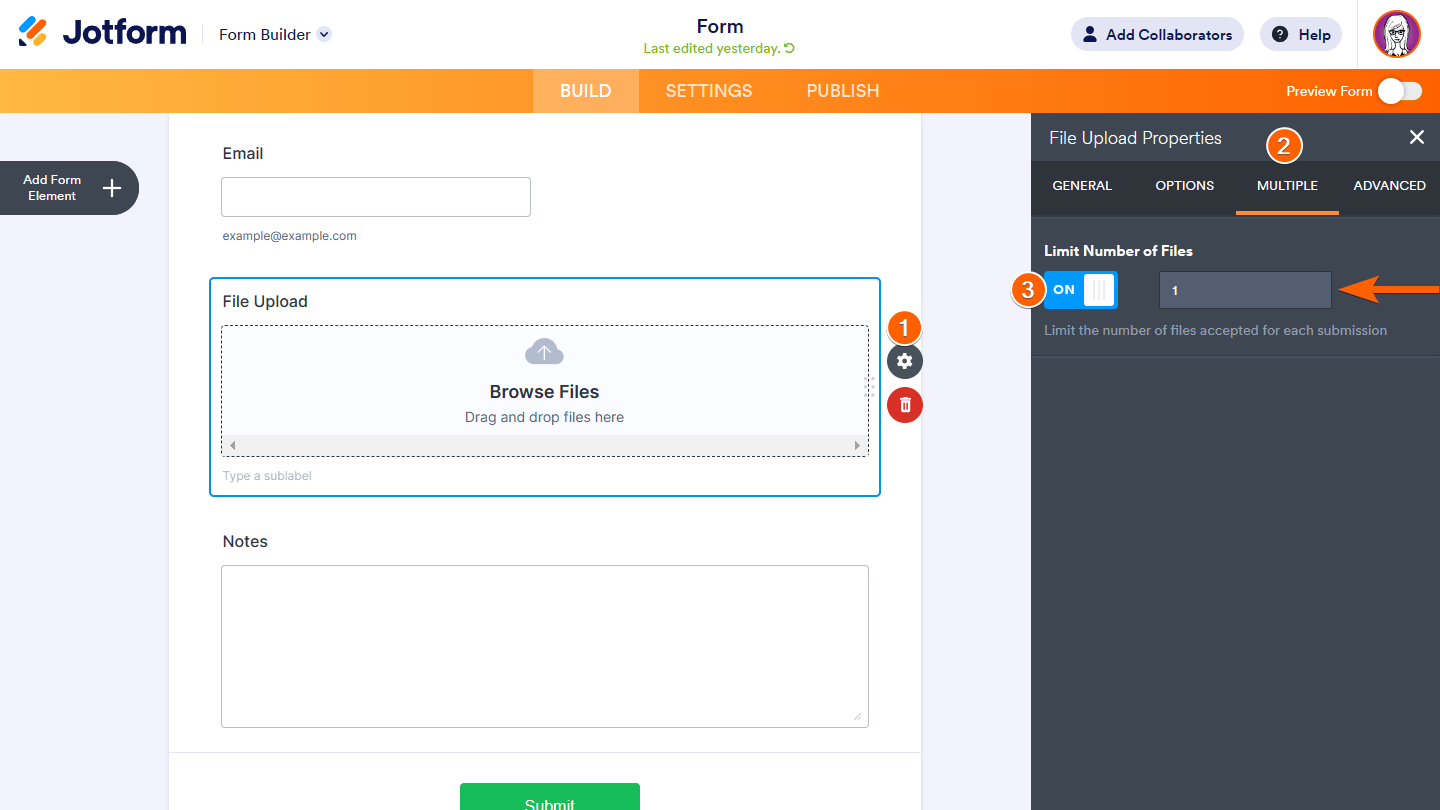
- Select the gear icon to open Properties.
- In the Properties sidebar on the right, click the Options tab and set your desired file size limit and allowed file types.
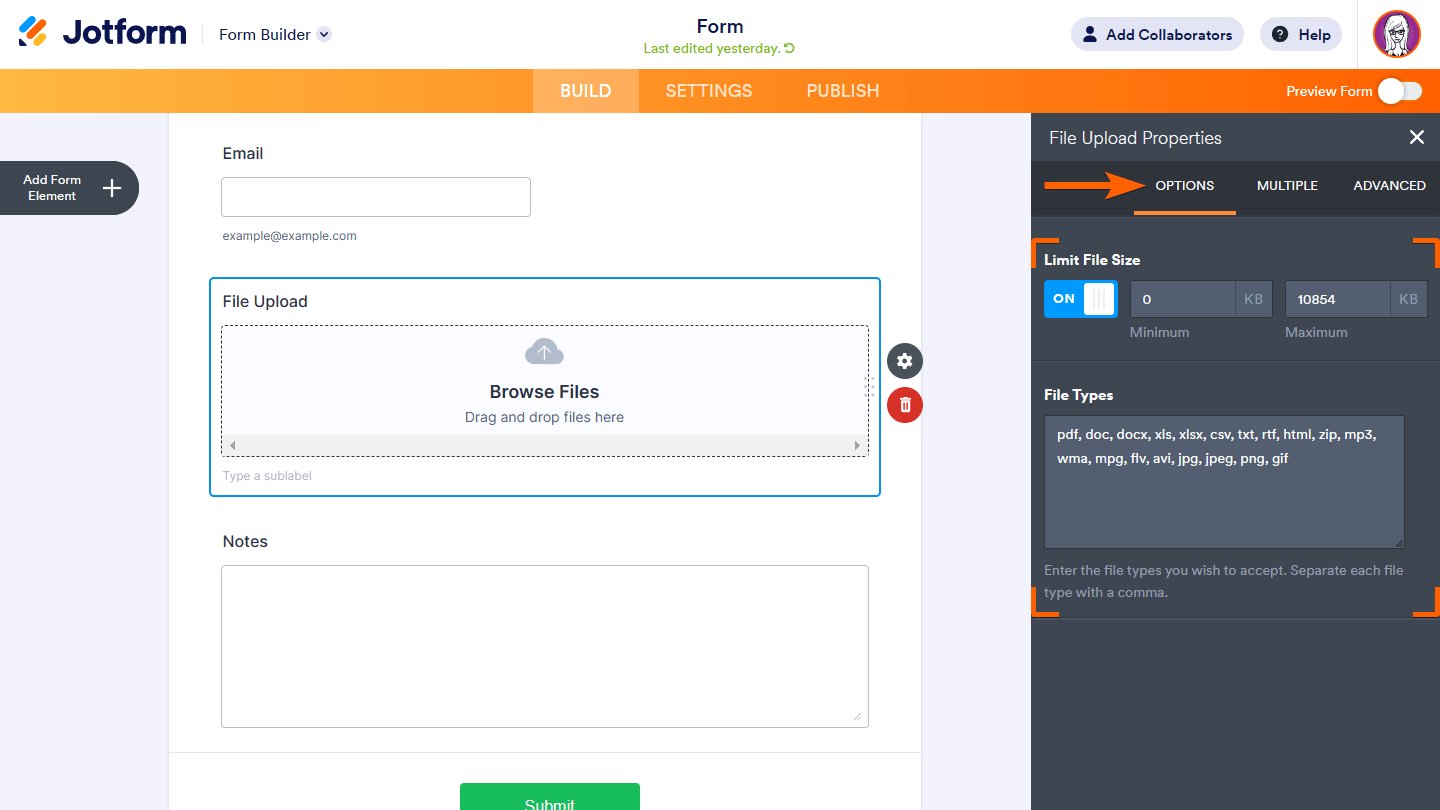
- To limit the number of files accepted for each submission, switch to the Multiple tab at the top of the Properties sidebar, enable the Limit Number of Files toggle, and enter the number of files you’d like to allow.
In addition to built-in file upload capabilities, Jotform also has widgets you can use for advanced file upload. The Image Upload Preview widget, for example, lets respondents verify that they’ve chosen the correct file image before including it in their response.
File Upload by Uploadcare is another widget that allows you to accept files from the respondent’s social media accounts, cloud storage, and more.
Choosing the right form builder for file uploads
The right form builder for your needs will depend on what kind of file uploads you need to accept and from whom. While Microsoft Forms’ upload file function doesn’t allow you to collect files from people outside of your organization, Jotform makes it possible.
Photo by Life Of Pix


Send Comment: