With the launch of Jotform Tables in 2020, Jotform provided a new team collaboration workspace to help you manage your data-collection or ad hoc tasks. Since then we’ve been listening to your feedback and implementing tweaks to make Jotform Tables better so the work you do is better in kind.
As we start a new year, brand-new goals are ahead for all of us, and we’re pleased to let you know that your workflow will be faster and easier with our new Jotform Tables Assign feature.
The Assign feature is designed to help streamline any projects, goals, and tasks that require the involvement of certain stakeholders. Let’s face it, a task without a stakeholder usually doesn’t get done.
Whether you need to delegate onboarding tasks to an HR business partner or you’re a director sending new leads to your sales or real estate agents, the Assign feature will make the process of assigning jobs and notifying new stakeholders a breeze.
To use the Jotform Tables Assign feature, simply add a new collaborator to your table, create a new column to enable assignments, then assign (or unassign) teammates.
It’s now easy to assign projects or independent entries to stakeholders directly from your table. You no longer have to exit the table and assign a task from an individual form or survey.
Pro Tip
Learn more about the powerful features of Jotform Tables — including search filters, calculations, team collaboration tools, and more.
How to use the Jotform Tables Assign feature
Assigning your projects, tasks, and duties is simple. There are only a few steps you need to take.
To begin, add the collaborators (or stakeholders) to whom you want to assign your projects or tasks to your table. If your team already has access to your table, then you’re good to go.
To add a new stakeholder or multiple stakeholders to your table, click the Share button in the top right of your screen and enter the email address(es) as well as any notes you want to provide. You’ll have the option to give read only or collaborator access. Finally, click Send Invitation. There’s no limit to the number of stakeholders you can assign to a table.
When you’re ready to start assigning tasks, first add the assignee column. Click Add on one of the columns in your table, then select Assignee from the available options. Click the Next button, enter the name of the assignee (i.e., the task owner, project stakeholder, etc.), and then click Next.
Note: The assignee column allows you to notify your assigned collaborators via email and/or to assign multiple collaborators to an individual entry. Just toggle the appropriate options when creating the assignee column.
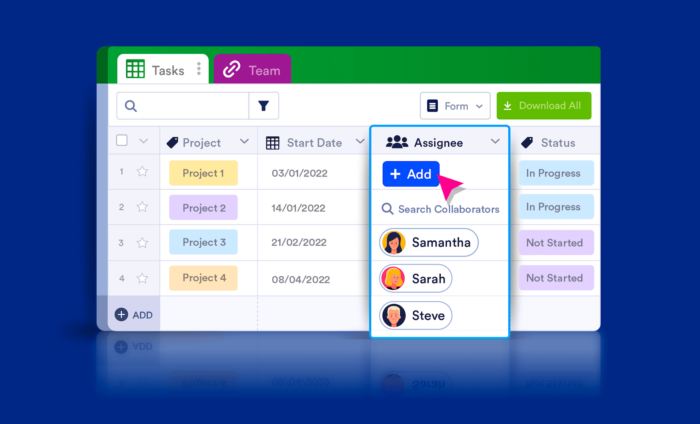
Assigning tasks to collaborators is a snap. Simply click in the empty cell, and an Add button will appear. Click the button to select the collaborator (or collaborators) you’d like to assign the entry, project, or task to. You can invite new collaborators to your table by clicking the Add button as well.
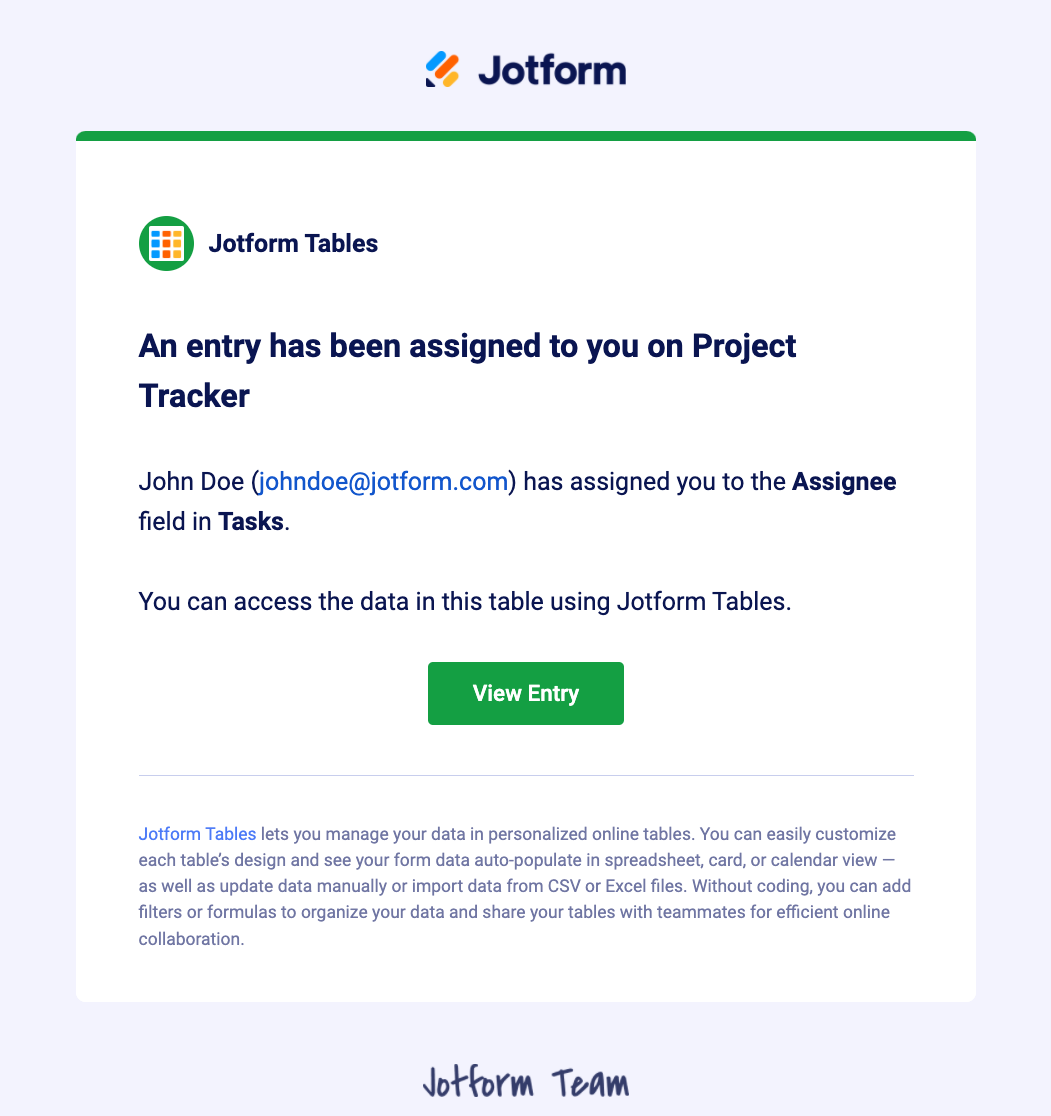
When you choose a collaborator in the assignee column, they’ll receive an email informing them of their new assignment.
If necessary, you can deselect existing assignees or replace them with other stakeholders by simply clicking the “x” above their name.
And in the event a task owner leaves the company or no longer needs access to the table, you can revoke their access through the same Share Table (or Invite) screen.
When the modal is open, click on the existing collaborators in the bottom right. You can then select the individual(s) you no longer want to be able to access the table. Follow the steps to revoke their access.
Within this screen, you also have the option to change the access level to read only or collaborator status.
View the project or task assignment in a newly organized way
In order to handle our daily management needs, we often have to stitch together various tools and software to make it all work.
But creating assignments is just one component of Jotform Tables that works seamlessly with the other components to maximize all of your management needs.
For example, the stakeholders you assign within the assignee column will appear in the Jotform Tables charts feature and be reflected in the data visualizations created using Jotform Reports and PDF Editor.
All of these tools provide a handy visualization to make meetings or time/resource planning more effective.
On a related note, Jotform Approvals syncs with your table, meaning your platform now connects the dots between assignment, approval, management, and collaboration.
For any approval workflows you’ve set up, your table/workspace will show an associated column listing the approval status of submitted requests. This way, you have clarity and single-view control over your project.
Whether it’s the automatic notifications that alert your team or the holistic management of incoming jobs, Jotform Tables has you covered.
With supercharged task assignment, project managers can be confident that the proper action is being taken for all their workflows.
Try the new Assign feature in Jotform Tables today and let us know what you think!


Send Comment:
9 Comments:
More than a year ago
This is so helpful! Very excited to teach my team how to use JotForm.
More than a year ago
When I share a table with someone and he clicks the "View Table" button from his email, he is being redirected to login page.
Is it required for the assignee to have a Jotform account ?
More than a year ago
Hi
jotform was a link when someone sent it for me
He told me, you fill this webpage for your SIV case!
Is it right?
put me right,if i am wrong please!
More than a year ago
Can we assign task via SMS?
More than a year ago
Very good
More than a year ago
Great
More than a year ago
What is this? I don't get it.
More than a year ago
That sounds good
More than a year ago
Hi, thank you for this. I've implemented this as per your instructions but no assignee seems to get the emails to our inboxes when done?