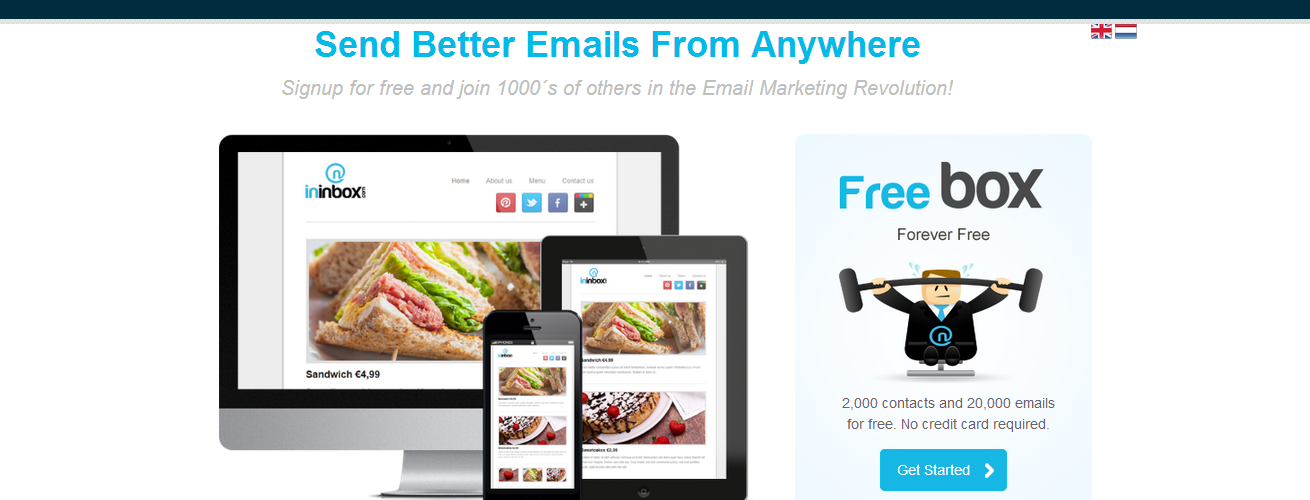
One of the first things that every web site should do is to build and maintain a mailing list. Jotform is an easy way to create sign-up forms and start building your list. The problem for many marketers is what do they do next. Obviously, you need to start interacting with your list and begin telling them about all the products and services you offer and all the ways you can help them. But the difficulty often arises, how can you easily manage emails on your lists? As your list continues to grow, it becomes increasingly difficult to keep track of everything that you need to remember about your list members. Well, there is now a solution: Jotform integration with INinbox.
Building relationships with your list members using INinbox
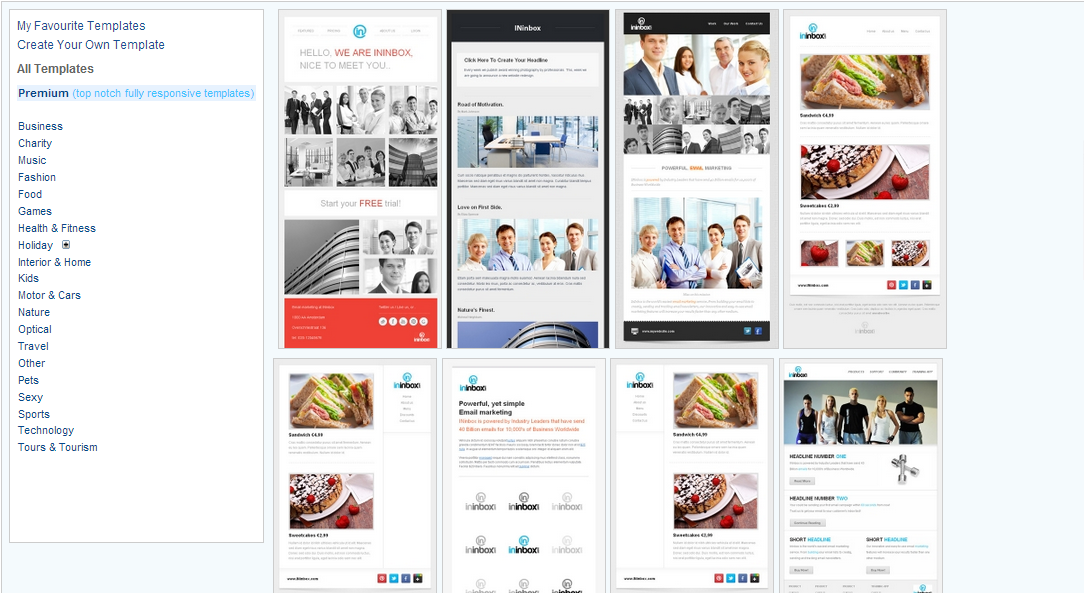
INinbox allows you to easily send highly customizable HTML emails to your list. You can choose one of their existing templates, or design your own HTML email in any way you want. Furthermore, you have the option to send your emails manually to your email list, but you can also automate this easily.
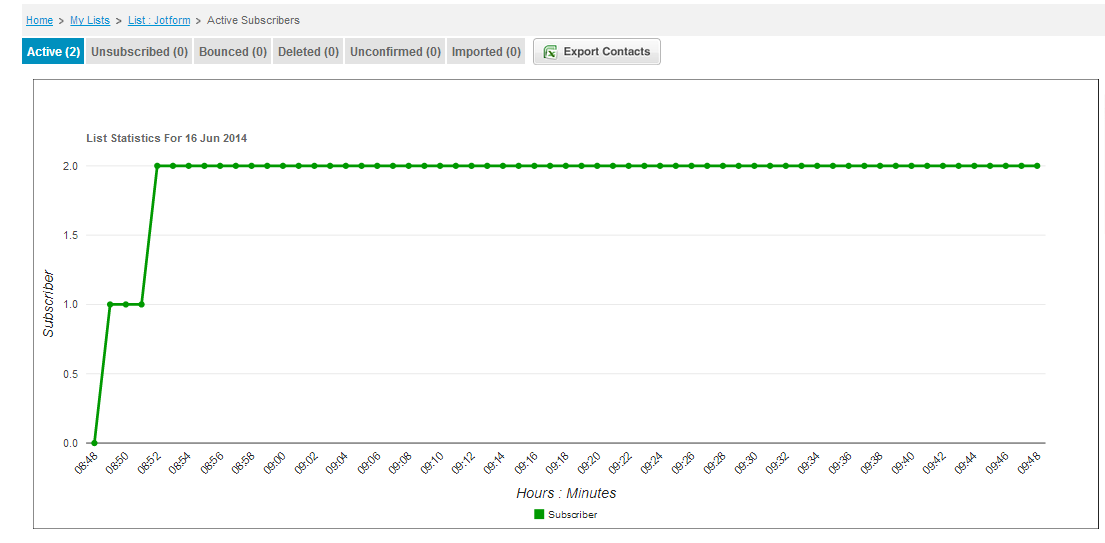
Tracking campaigns can be time-consuming, but INinbox make it easy, they have some very useful graphs showing you at a glance whether a particular email has been opened, when it was opened, and whether the reader clicked on any links within the email. This sort of information is vital to any email marketeer, it helps you to focus your emails better, to achieve a higher response rate, and engage better with your readers.
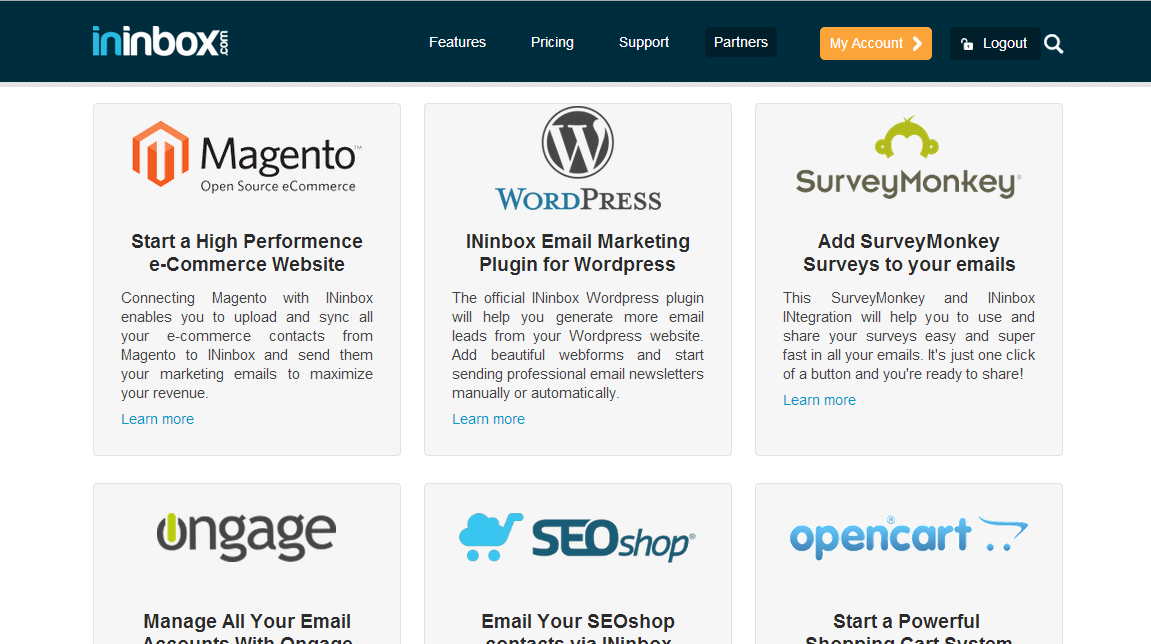
Tracking your email response it not the only way to engage with your readers. Sometimes you may have something specific that you want to ask them, or perhaps you have a marketing event that you would like to invite them to attend. INinbox makes this really easy to do. They have some great integrations with services including, Eventbrite, SurveyMonkey, Magento, WordPress, etc.
How to setup the INinbox integration?
Login to your Jotform account and create a new form using a template you prefer. After creating your template, make sure to navigate the Setup & Embed and click on the Integrations button on the top menu:
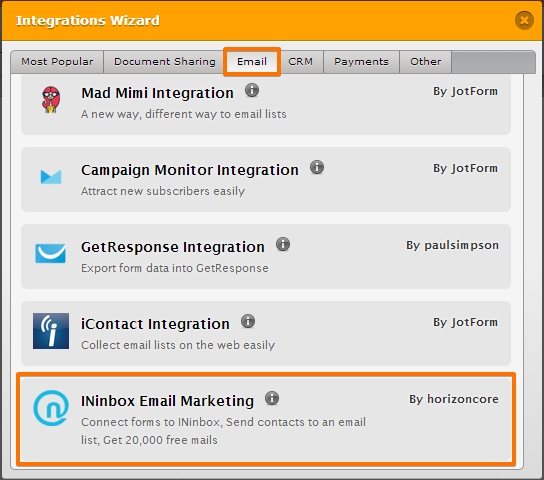
Navigate to the Email tab and scroll down a bit to find INinbox. Click INinbox Email Marketing
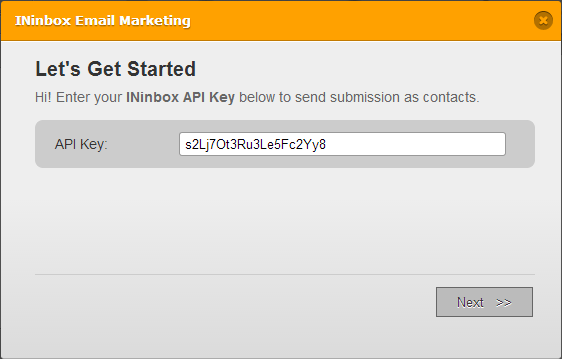
Paste your INinbox API Key and click Next button. You can find your INinbox API Key by following this guide: http://www.ininbox.com/kb/article/AA-00822
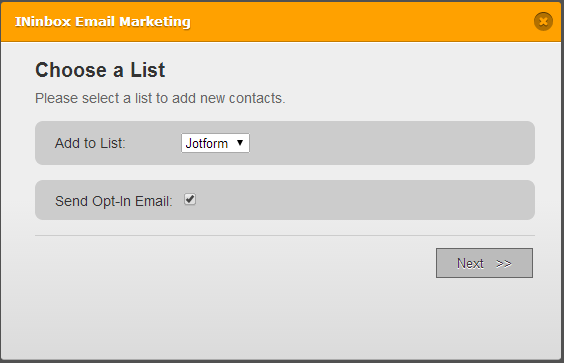
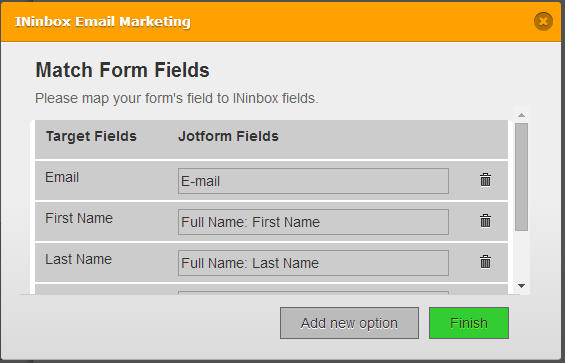
The rest of the process is simply following the simple on-screen instructions to decide which of your INinbox lists you want to add your new contacts, and which information you want to add to INinbox.
Once that’s setup you can send your subscribers your marketing emails manually or automatically. Have fun!
P.S. As of 2019, Ininbox integration is defunct, but you can consider using other emailing integrations supported by Jotform.




Send Comment:
2 Comments:
More than a year ago
what about aweber ?
More than a year ago
Would it be possible to create a notification email using one of the INin templates to form fillers?
I find the current email layout immensely limiting in style, and you have to do so much to the design of it to get rid of address tags etc.