When you’re building a business, you do a lot of work behind the scenes. You have to create a business structure, design your operations, and find the applications and platforms that will help everything run smoothly.
When your users come to you, they’re probably not thinking about how the final product came into existence. And that should be your goal — you want things that might have been hard to build on your end to look easy to the outside world. At the end of the day, you can take pride in knowing the work you’ve put in will pay off and leave a good impression.
But choosing which platforms to use for your business — and knowing how to operate within them — can be complicated. Thankfully, when it comes to setting up payments, there’s PayPal.
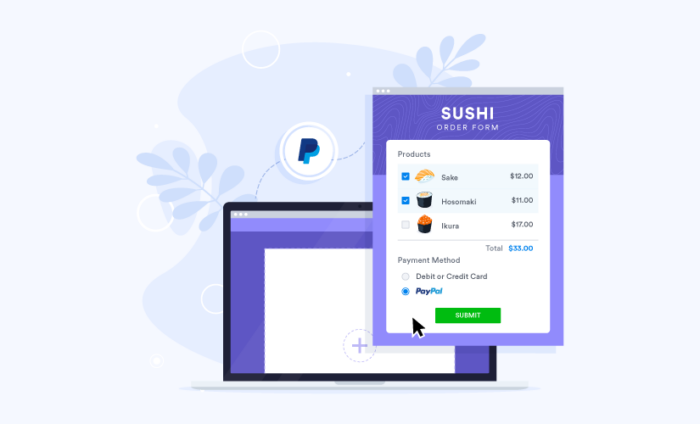
When you embed PayPal payment on your website, you simplify the transaction process. Here’s how to successfully create a PayPal payment form on your website and make the buying and selling process easy.
1. Create a form
Jotform offers several PayPal form templates you can use to store information and gather payments. And with the Jotform Form Builder, you can
- Specify the type of product you’re selling
- Add multiple products
- Specify the type of information you’ll be collecting through the form
Your transaction process will be unique, so it’s important to set everything up correctly in this first step. You can’t connect to PayPal if you don’t have a form. The Jotform Form Builder ensures everything will be organized and in the right place.
Discover how selling signed book copies online was made easy. Learn from this case study to streamline your own online sales process with PayPal payment forms.
2. Initiate PayPal integration
PayPal and Jotform work well together. It’s simple to integrate PayPal into your Jotform forms for painless transactions. Here’s how it works:
- In the Jotform Form Builder, click Add form element and search for PayPal Checkout to add the integration to your form.
- Click Connect with PayPal in the payment integration wizard.
- Enter your PayPal login.
After setting up your PayPal integration, you’ll see a prompt to add products, shipping information, and coupons, along with image attachment capabilities.
3. Specify what you’re selling
What you’re collecting payments for will vary based on your business. If you’re a subscription-based business, the types of payments you’re collecting — and the frequency with which you’re collecting them — are going to differ from a business that asks for one-time payments.
PayPal is elastic in this way, but it’s on you to make sure the back end is set up for the type of payment you’re asking for. In addition to one-time sales of products and subscriptions, you can create a donation option and allow your users to input a specific amount.
4. Choose the way to pay
PayPal’s checkout functions allow you to choose how your customers complete their transactions. Once you’ve created the integration, think about how you want to collect money from your users. You can set up gateways through PayPal or PayPal Credit as well as Venmo.
All you have to do is add an option to your custom payment forms. This way, regardless of how you embed PayPal payment on your website, you can provide options for the most convenient and efficient way to pay.
5. Finalize your integration
If you make a mistake while adding PayPal payment on your website or want to add updates to products or different ways to pay, you can.
One of the best things about Jotform’s PayPal integration is that once you finish, you’ll have a saved template you can tinker with. If you’ve added new features to a product, you can update its details. And you can rest assured that everything is safe thanks to Jotform’s security measures.
Team up with a perfect pair
There’s a reason Jotform and PayPal have been working together since 2010 — why mess with a good thing? Ensuring that your customers have a way to pay and have confidence in the process is a big part of establishing a solid foundation for the day-to-day operations of your business.
With tons of customization options at your fingertips and the ability to shape your forms and payment process around your business, using PayPal and Jotform to simplify the payment process is a no-brainer.


Send Comment:
4 Comments:
More than a year ago
I am working with four percent. The web design team suggested I use jotform. They said all I needed was a HTML/Java Script code. How do I get this code?
More than a year ago
hey there love your work, is it possible to have a different forms for each product
More than a year ago
Is there a way to have a "amount" field versus having to select a product where a customer can enter in a custom dollar amount to make a payment? This would be for a possible unpaid invoice etc.
More than a year ago
Thank you!