
As one of the best form editors available, Jotform always pushes the envelope and doesn’t follow trends or try to catch up with other form editors, raising the bar for everyone else.
For example, Jotform has the most custom form elements by way of widgets. It’s the only form app with a tables tool that’s similar to Airtable. And if you’re into design, you won’t find a better tool than Jotform.
Many form editors give you some level of control over design and layout. But none of them give you as much bang for your buck as Jotform.
If you prefer video tutorials over written instructions, Jotform has a video course you can check out first. If reading is more your thing, here’s an introduction to each of the main tools used to customize your forms.
Basic customization
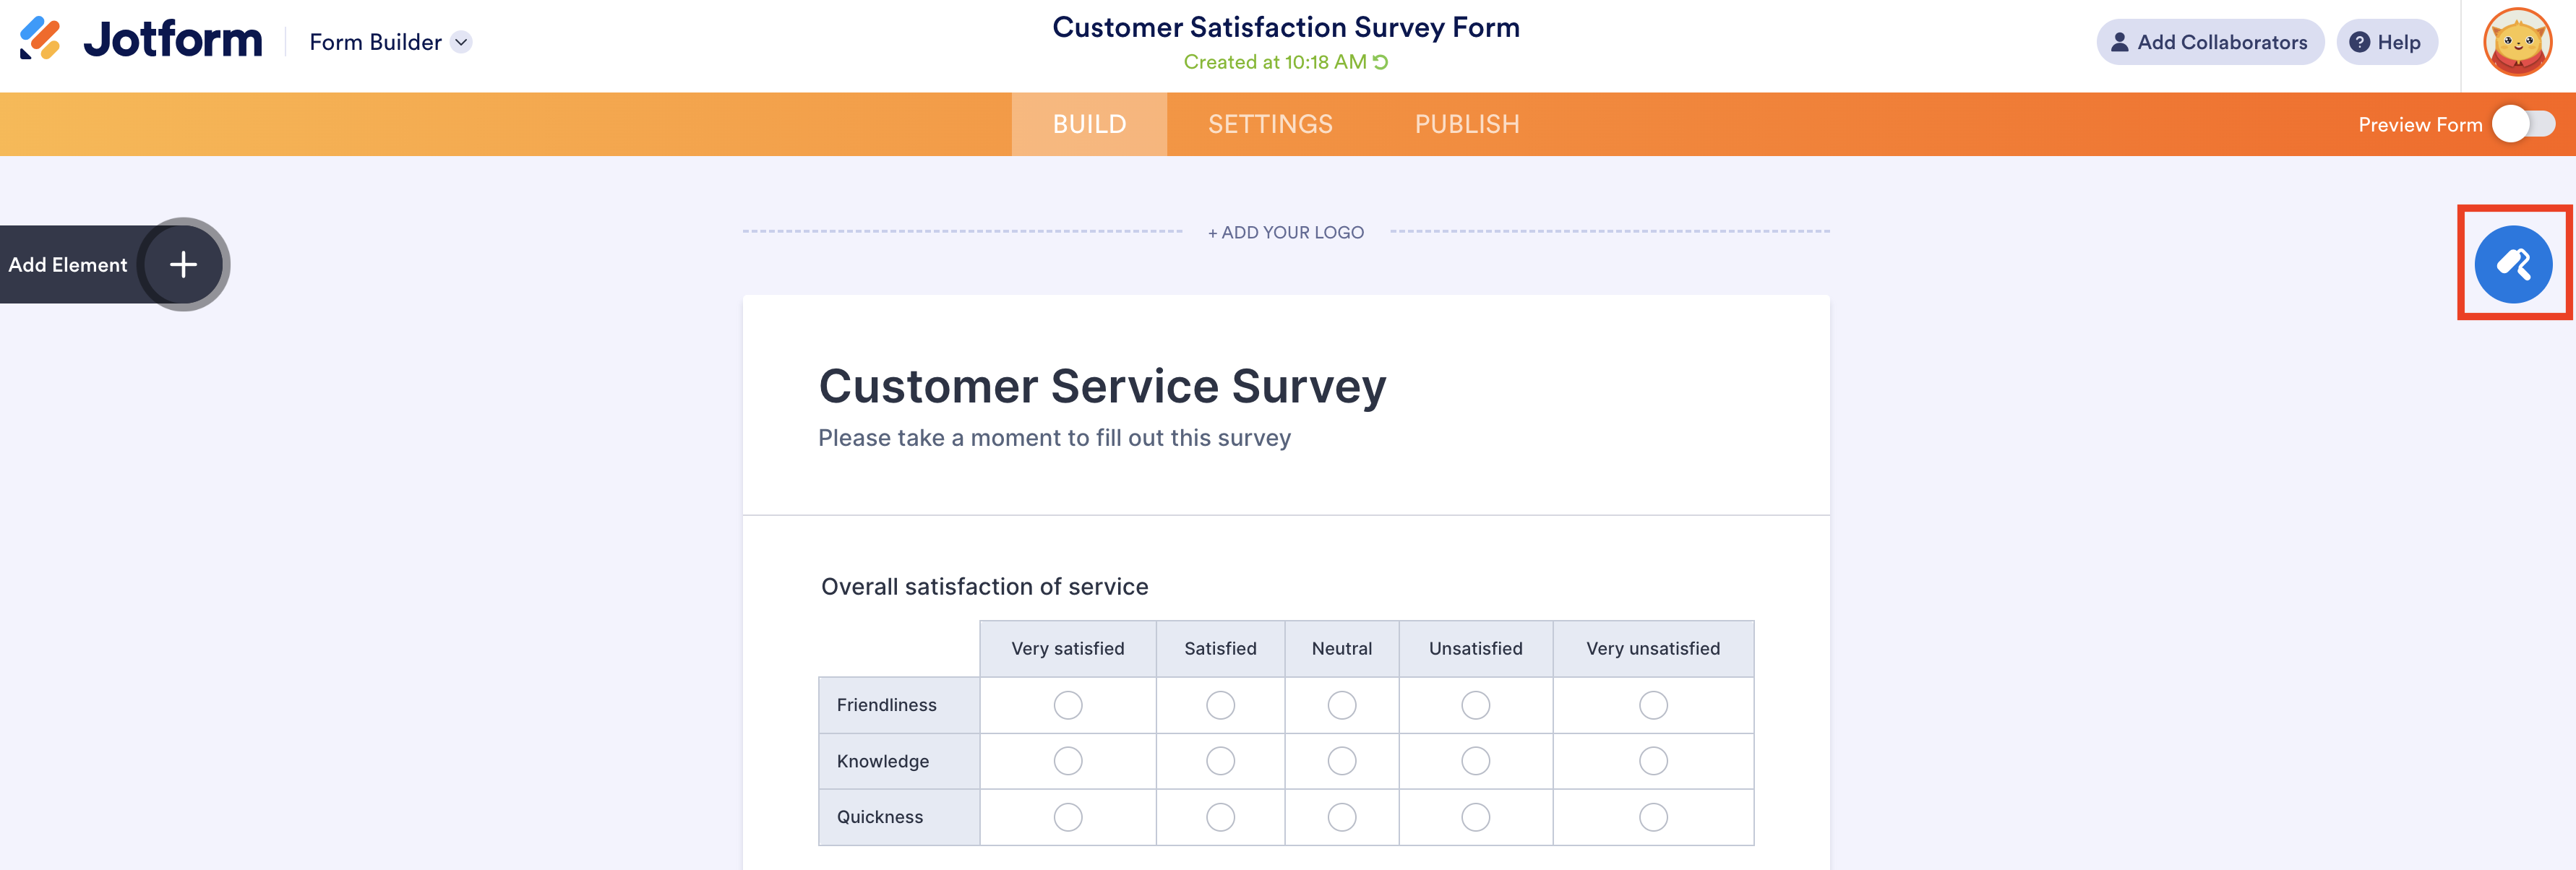
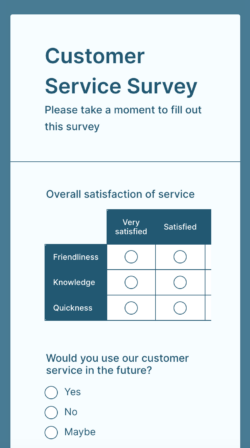
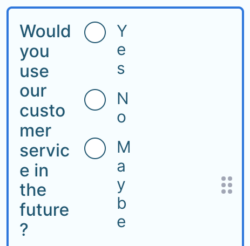
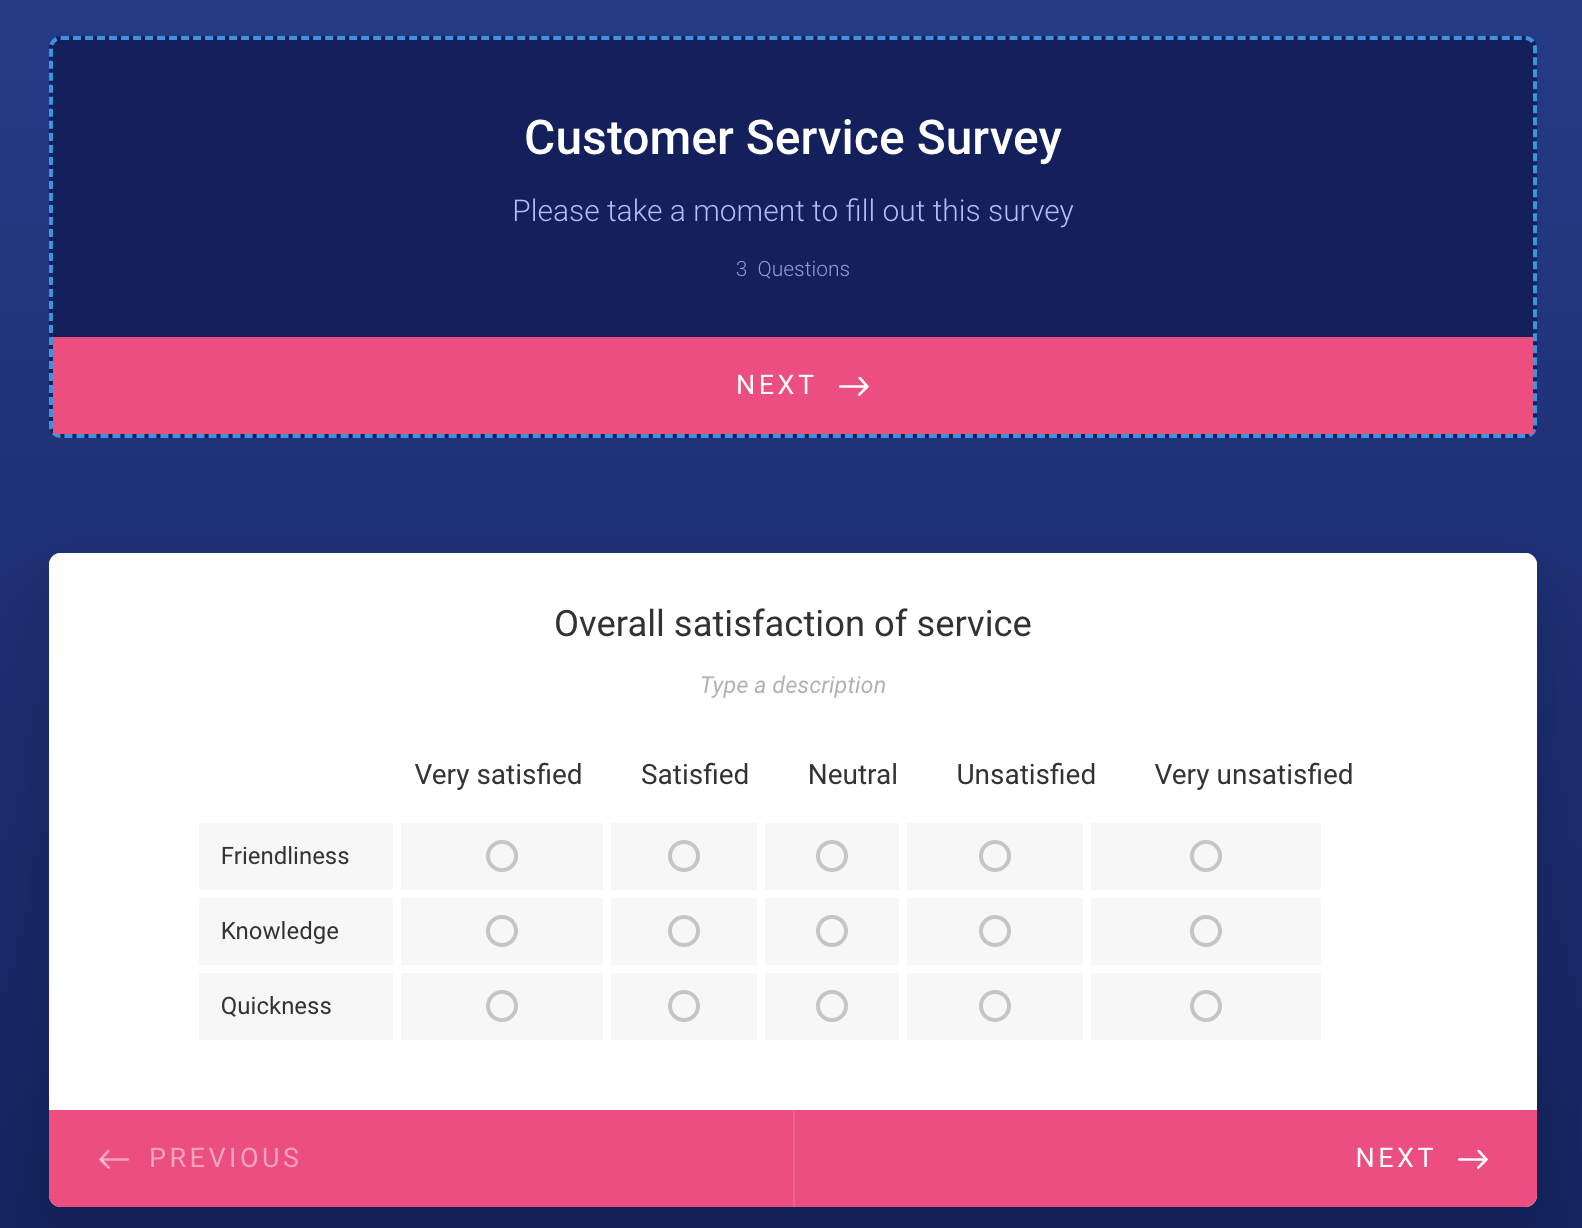
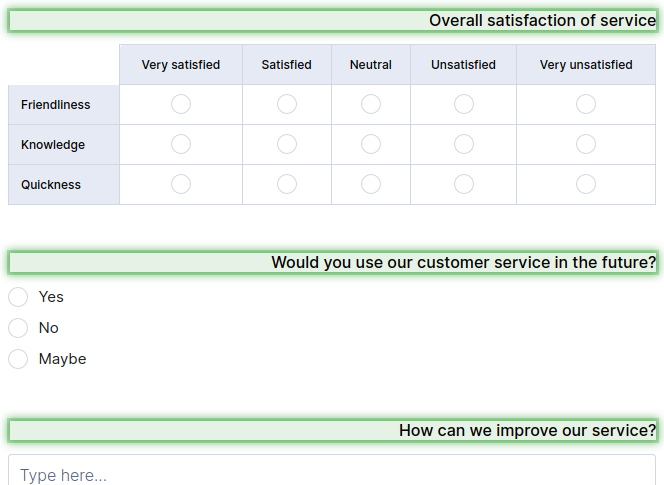
To get started, let’s grab a simple template from Jotform’s collection of over 10,000 templates. The basic customer service survey template is a good choice.
To customize the whole form, click the paint roller icon in the upper right-hand corner. That will open the Form Designer.
There are four tabs in the Form Designer — Colors, Styles, Themes, and Layout. The Colors tab opens by default. Let’s go through each tab.
Classic Form
Colors
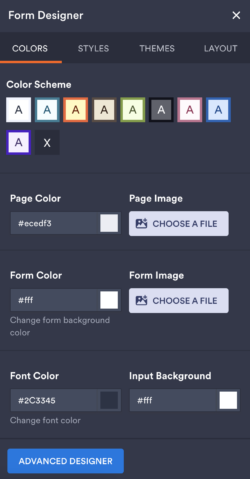
The first section in the Colors tab is Color Scheme. If you aren’t too particular about your colors, just pick one of these to automatically apply a splash of color to your form. You can remove the scheme by clicking the X.
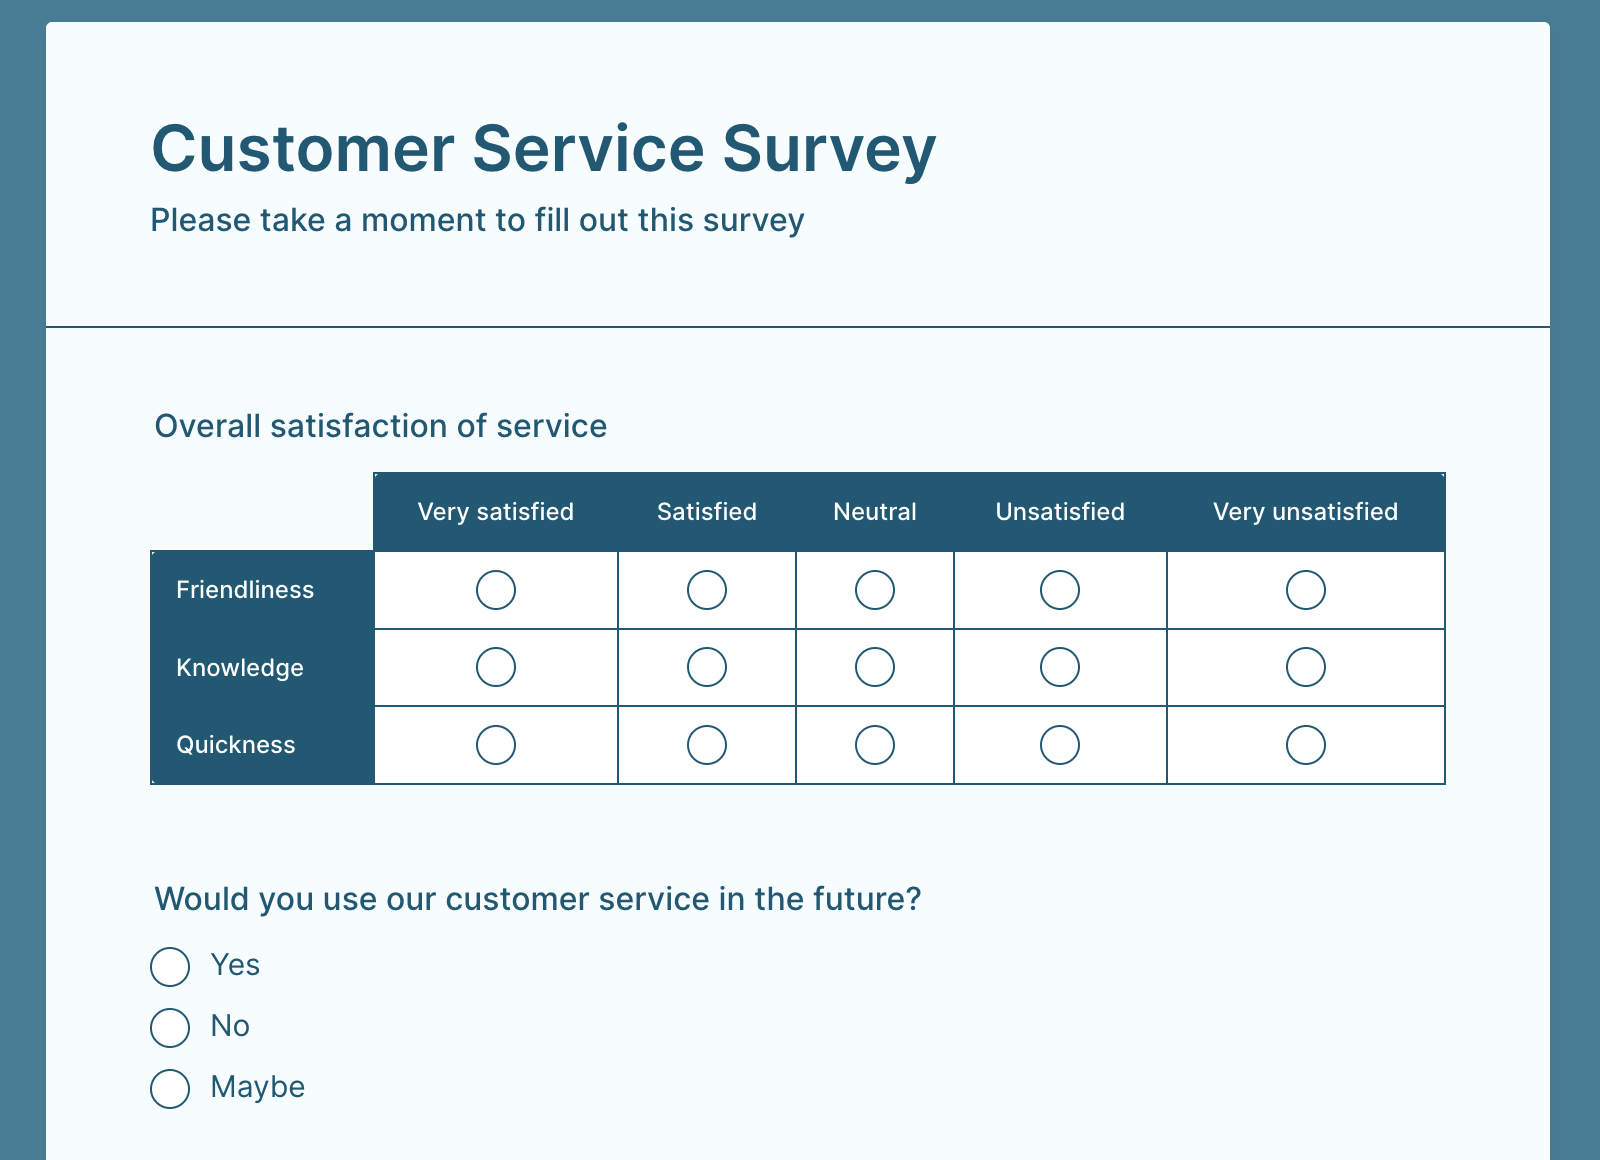
Next up, we have Page Color and Form Color. As you can see above, Page Color represents the background behind the form, and Form Color represents the color of the form itself.
You can undo any changes you make in the Form Designer by pressing Ctrl + Alt + Z.
The colors can be changed by clicking on their boxes. The color picker should be self-explanatory to any designer. But it should be noted that Jotform offers RGBA and Hex — whichever is easier for you to work with.
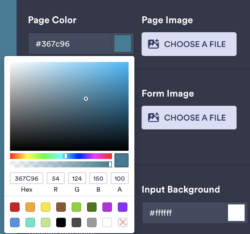
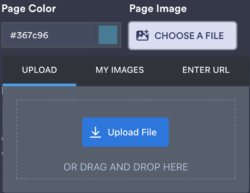
To the right of those colors are Page Image and Form Image. They work the same as the colors but let you insert an image. The image can come from an upload, a URL, or an image you’ve used in the past.
Next, you’ll see Font Color and Input Color. Font Color changes the color of the font on the form, and Input Background changes the background color of the form fields themselves. Now, on to the Styles tab.
Styles
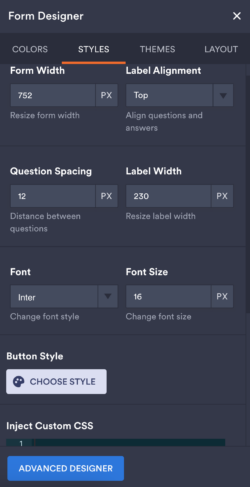
Let’s go down the list from top to bottom again. The first option is Form Width. That can be changed to your specifications, but no matter what, the results will be responsive.
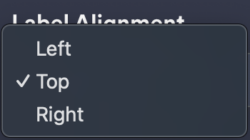
Next is Label Alignment. This is set to Top by default. The other two options — Left and Right — will both put the label in a column to the left of the form element. Left and Right actually refer to the alignment of the text within that column.
In the next row of our Styles tab, we have Question Spacing and Label Width. Jotform’s default layout is pretty light and airy as it is. But if you want even more space between questions, Question Spacing will give you that option.
Label Width is only relevant if you change the label alignment. This is what it looks like set to 50px:
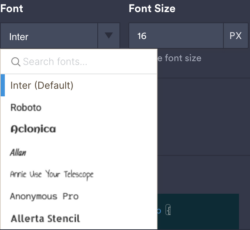
Next are fonts. The Font picker gives you dozens to choose from, and of course, you can choose the size of your font too.
Next are Button Styles. They range from slick and modern all the way to ’90s chic. The point here is that there are options — and lots of them.

And last but not least is a box to Inject Custom CSS. We’ll come back to that shortly. Until then, let’s move on to the Themes tab.
Themes
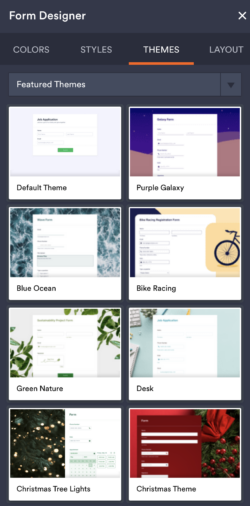
Jotform gives you the fire hose rather than the garden hose. Just like with templates, fonts, and features, Jotform provides a huge selection of themes as well.
Click Use Theme, when you want to apply the theme to your form.
So be careful not to wipe out your work. If something goes wrong, you can always switch back to the default theme and start over.
Now, what’s in the Layout tab?
Layout
Phew, finally, the last tab of the Form Designer — or is it? Let’s switch to Card View and see what that does. It looks like it completely changed the Form Designer.
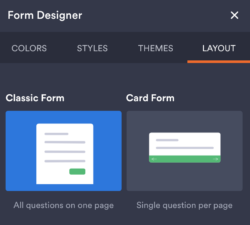
The Card Form layout is meant to make your form flow better and be easier to digest. It does this by limiting one question to a page and going through each one like a slideshow. It also focuses on making your forms more attractive so they’re more likely to get filled out.
There are now four new tabs to style your forms — Color, Image, Video and Layout. Each tab acts as its own kind of theme. The classic Form Designer’s tabs are all focused on different aspects of your design. But the Card Form layout lets you choose from three types of themes. It’s time to start over.
Card Form
Colors
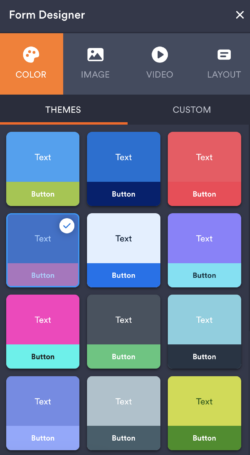
The Theme colors work just like the Color Schemes above; there’s just more of them. And the other options are now available under the Custom tab. There are more thematic color combinations as well.
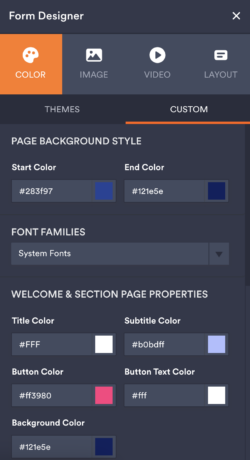
The first section is called Page Background Style and has a Start Color and an End Color. Those colors create a gradient behind the form.
There are fewer fonts to choose from here, but they work like color themes. Rather than making everything the same font, they use coordinating fonts in appropriate places.
There are two special pages added to your Card Form by default. They are the Welcome page and the Thank You page, and they can’t be removed. A section page also gets added and acts as a header. But that one is optional.
The Welcome & Section Page Properties let you change the colors of the elements of those special pages. Below that are the Thank You Page Properties. These do the same thing for the last page.
The last three sections all affect the navigation bar colors.
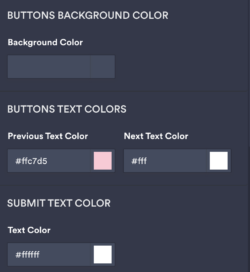
The Buttons Background Color changes the color behind the navigation bar on the bottom of each card. The Buttons Text Colors changes the colors of the Previous and Next buttons, respectively. And the Submit Text Color only changes the last button text on the last page before the Thank You page.
After you finish adjusting the colors, you can save them as a new theme. The changes will then be available on the Theme sub-tab. Now, onto the Image tab.
Image
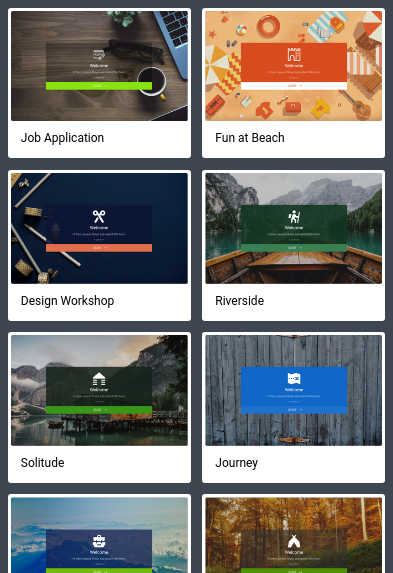
The Image tab features themes designed around a background image. Once again, there are many to choose from. But you can customize them or create your own in the Custom sub-tab. Let’s look at the options.
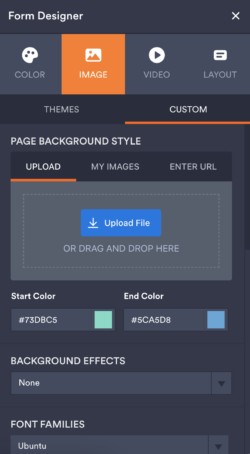
The Page Background Style section is really just the background image itself. It works just like the background image for the classic form, where you can upload an image, select a URL, etc. But there is one more thing you can only do with the Card Form layout.
Background Effects let you give your background image a bit more texture and mood.
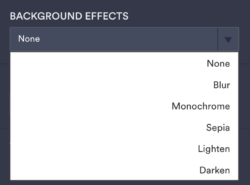
Blur is good for taking some of the focus off of the image to make it less distracting. Monochrome will make it black and white. Sepia is like monochrome, but with shades of brown, like a really old photo.
Lighten and Darken do what you’d expect, lightening and darkening the image. And Overlay Color lets you set the tint to whatever you want. The Overlay Color tint looks nice when you set it to something similar to the form colors. But don’t forget to lower the alpha so you can still see the image.
All of the remaining settings are exactly the same as on the Color tab. So let’s move on to Video.
Video
The Video themes work just like the Image themes. The videos feature mostly static images with just a small dash of movement to make them attractive.
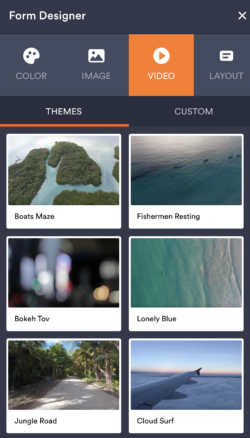
The Custom settings are exactly the same as the Image settings. The only difference is that you can’t upload a video. It has to be hosted elsewhere. The background videos are very nice but in some cases can be more distracting than plain images. Giving them the Blur effect fixes that and gives them a nice professional finish.
Layout
You can switch between the Card or Classic Form layout from the Layout tab here. You can return to the card form layout anytime you want.
Getting advanced with CSS
To inject custom CSS, you’ll need to use the Classic Form layout. So switch back to that if you haven’t already.
Now go to the Styles tab and scroll to the very bottom. There, you’ll find the Injector. There are a few ways to tackle changing the CSS.
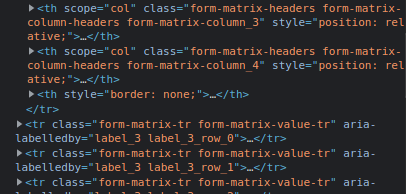
You can always inspect the individual elements using your browser’s developer view. From there, you’ll see that all of the CSS is very readable. And column headers and rows are numbered in a sensible way for easy access. But there’s an easier way coming up.
Alternatively, you can also look at a handy list of CSS classes here. It’s far from complete, but there might be something there that’s exactly what you need.
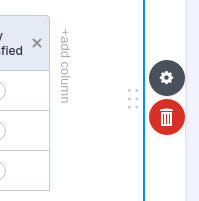
The third option is to access the field IDs from the individual elements. You can do that by first selecting the form element you want to design. Then click the gear next to it to access the element’s properties.
Now click the Advanced tab and scroll to the bottom. There, you’ll see the IDs that can be used in your CSS.
Chances are, if you’re playing with the CSS editor, you already have a good grasp of how this works, so you should be able to figure the rest out with a bit of experimentation.
Even if you do know CSS, writing code can be slower than using a really good GUI. Plus, that Injector box isn’t meant for heavy-duty use. If you’re ready for even more control, it’s time for the Advanced Designer.
Getting really advanced with the Advanced Designer
The Advanced Designer is accessible from the bottom of the Colors and Styles tabs in the Form Designer. Just scroll to the bottom of either of those tabs, and you’ll see it.
The Advanced Designer’s interface is pretty simple despite being so comprehensive. But it does work a bit differently.
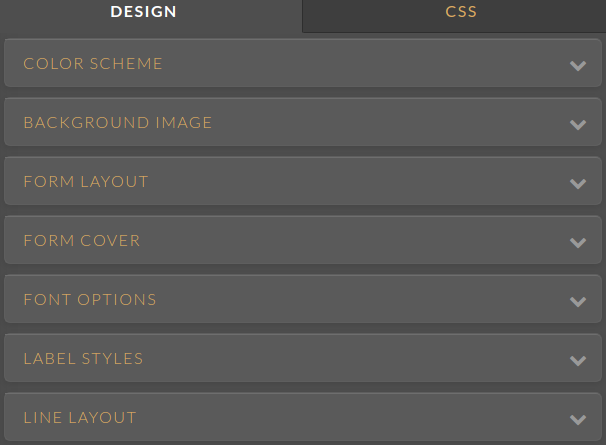
When you first open the designer, you’ll see your form in the center and two tabs for Design and CSS on the right. In the regular designer, all the options are in separate tabs. But the Advanced Designer has them in dropdowns in a single tab.
Another important distinction is that the Design tab lets you change settings for the form as a whole, just like the regular designer. But you can also change the design for individual elements.
At this point, you’re probably familiar enough with how Jotform styling works that a full explanation shouldn’t be needed. Instead, let’s focus on special features.
Form design
Color Scheme
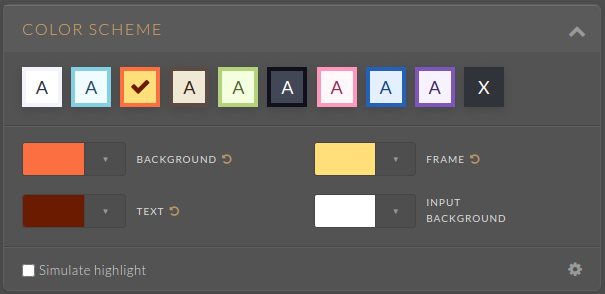
Color Scheme works almost exactly the same as in the Form Designer. The main differences are that the colors are named differently, and you can’t add images here.
There are two other minor differences as well. You can now reset individual settings to their default by clicking the reset icon next to each field. And there’s a “Simulate highlight” checkbox that lets you add a highlighted backdrop color to individual elements.
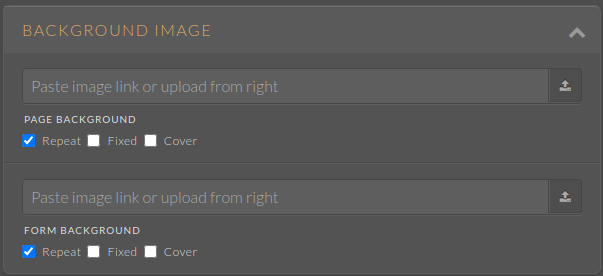
The background images for the form and page can be found in the Background Image dropdown. The UI for adding images is a bit different, but the end result is the same. You can add a link, upload a file, or select an image from a gallery.
You also have access to checkboxes that pair up with CSS background image properties.
Form Layout
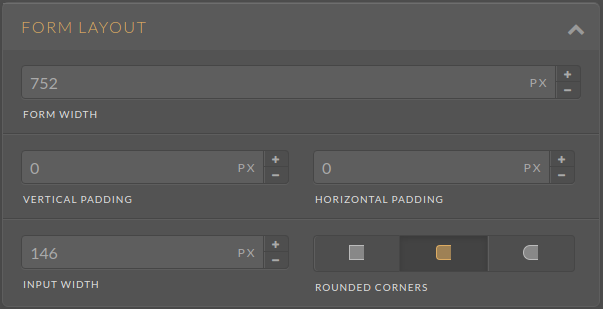
The Form Layout dropdown lets you change the form width just like the regular designer. It also lets you adjust the horizontal and vertical padding around the form.
You also have the option to change the input width. And you can select how rounded you want the corners of the form to be.
Form Logo
From the Form Logo dropdown, you can upload an image, adjust its size, and change its position.
Font Options
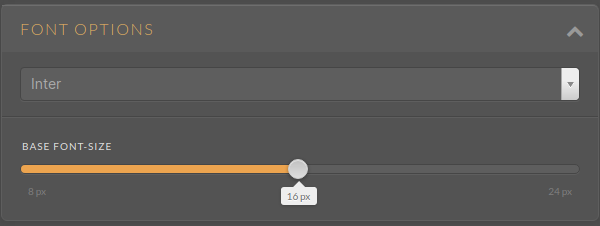
There’s nothing new here. There are lots of fonts to choose from and a convenient size slider in this dropdown.
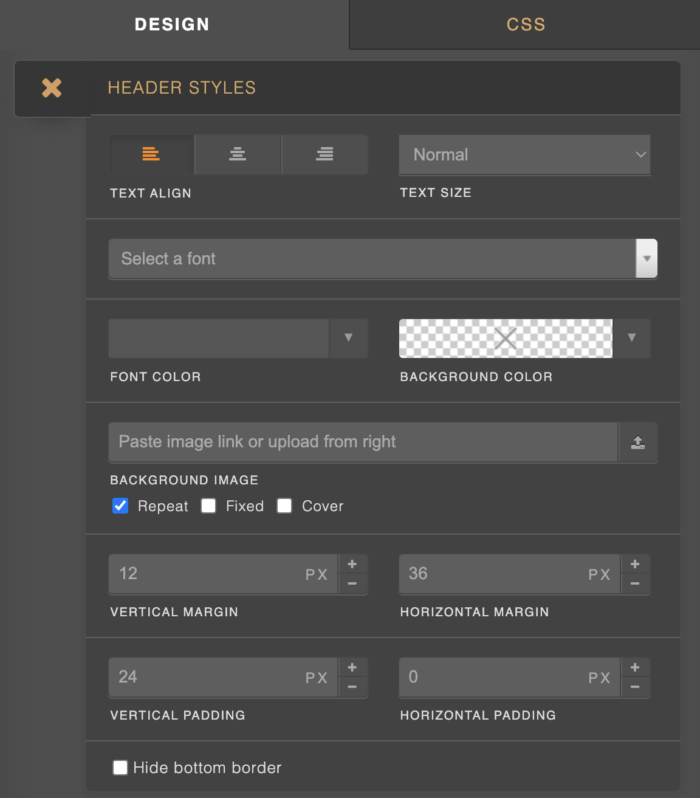
Label Styles
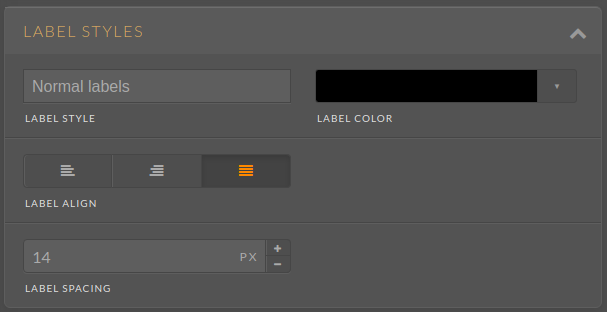
Label Styles gives you a few nice options not available in the basic designer. Label Style lets you choose between normal, bold, and hidden labels. Label Color changes the font color.
Label Spacing gives you a little extra padding if you want it. And Label Align works just like in the basic editor.
Line Layout
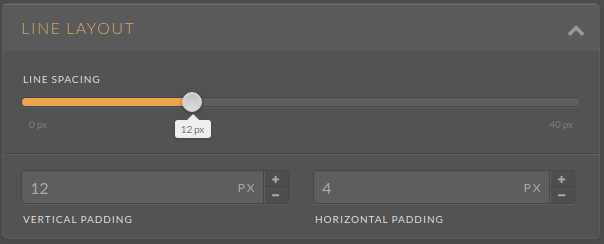
This is similar to the Form Layout tab. But it’s for individual form elements and questions. Line Spacing changes the distance between elements and padding works with the space around the elements.
Individual element design
As mentioned, most elements in Jotform can be designed individually using the Advanced Designer UI. There are a lot of elements, however, so we won’t be going over them individually.

At this point, you’ve probably got the hang of things. If not, the best approach may be to experiment with the settings for each element.
They’re mostly what you’d expect, but there may still be a few hidden surprises left. For example, you can change the look of radio buttons with the Radio Button Template tool.
The CSS Editor
Unlike the Injector, the CSS Editor in the Advanced Designer gives you a lot of assistance. It’s closer to a programmer’s tool than a simple text box.
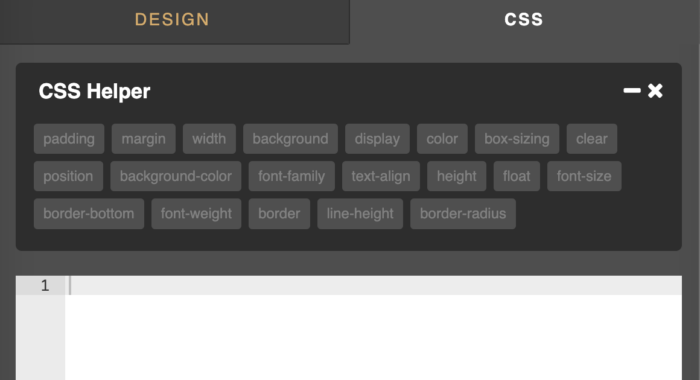
Above the editor is the CSS Helper. It’s a collection of buttons representing the most common CSS settings. Just click one to add it to whatever HTML element you’re styling.
But perhaps the best part of the CSS Editor is the ability to navigate CSS elements by hovering over them. If you click on an element, it will let you edit just that element without the clutter of the rest of your CSS.
Once you’ve selected the element you want to edit, you can make a few quick changes to it in the editor.
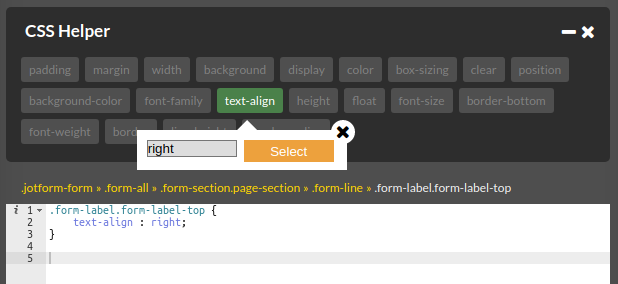
When you’re done, click the X in the upper right-hand corner to see the entire collection of your CSS changes.
Even more
In addition to changing the layout and design of your form, there are also other ways to customize your form. You can embed custom images and videos to give your forms more visual appeal.
There are also a ton of custom widgets that can be added to your forms. And each one of those can be styled individually as well.
Jotform doesn’t set any limitations on your creativity. So have fun and go wild!
Photo by RDNE Stock project


Send Comment: