
Steps to convert Canva to Google Slides
- Finish your Canva presentation
- Download your file
- Bring it into Google Slides
Hands up if you’ve run into this over and over again: you spend an hour (or sometimes a lot longer) making a Canva presentation that looks clean and professional. You feel pretty good about it. Then you send it out, and someone replies saying they can’t edit it because it’s not in Google Slides.
That’s when you realize you have to move everything over somehow. If you mostly work by yourself, this probably won’t be an issue. But if you’re on a team, you’ll run into it sooner or later. In my case, almost every project ends up in Google because it’s easier to share and comment.
I’ve tried different ways to handle it. Once I copied each piece over by hand. That was a hassle. The text got weird spacing, and the images shrank. I wouldn’t bother doing it that way again unless you really have to. There are better ways to move your slides.
Why convert Canva designs to Google Slides?
Canva is one of my favorite data visualization tools. It’s easy to use, packed with handy templates, and it’s affordable — but not everyone wants to use it. Usually, at least someone on your team won’t have a Canva account. Or someone will want to leave a comment on a presentation, and they won’t be able to figure out how to do it. I’ve also run into situations where someone would download a PDF version, try to mark it up, and then email it back to me. It gets messy.
That’s when I started converting Canva to Google Slides as a standard step. In Google Slides, you can see exactly who did what. If someone changes a sentence or deletes something by accident, you can roll it back. It just feels safer when you have a group working together.
Sharing is also quicker. You set permissions in a few clicks, and everyone knows how to open the file. No one has to ask for access or wonder if they have the right version. Over 2,000 companies use Google Slides as their main presentation tool, so it really does make sense to bridge the gap.
Step-by-step guide to export Canva to Google Slides
The good news? There’s a very direct method of importing Canva designs into Google slides. This is the process most companies use…
1. Finish your Canva presentation
Before you export anything, go through each slide. Check that the text lines up and that nothing got cut off. Sometimes Canva shifts things if you’ve been moving elements around. If you have a brand kit, apply it now so the fonts and colors are consistent. It’s easier to do this before you download.
2. Download your file
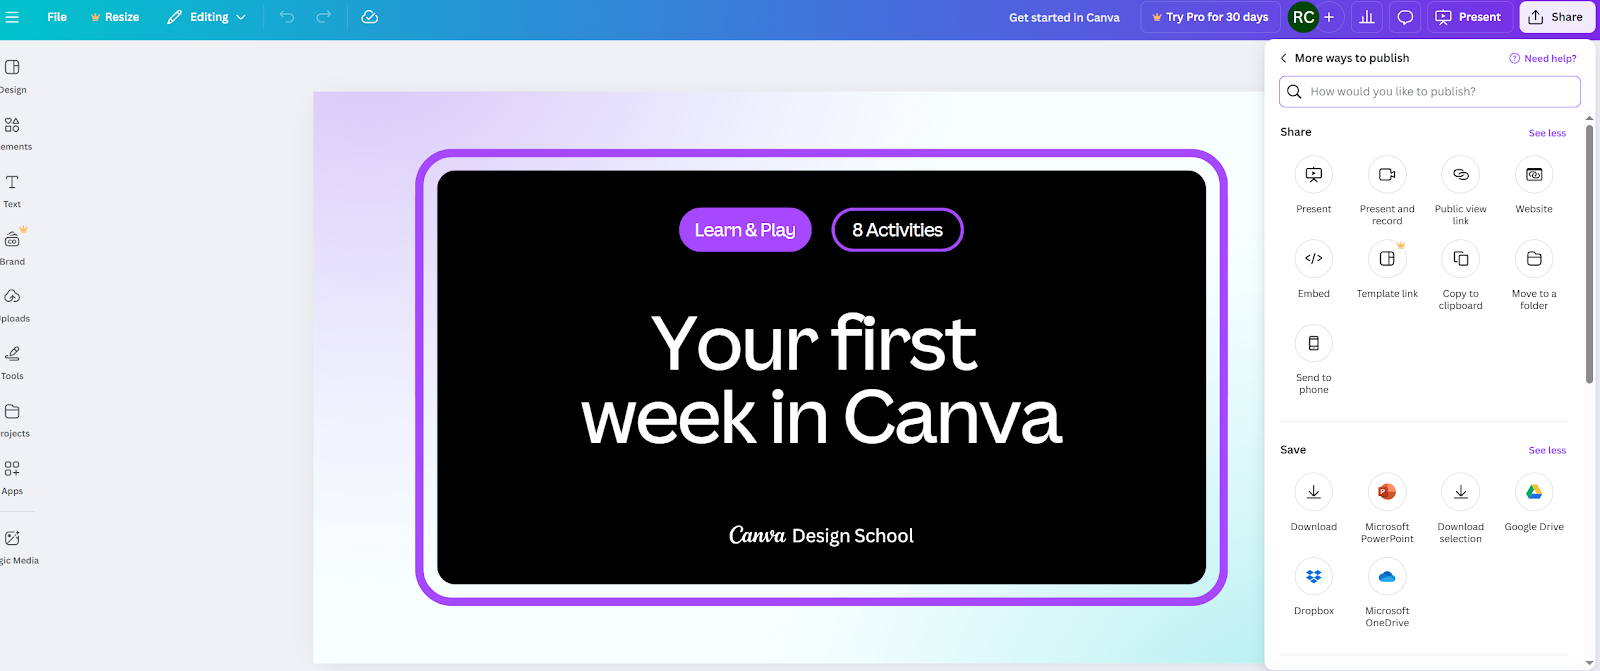
When you’re ready, click the Share button in the top right corner. Then click Download. I usually pick PDF Print. The quality is higher, so it looks cleaner in Google later. If you plan to drag in each slide as an image, use PNG. That gives you separate image files for every slide.
Make a new folder for all the files. I’ve skipped this step before, and later I was digging through my downloads trying to figure out which version was which.
3. Bring it into Google Slides
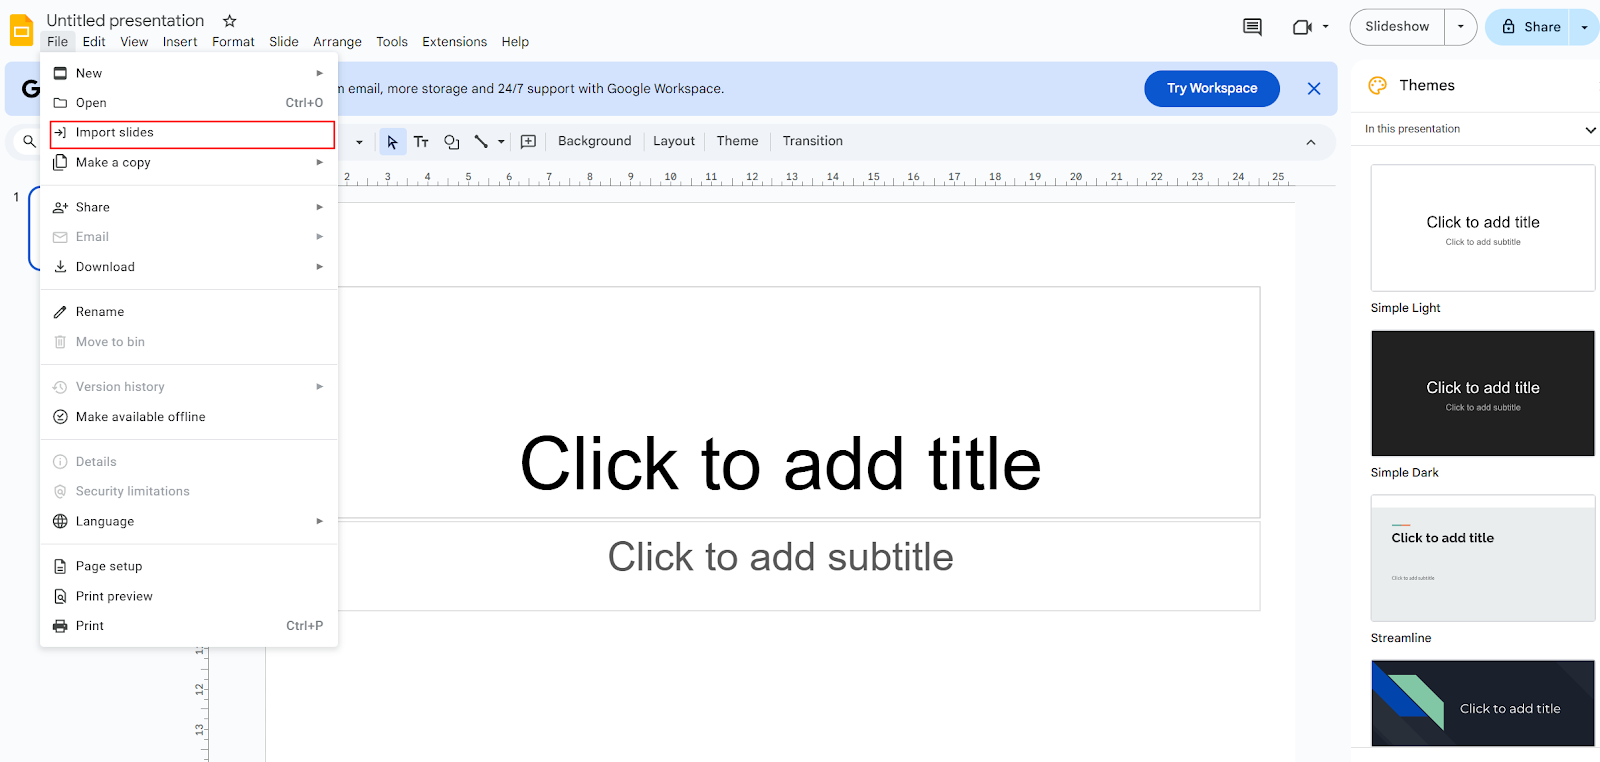
Open Google Slides and start a blank presentation. Go to File, then Import slides.
Pick the upload tab and drag your files in. If you use a PDF, each page shows up as an image, which means you can’t edit the text. If you know you’ll need to tweak text later, you might try converting the PDF to a PowerPoint file first — that way, Google Slides can open it in a more editable format.
It’s not always perfect. Sometimes the formatting is off. But it can save you time compared to retyping everything.
Things that might go wrong
From my experience, these are the main issues:
- Fonts often don’t look the same. You’ll probably have to pick new ones.
- Any animations you made in Canva don’t transfer. I usually recreate them in Google.
- Charts sometimes come in blurry. I just rebuild them in Google so they stay sharp.
If you have charts or diagrams, make sure you’re following data visualization best practices to keep everything clear. After you clean things up, just save and share the Google Slides file.
Converting Canva to Google Slides with Jotform
Once you know how to move your slides from Canva to Google Slides, you might still run into little problems. Maybe you need to collect information, get sign-offs, or keep everything organized in one place. That’s where Jotform for Canva comes in handy.
I’ve used it a few times when I wanted to add a form to Canva presentations without sending people to a separate link. You can pick from over 10,000 free form templates and drop them right onto your design. If you need to collect e-signatures, take payments, or gather approvals, it’s all there. You can even connect to PayPal, Stripe, or Square.
Another thing that’s useful is conditional logic. Your form can change depending on what someone picks or types. For example, if they select a certain option, they get different follow-up questions. All the responses end up in a single place, so it’s easier to keep track later.
If you mostly work in Google Slides, there’s also an integration for Jotform through Zapier. You can set up workflows where form submissions automatically create or update a presentation. All of this is great, but now, there’s an even better way to upgrade your presentations with Jotform: the new Jotform Presentation agent.
Jotform Presentation Agent: The advanced alternative
Even after figuring out how to convert files and embed forms, I still felt like most of the presentations I made with Canva and Google Slides were too static. If you’ve ever wished you could make your presentations feel more dynamic, Jotform Presentation Agent is worth looking into.
The first time I tried it, I was working on a training deck. I didn’t want to be stuck doing live walkthroughs over and over. So I gave this a shot, and it felt closer to having an on-demand seminar than a regular slideshow. Here’s what really stands out:
- Real-time slide narration: The agent talks through your slides out loud. You can write your own script so it sounds natural too.
- Live chat: People can type questions while they’re watching, and the agent will answer them automatically.
- AI-generated and editable slides: If you don’t have slides yet, you can start by describing what you need, and it builds drafts you can edit.
- Multilingual narration: It can also present in different languages if you have attendees who are more comfortable with their native tongue.
- Customizable voice and avatar: You can pick how the agent looks and sounds. I kept the default, but it’s nice to have options if you want to match your brand.
- Dynamic slide flow: This feature is being improved, but it lets your deck jump to different sections depending on how someone answers a question. It feels more personal.
- Form integration: You can end the presentation with a form to collect sign-ups or feedback. That seriously builds on the benefits of data visualization by making presentations actionable.
The biggest thing I noticed was how much time it saved me. I could just share a link, and people would watch whenever it worked for them. No scheduling calls, no trying to walk everyone through the same slides over and over. Everyone saw the same info, and I didn’t have to repeat myself a dozen times. Plus, the whole experience is far more interesting and engaging.
If you’re just passing around updates, sticking with Canva and Google Slides is probably fine. But if you ever feel like your slides could use a little more life, Jotform Presentation Agent is worth trying out. Just grab a file you already have, upload it, and see what it’s like.
Photo by fauxels
This article is aimed at professionals, marketers, educators, and team collaborators who regularly design presentations in Canva but need to convert them into Google Slides for easier sharing, commenting, and collaboration. It’s especially useful for those working in team environments where compatibility, editability, and streamlined feedback are essential — and who are looking for more dynamic, interactive alternatives through tools like Jotform Presentation Agent.
FAQ
Download your file, then drag it into Google Drive. You can keep it there or open it in Google Slides. There’s also an option to save directly to Google Drive.
Yes. Fonts don’t always match. Animations don’t carry over. Some images look blurry. I’d plan on spending at least 10 minutes fixing these things.
No, not right now. There isn’t a built-in “Send to Google Slides” button, although you can export to Google Drive – which is different. You have to download your design first, then upload it to Google. It’s an extra step, but once you do it a couple of times, it goes pretty fast.
It depends. If you want higher quality images, I’d go with PDF Print. If you want each slide as a separate picture you can drag in one by one, PNG works well. Just remember, text won’t be editable either way unless you use a converter to get a .pptx file.


Send Comment: