Prefill 2.0 is here! Hello, faster form submissions and goodbye, barriers to completion. There are many new ways to use Prefill to make the most of your Jotform Enterprise experience.
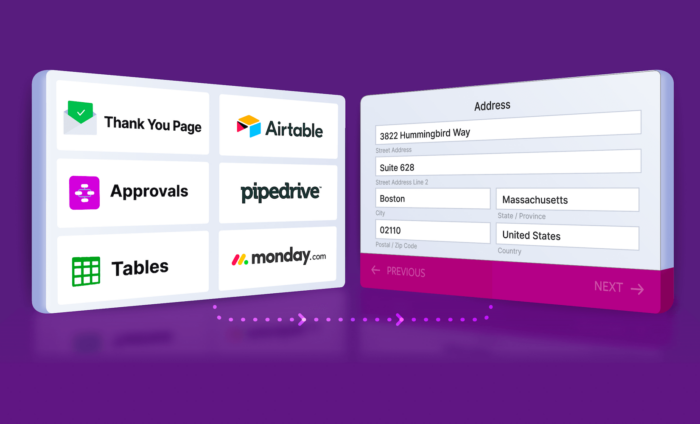
Integrate with Airtable, monday.com, and Pipedrive to seamlessly transfer submission data. Take advantage of new functionality in Jotform Tables to send a prefilled form without leaving your table. Invite users to fill out the form again or fill out another form right from your Thank You page, with prefilled data automatically included in the following form.
Pre-populating forms improve the user experience and make submission data more accurate, so let’s get started.
Prefill your forms using data from our Airtable, monday.com, and Pipedrive integrations
First, let’s explore the new integrations. Manual migrations are a thing of the past with Jotform’s prefill integrations for Airtable, monday.com, and Pipedrive.
If you have an account with one of these applications, simply authenticate your account information to access and connect your Jotform forms with the contact lists contained in these apps. After you authenticate your account, field matching occurs automatically. If needed, you can use the dropdown to add and match additional fields.
Connect customer data for more efficient email campaigns. Migrate donor lists for more accurate appeals. Ensure new employees receive critical communications with records that update automatically.
Send prefilled forms directly from Jotform Tables
With the new prefill functionality in Jotform Tables, it’s now easier than ever to get users to fill out forms. This feature is perfect for requesting additional information and speeding communications across teams.
First, scroll all the way to the right of your table to add a column. From the list of column types, click the Buttons tab and select the Send Form button. From there, you can choose the form you wish to send and match the fields you want to prefill.
This feature can help you streamline onboarding paperwork, project management forms, design requests, help desk tickets, and other frequently filled-out forms that may require additional details.
Assign prefilled forms from approval workflows
Improve efficiency and accuracy with new prefill functionality in your approval workflows. Workflow owners can now prefill assigned forms in their workflows using data entered earlier in the workflow.
This new feature saves your team from entering redundant details and ensures everyone references the same information. Pre-populating data as the workflow progress reduces potential errors and misunderstandings resulting from user-generated data entry. From budget approvals and review cycles to contract reviews and travel authorizations, Prefill makes it faster and easier to get the job done.
To use this new feature, insert the Form element after the approval step. Click the gear icon to access the Form element Settings. Choose your form from the General tab and enter your assignee’s email address.
Next, click the Prefill tab and enable prefill on your assigned form. Finally, select the form that will provide your source data and choose which fields you want to match to your assigned form. You can give your assignees the option to edit form data; just click the checkbox. Be sure to click Save to add your prefilled form to your workflow.
New prefill functionality in Thank You pages
Putting the two in Prefill 2.0, you now have two ways to drive more engagement from your form Thank You pages. If some of your forms are filled out repeatedly, take advantage of the Fill Again action button. Prefilled data is perfect for checklists and routine inspection forms that are frequently filled out by the same person
To add this new feature, go to the Form Builder Settings and select the Thank You Page tab. Click + Add Button and select the Fill Again button option in the Thank You Page settings. Toggle the Fill Again button to the on position. Choose which fields to prepopulate to make it faster and easier for submitters to fill out the next form, and click Create or Save to have the form refresh with pre-populated data.
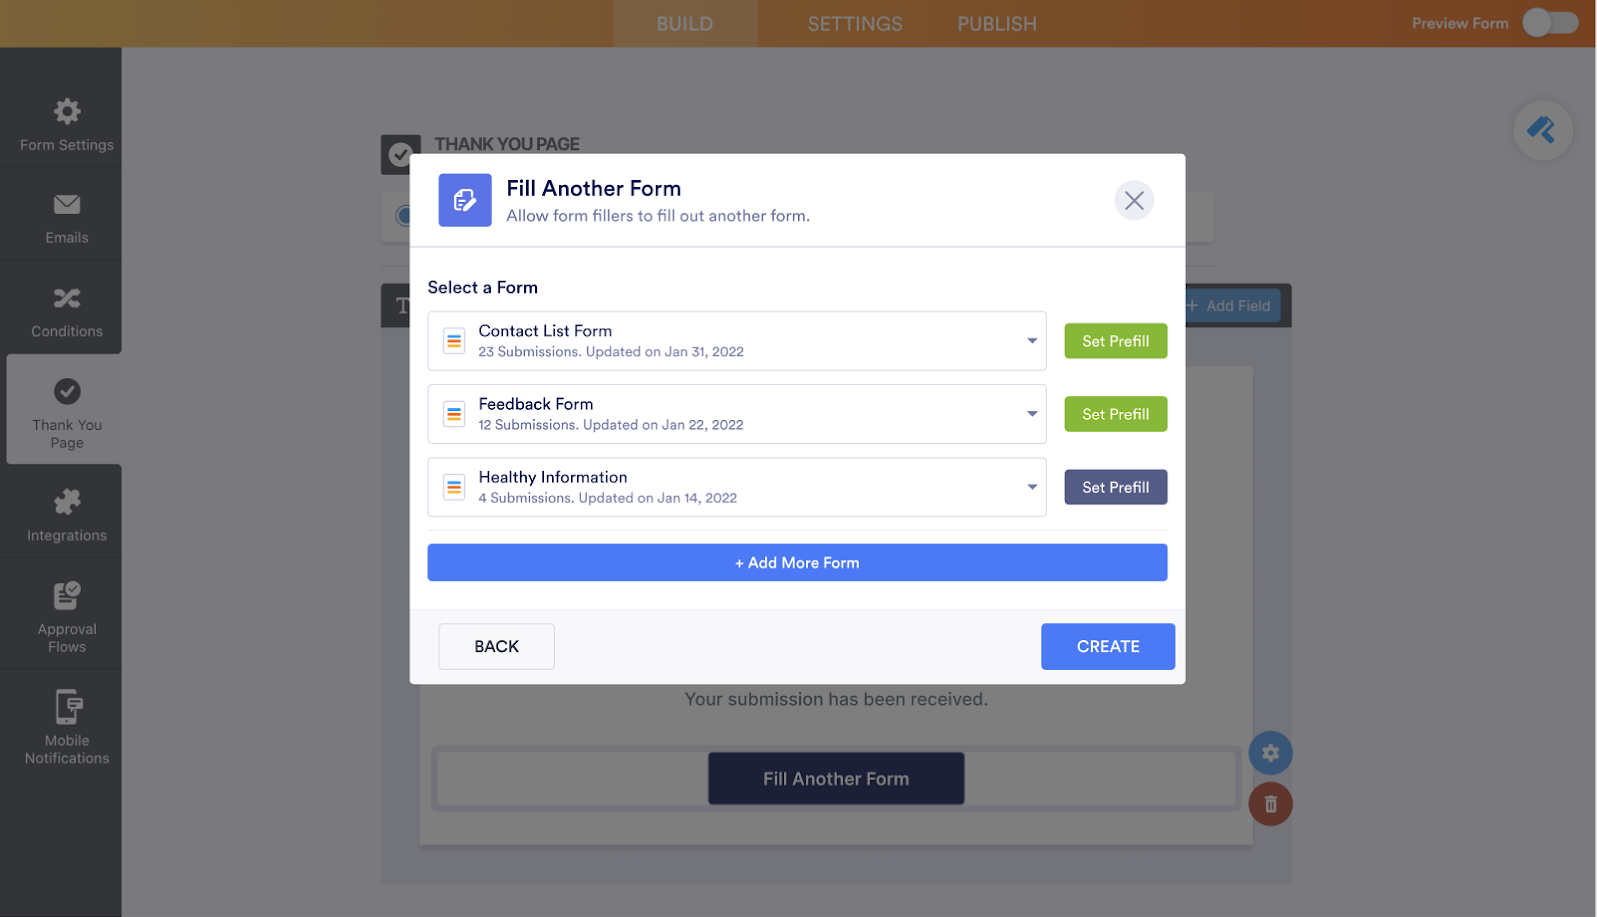
If you have multiple forms that need to be filled out by the same user(s) — for example, during patient or employee onboarding — now you can link to another form from your Thank You page and pre-populate it with data from the previous form
From the form Settings Thank You Page tab, choose the Fill Another Form Action Button and select the form you would like your users to fill out next. You can choose any form in the dropdown menu and add as many forms as needed. It’s also possible to customize the call to action displayed on your button.
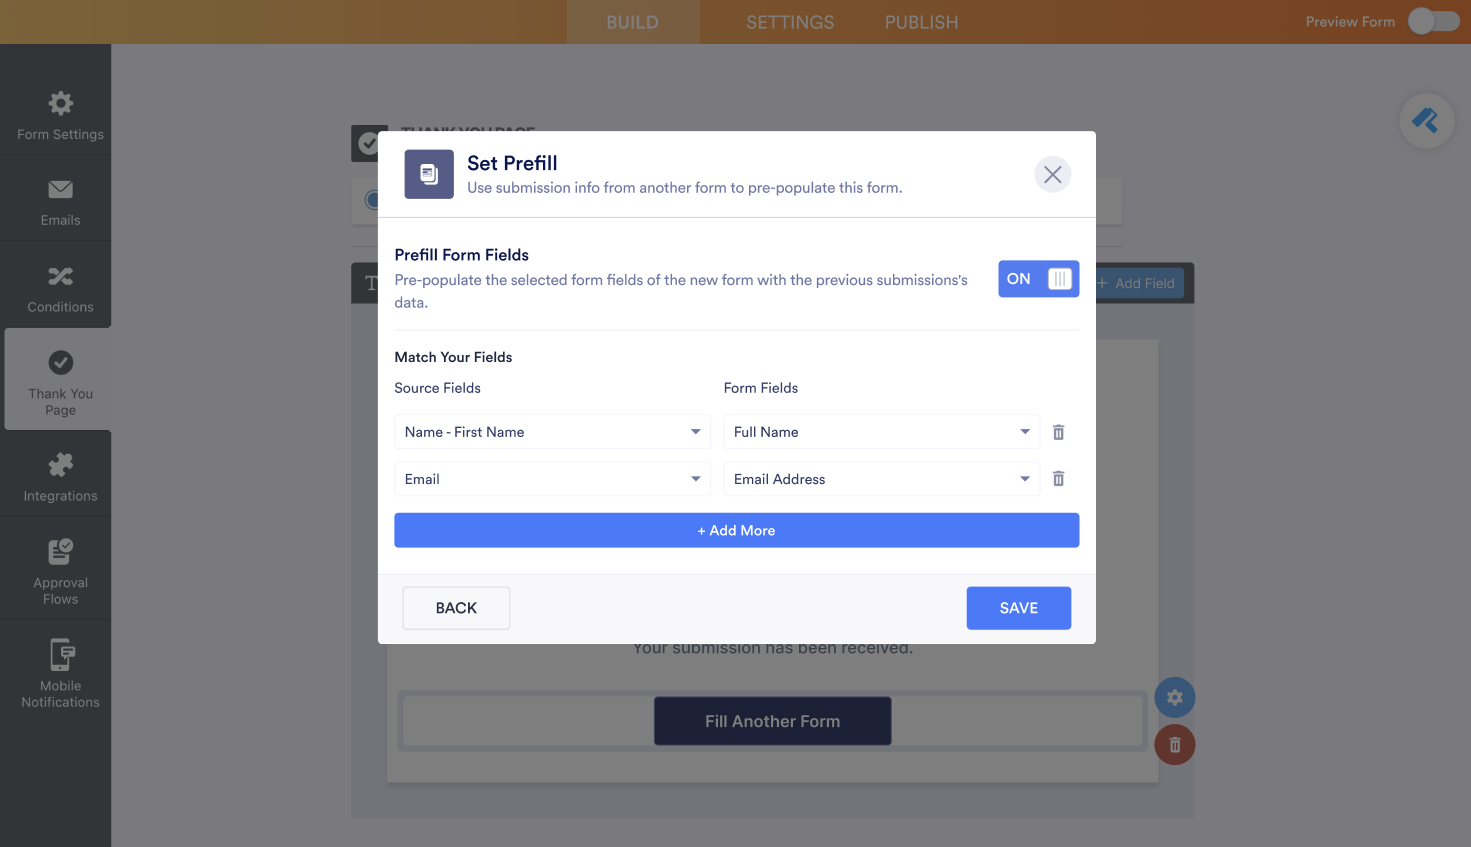
Once you designate the next form(s) to display, click Set Prefill to choose the source data fields and match them to prefill the submission data. Name and email fields will be mapped by default. You can remove these, keep them, and add more fields to match. Finally, click Save to complete the process.
Whether you use Prefill to automate form submissions or share data across platforms, the benefits are clear. Take another step toward eliminating redundant tasks and duplicate entries with the power of Prefill 2.0. Your users and data quality managers will thank you.






Send Comment:
2 Comments:
More than a year ago
are there any plans to integrate clickup in the Safeway as Monday.com
Kev
More than a year ago
Nice, but I need a first-party integration to D365.