When it comes to software that improves your workflows, Zapier’s in a unique position.
It basically functions as the connective tissue between the high powered apps you use everyday.
Put simply, Zapier automates triggers and actions (cause and effect functions) between your favorite no-code productivity solutions.
Zapier resonates with the Jotform community because it simplifies the process of crafting creative solutions for your workflow needs.
That’s why you’ll be happy to know that we’re making your workflows even more powerful by adding new “Zap” actions — namely, the ability to assign regular and prefilled forms — to the Jotform integration with Zapier.
By building on our existing partnership with Zapier, we’re able to improve your daily workflow and create two new Zaps that are a first for the data-collection industry.
Pro Tip
Integrate your forms with Zapier to sync submissions with 3000+ other platforms automatically.
For the first time, you can use other apps as triggers to assign forms and prefilled forms. For instance, a marketing-related Zoom call could trigger an assigned payment form, or scheduling a healthcare-related appointment could trigger an assigned patient intake form.
(And of course, you’ll still be able to use Jotform form submissions as a trigger for third-party app actions.😉)
Here are the three new Zap actions we’re excited for you to use as you do more with Jotform integrations.
- 🏆 Assign a form. A form will be assigned to a user, based on the parameters you set up while creating the Zap.
- 🏆 Assign a prefilled form. A prefilled form will be assigned to a user, based on the parameters you set up while creating the Zap. (Likewise, the prefilled data will be based on your settings for the Zap).
- Create submission. A submission will be created for a specific form, based on the parameters you set up while creating the Zap (using data from the trigger event).
Jotform and Zapier in action
Zapier is a behemoth in the no-code integrations space, with more than 3,000 integrations and about 25 times as many paying customers as the closest competitor.
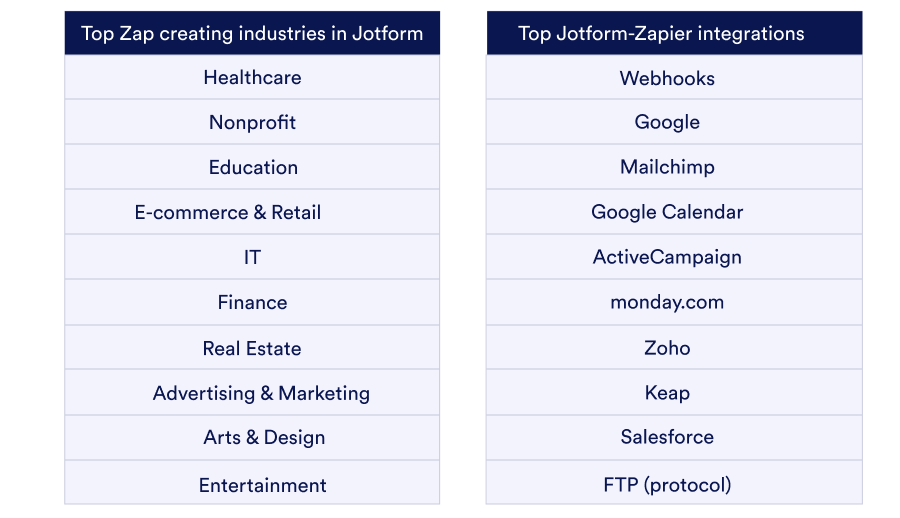
Zapier has become a handy conduit for many Jotform users, with Google Workspace among the top integrated apps that help streamline your data-collection workflow.
A gourmet market scales business during the pandemic
One business that uses Zapier to streamline its process is a gourmet market chain that implemented a Jotform–Google Workspace Zap to scale online ordering during the height of the COVID-19 pandemic.
By having Jotform submissions trigger order notifications in Gmail (and save them as order files within the workspace for organized summaries), the business created a scalable workflow and digitized its operations.
The new Jotform actions in Zapier build on cases like these by addressing workflow challenges that require assigned forms or submissions to be sent in reaction to another tool’s trigger (such as the addition of a Google Contact).
How to create your new Jotform–Zapier actions
There are two ways to create new Jotform Zap actions with Zapier: (a) within the Jotform Form Builder and (b) in the Zapier platform. Here’s a quick look at both so you can use the one that suits your workflow best.
Setting up Jotform action Zaps from the Form Builder
To create a new Zap action from Jotform’s Form Builder, access the Integrations tab in the Settings menu for your chosen form. Simply type Zapier into the search bar and click on the tile.
You’ll then need to authenticate your Zapier account by clicking the Connect button, after which you’ll be presented with a modal screen.
Once you’ve authenticated your account, you can use the search bar to find popular templates for third-party Zaps.
For our purposes, I’ve created a Zap action that assigns and sends a prefilled appointment form when I add (or update) a new contact in my Google Contacts.
As an example, this Zap can be a valuable time saver for beauty salons, gyms, spas, and other businesses that need to make regular use of an automated appointment setter.
Upon selecting your Zap, you’ll see a modal that will guide you through the process, including connecting your third-party app and confirming your account. (Note that depending on the Zap you select, you may or may not see the initial guide modal.)
There’s also a HIPAA and server location modal check you’ll need to verify.
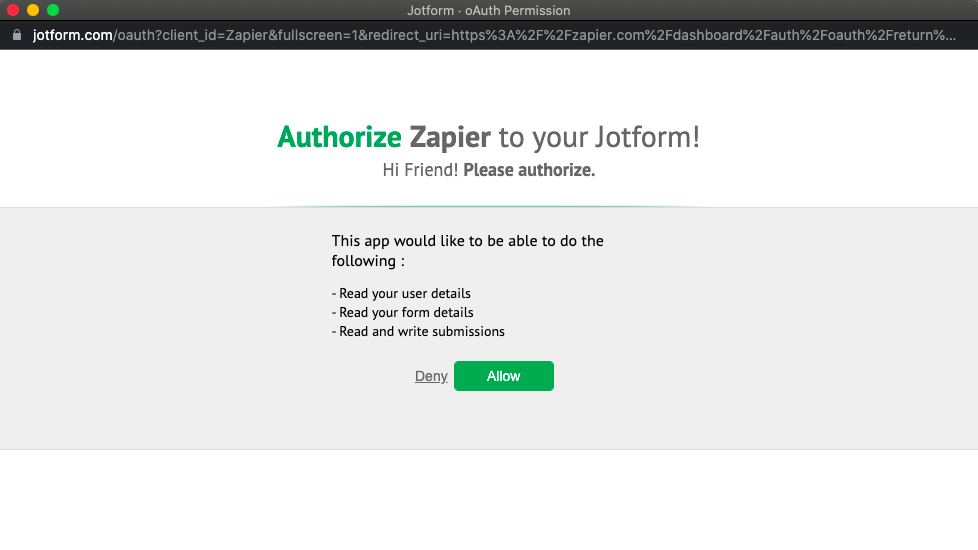
You’ll then need to grant Zapier access to your relevant accounts.
From there you’re free to configure and turn on your Zap.
First, confirm the form you’d like to use.
Your next step is to map fields from your Google Contacts account into Jotform. For example, when your action is assigning a prefilled form, you’ll need to map the fields you want to be carried over (from the Google Contact fields) to your prefilled form. You can also select which prefilled form fields will be editable by submitters.
Then test, review, and turn on your new Zap.
And don’t worry. If you need to edit your Zap afterward, click the Edit this Zap button in Settings > Integrations. You’ll also need to click Edit to ensure you’re not in read-only mode.
You can edit the trigger or the action event, plus the action setup.
You can also add additional actions before or after your newly created action (in this case, assigning a prefilled form).
Again, our example is only for the Assign a prefilled form action, but you can also create simple “assign form” or “create submission” Jotform actions with the updated integration.
Set Jotform action Zaps from Zapier
To create a new action Zap from Zapier, access your dashboard/homepage and click on Create a Zap.
You’ll need to set up your trigger event first, then select your action event.
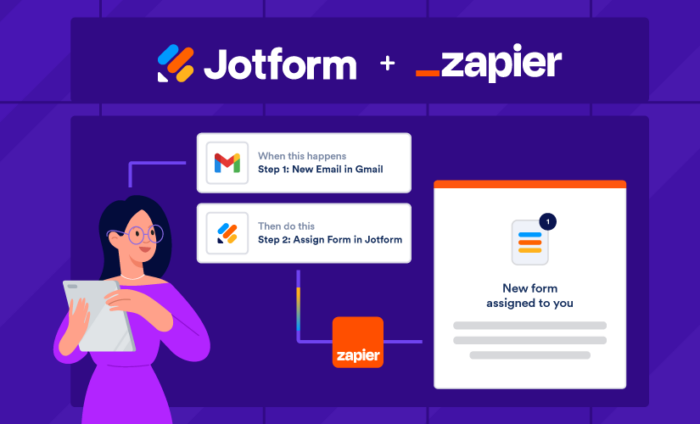
For our purposes, I’ve selected Gmail as a trigger, specifically when I label a new email. From there, I can select Jotform as my action event and one of the three form options — I chose Assign Form.
Upon selecting the Jotform account and your associated form, you can then set the assignee email and the invitation message you want to be displayed when the form is sent. This message can be set manually or fed as data based on the labeled email in Gmail.
Conclusion
Whether you’re a Microsoft Excel user who needs to automatically assign a detailed contact form whenever you create a new row in your sheet, or you’re an HR professional using new Jotform form submissions to create Trello tasks, you can now use Jotform as both a trigger and an action in Zapier.
Your workflow will benefit in new and creative ways from two-way Zaps that are a first for the data-collection space.
We’re proud to partner with Zapier on innovative solutions that help you get more done.
Jotform has a quick, 15-minute snack break webinar on the new actions in Zapier planned for Thursday, May 19, 2022/11 a.m. PDT, register here.
Or, if you’re ready to go, set up your new Zap today!


Send Comment:
2 Comments:
More than a year ago
Agree with the comment by @svn2016!
I was hoping to use Jotform calculations to convert true/false values from MailChimp into corresponding text strings to send to monday.com as inputs into a dropdown field. My form setup works perfectly with manual testing, but does not do any calculations with the data received from Zapier.
More than a year ago
Great addition! I did not see it in the guidance above but those with pre-existing Jotform ZAPS need to delete the existing API keys in Jotform before the Full Access connection can be established via Zapier.
An enhancement to the Create Submission action would be to allow form calculations to still be performed on the ZAP submitted data prior or upon posting to the submission table.