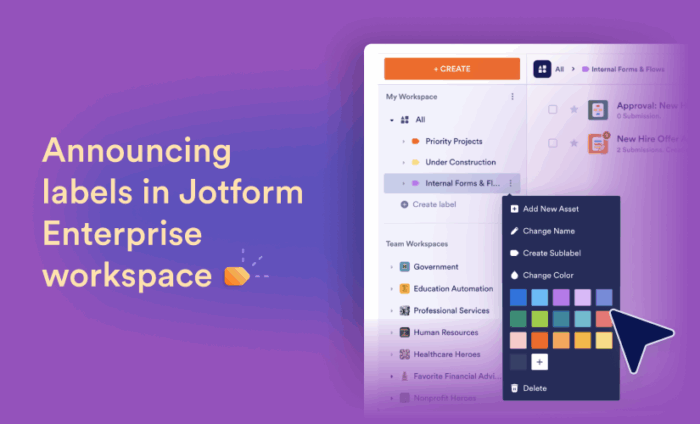
Thanks to your feedback, the My Workspace homepage now has a powerful new feature for organizing your assets: labels.
The launch of My Workspace made it possible to see all your assets (forms, AI Agents, workflows, apps, e-sign documents, etc.) in one place — and filter them by asset type. Now the labels feature gives you the power to view related assets of various types in one place, enhancing visibility and organization.
Labels is a supercharged version of folders, with more flexibility. Use labels to group and categorize any asset type, including forms, reports, tables, Sign documents, apps, workflows, boards, and AI Agents.
If you’d like to see all the assets tied to a single project, simply give them all the same label, then select the project label to view everything attached to the project.
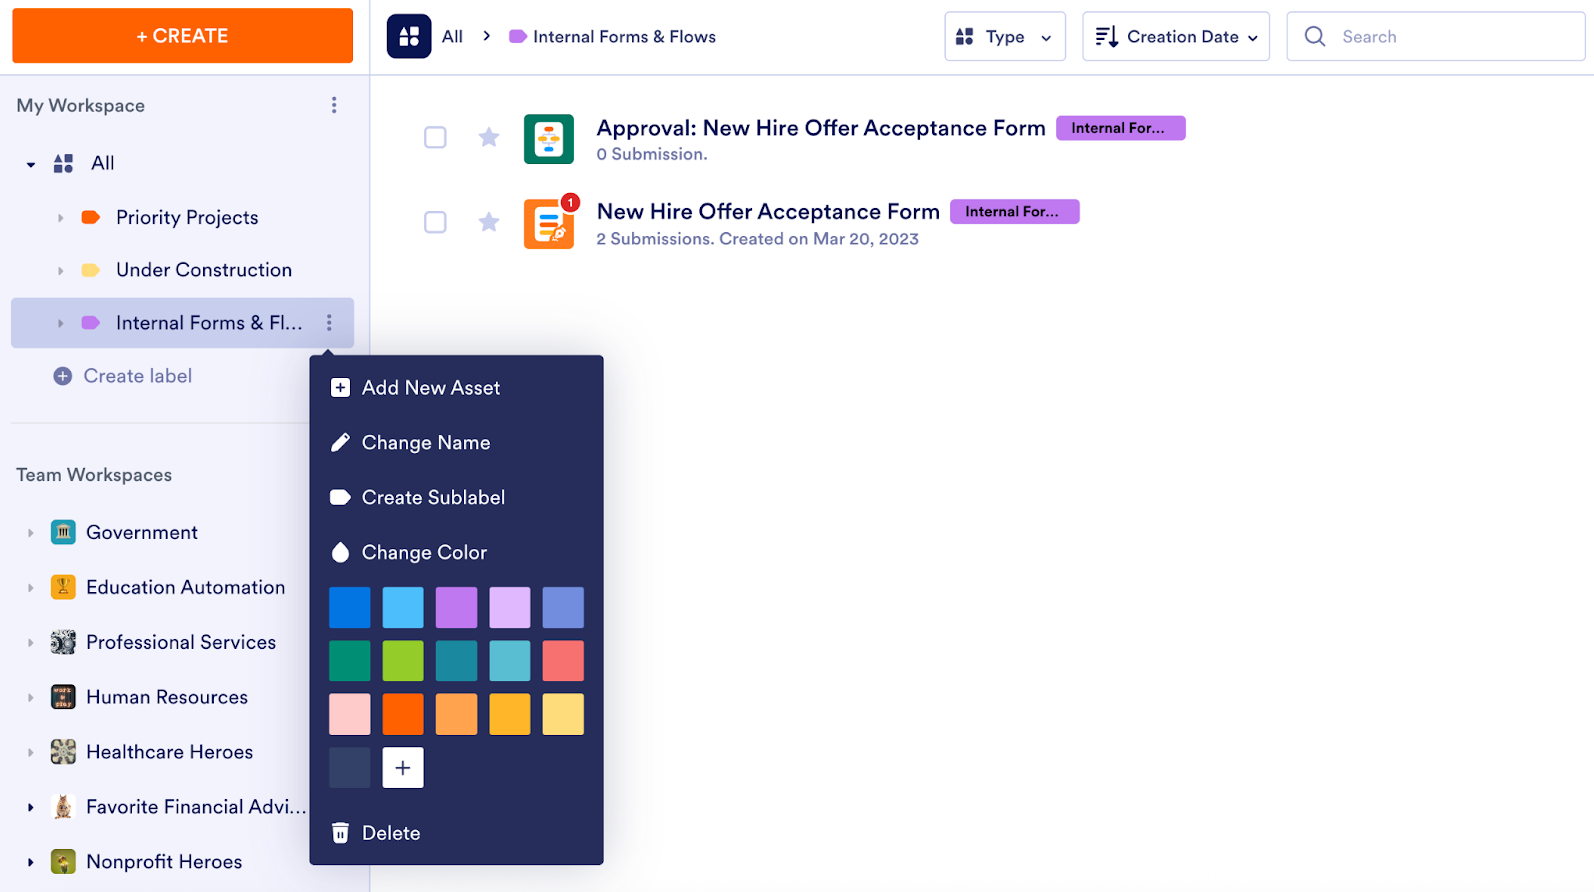
Adding a label is simple. From the My Workspace homepage, click the three-dot icon in the My Workspace sidebar and select Create Label. You’ll also notice a handy option to sort your labels alphabetically, if you wish.

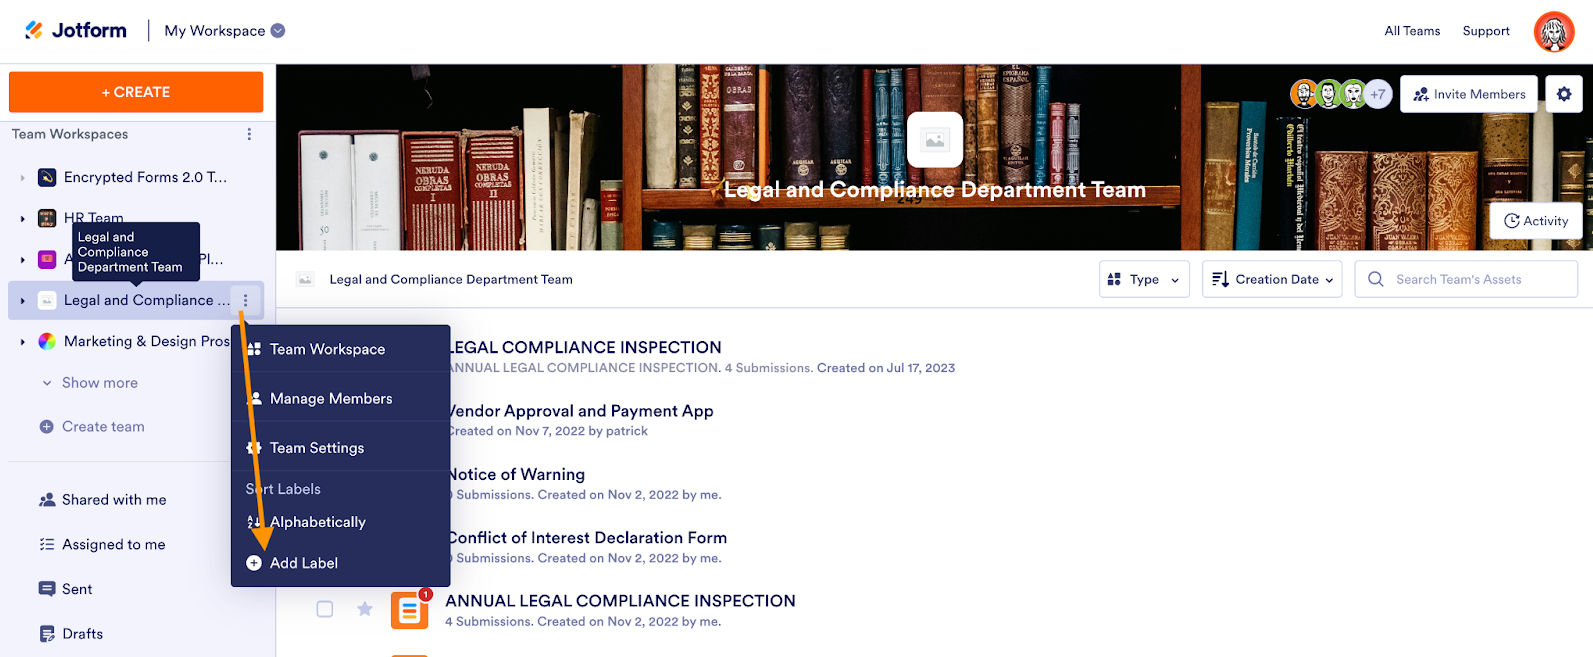
To create labels for your team, click the three-dot icon next to the team name and select Add Label.
Take advantage of custom color and sublabel options to further organize your assets, track progress, and create flexible asset groups.
Labels are perfect for organizing assets by
- Function (for example, patient intake or employee training)
- Project (such as conference, campaign, or client)
- Status (for example, draft, testing, or editing)
If you frequently clone forms for recurring campaigns or events, you can create labels for years, seasons, and semesters to track the evolution of those assets and improve your results over time.
If you notice your label names extending outside the My Workspace sidebar, fear not. You can extend the sidebar by simply widening it using your mouse or trackpad. Problem solved. You can also change the order of your labels by selecting the three-dot icon next to a label and dragging it to the desired location.
If you have a plethora of assets that you’d like to assign to one or more labels, there’s more good news. From My Workspace, select the assets you’d like to share a label, then click Label as from the toolbar. Select the desired labels, then click Apply.
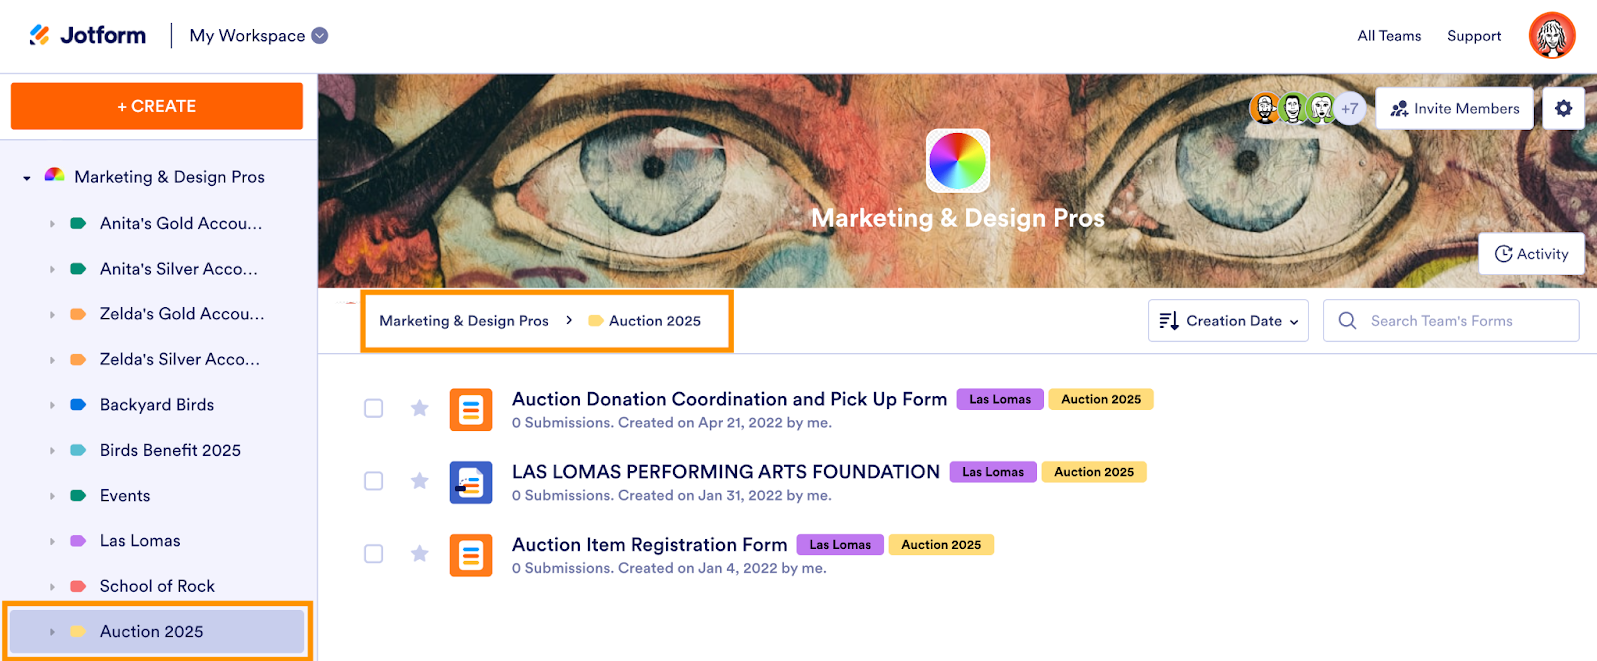
Selecting a label from the My Workspace sidebar shows all the assets attached to that label at a glance. Note that your workspace also displays labels as breadcrumbs, providing another way to move quickly throughout your workspace.
Now that you’ve learned all about labels, we hope you’ll give them a try. Whether you place them strategically and sparingly or embrace them like a sticker-obsessed kid, we’d love to know what you think. We’re always listening for suggestions to improve your Jotform Enterprise experience. Today, Labels. Tomorrow, who knows?


")


Send Comment: