-
AdvancedFocusAsked on May 12, 2025 at 11:02 PM
Hello,
I am trying to update member information using jotform.
I want to create a separate, unique prefilled form for each member of my organization that is prefilled with their own contact information and ask them to update whatever information they need to update.
I have the form created, but I am struggling with create unique links in bulk that I can match to my table and use a bulk mail program to send the links.
How can i do that?
-
Podo: Support AI AgentReplied on May 12, 2025 at 11:02 PM
Hi Brad Solomon,
Thanks for reaching out to Jotform Support. I'm an AI assistant. I'll do my best to help you until someone from the support team is available.
To create unique prefilled form links for each member, you can use Jotform's URL parameters to prefill fields with their contact information. Then, you can generate these unique URLs in bulk by combining your member data with the form URL and corresponding parameters.
Here’s how to do it:
- Identify the field names in your form that you want to prefill.
- Create a spreadsheet with your members' contact info and build the unique URLs by appending URL parameters for each member.
- Use a bulk email tool to send these unique links to each member.
This approach allows each member to receive a personalized link with their information prefilled, which they can update as needed.
Give it a try and let us know how it goes.
-
Danilo JotForm SupportReplied on May 13, 2025 at 7:01 AM
Hi AdvancedFocus,
Thanks for reaching out to Jotform Support. Prefilling your form using another form is easy. Let me show you how:
- In Form Builder, in the orange navigation bar at the top of the page, click on Publish.
- Now, click on Prefill in the menu on the left side of the page, and then select Form Prefill.
- Click on the Downward Arrow icon and select the form that you want to prefill from, and then match the fields.
- Finally, click on Save Settings on the bottom-right side of the Form Prefill section.

- Click on Add a New Prefill and select a row or the rows you want to be prefilled.
- Then, click on the Create button in the right corner of the page.
- In the Form Prefill settings, click on Can Edit next to the prefill link.
- In the dropdown menu that opens, select Read only, and that's it.
Another way, you manually prefill the form and send it to your employee with pre-filled data. You can also make the prefilled data read-only, preventing the employee from editing the data you entered. Let me show you how:
- In Form Builder, in the orange navigation bar at the top of the screen, click on Publish.
- Click on Prefill on the left side of the screen.
- Select Manual Prefill.
- Click on the Add a New Prefill button.
- Fill in all the fields you wish to prepopulate. Once done, click Send Invitation and type the email address of the employee.
- You can also choose whether to allow the employee to edit the prefilled data or make it read-only.
Or, you can also use our prepopulate io, to prefill the form using a URL parameter. Let me show you how:
- Open Field Prepopulator, then select Populate Fields at the bottom.
- In the Authorize dialog, select Allow.
- In the Form Picker dialog, choose your form, then select Continue in the lower-right corner.
- On the next page, provide the prefilled values for your form by entering them in the form fields. Then, select Generate URL at the top and copy the generated URL.
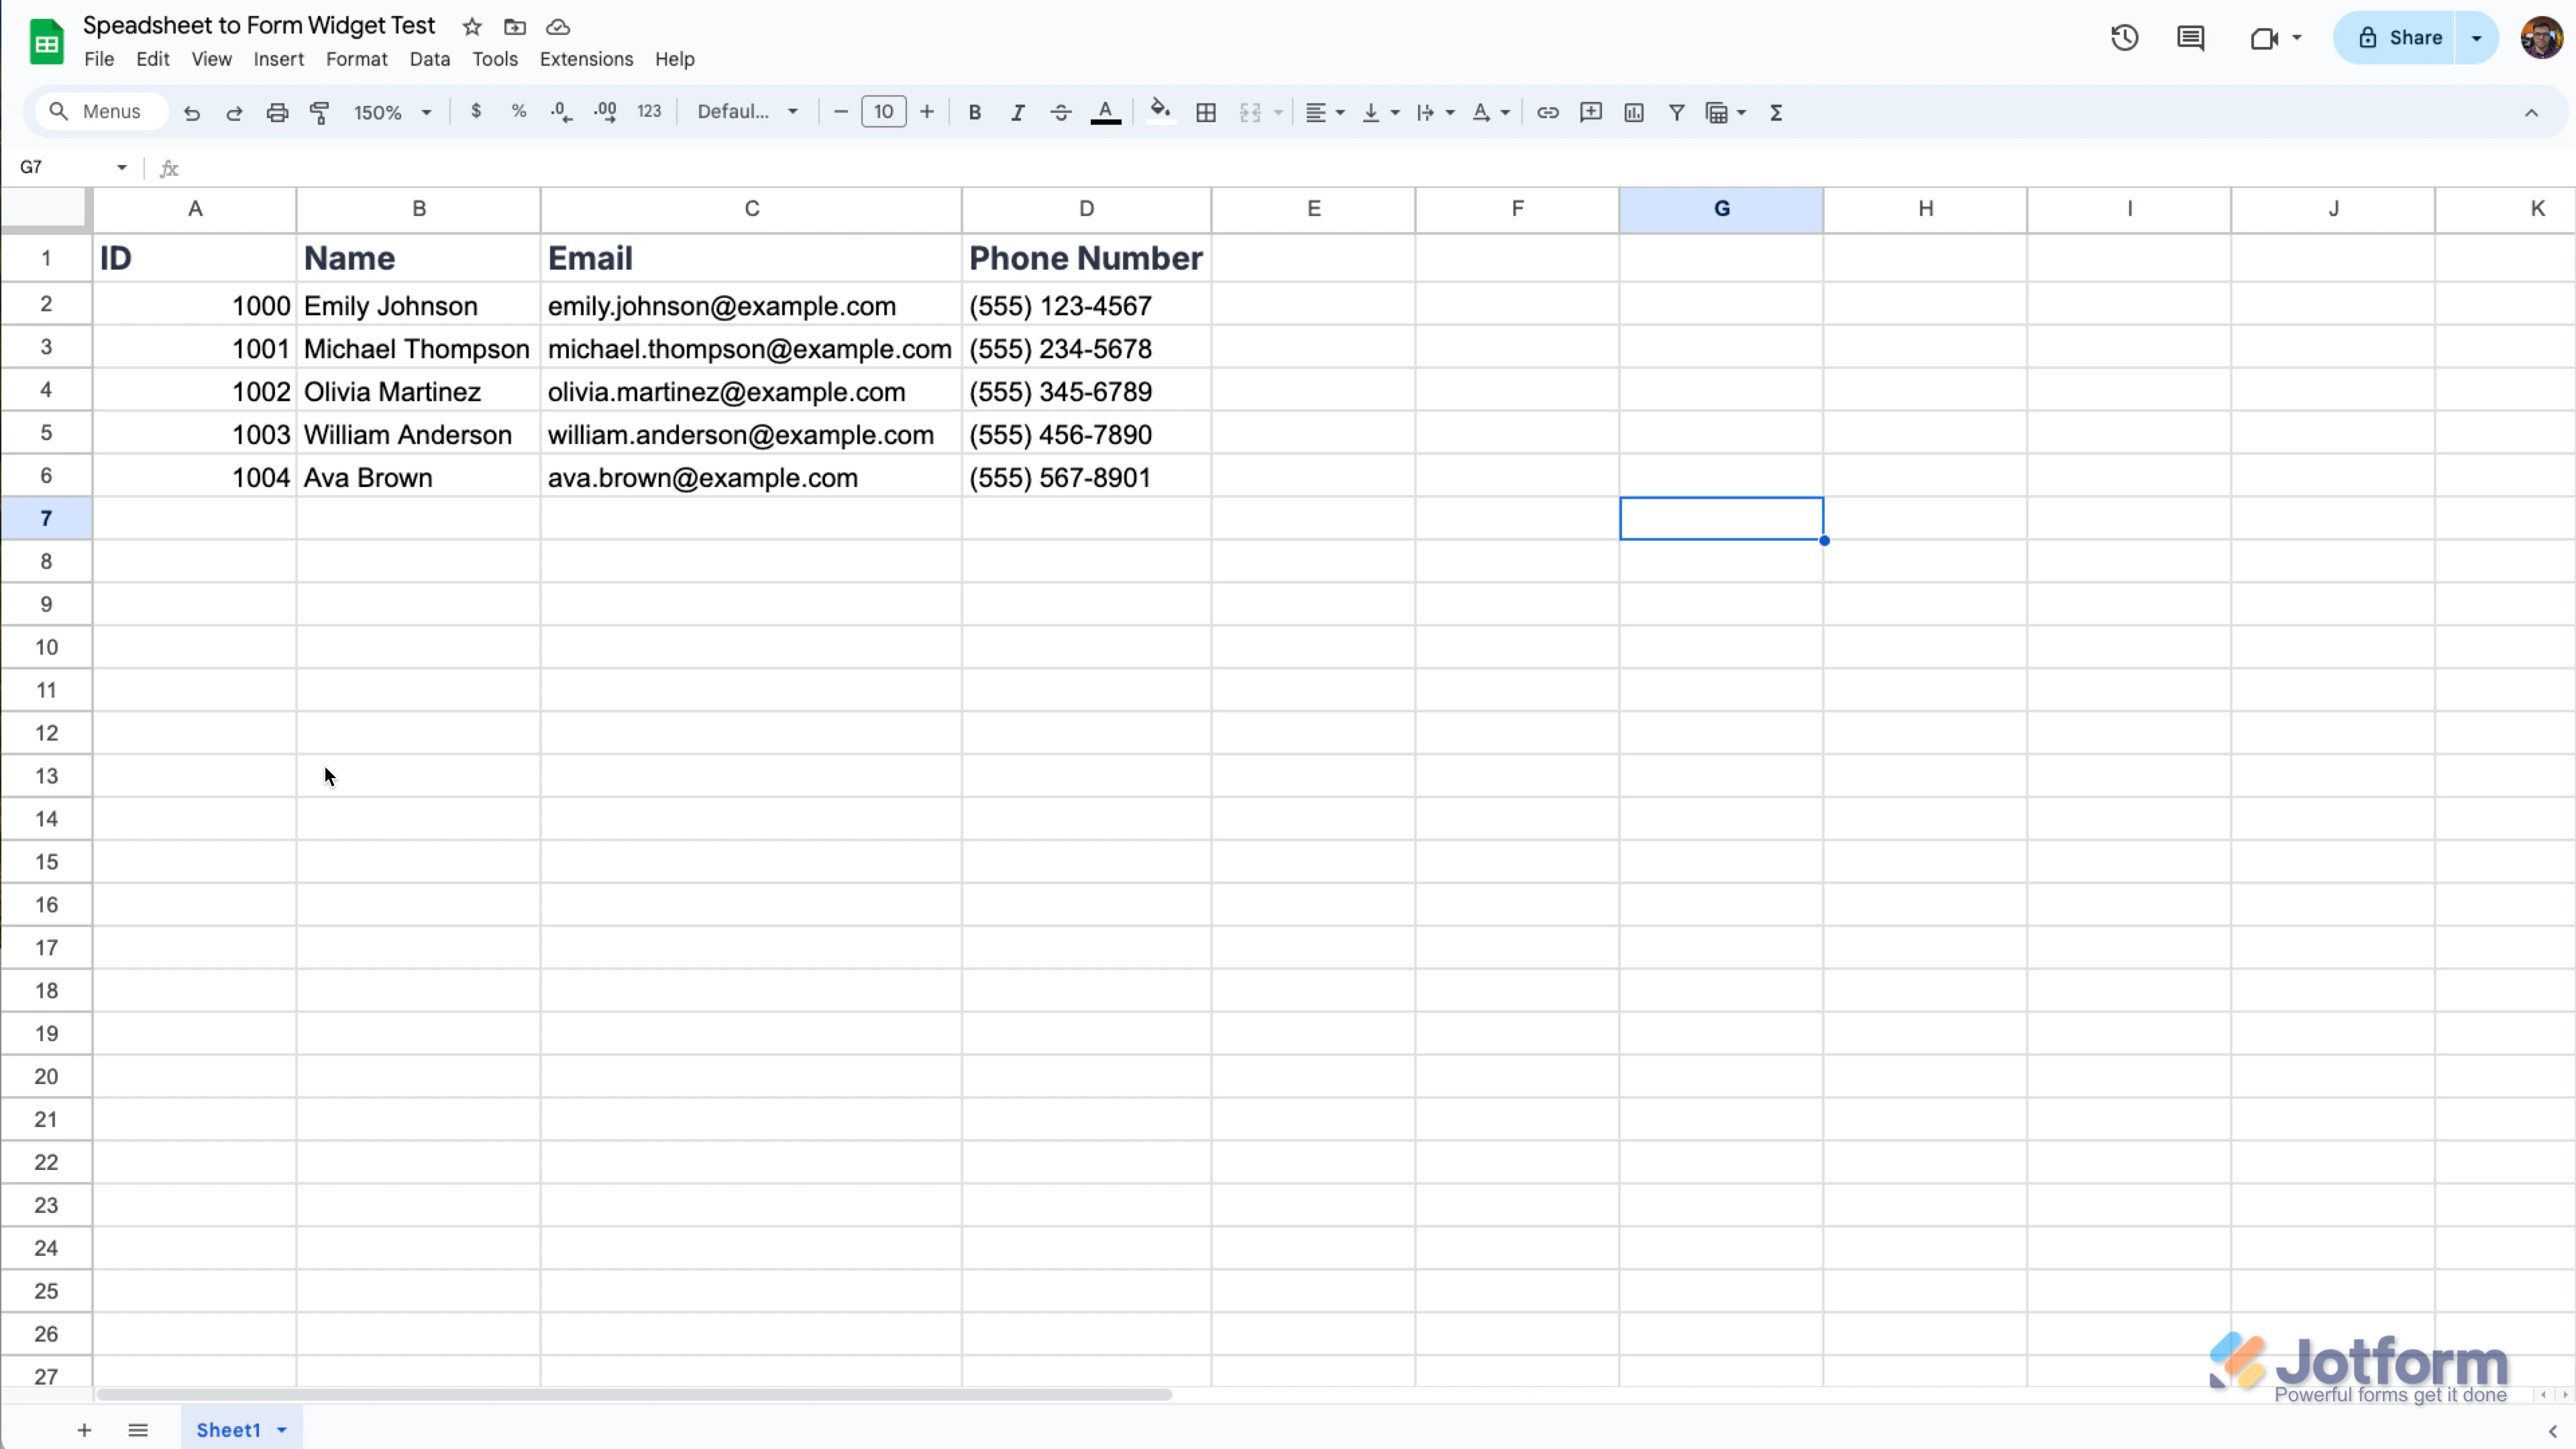
1. Create a spreadsheet with your data structured like you see below. Make sure that the column names in the spreadsheet match the field names on the form, and include a unique column, like an ID, so the data can be distinguished.
2. In Form Builder, click on the Add Form Element menu on the left side of the page.
3. Click on the Widgets tab, search for the Spreadsheet to Form widget and add it to your form.
4. In the menu on the right side of the page, upload your data file. (You can simply drag & drop your excel file to the Upload File area.)
5. Then, click on the Downward Arrow icon in the Access Code Column option and select the unique column.
6. You can also customize texts used in the widget. After you complete everything, click on the Update Widget button at the bottom right of the menu.